NX501/NZ501
61
English
English
Owner’s Manual
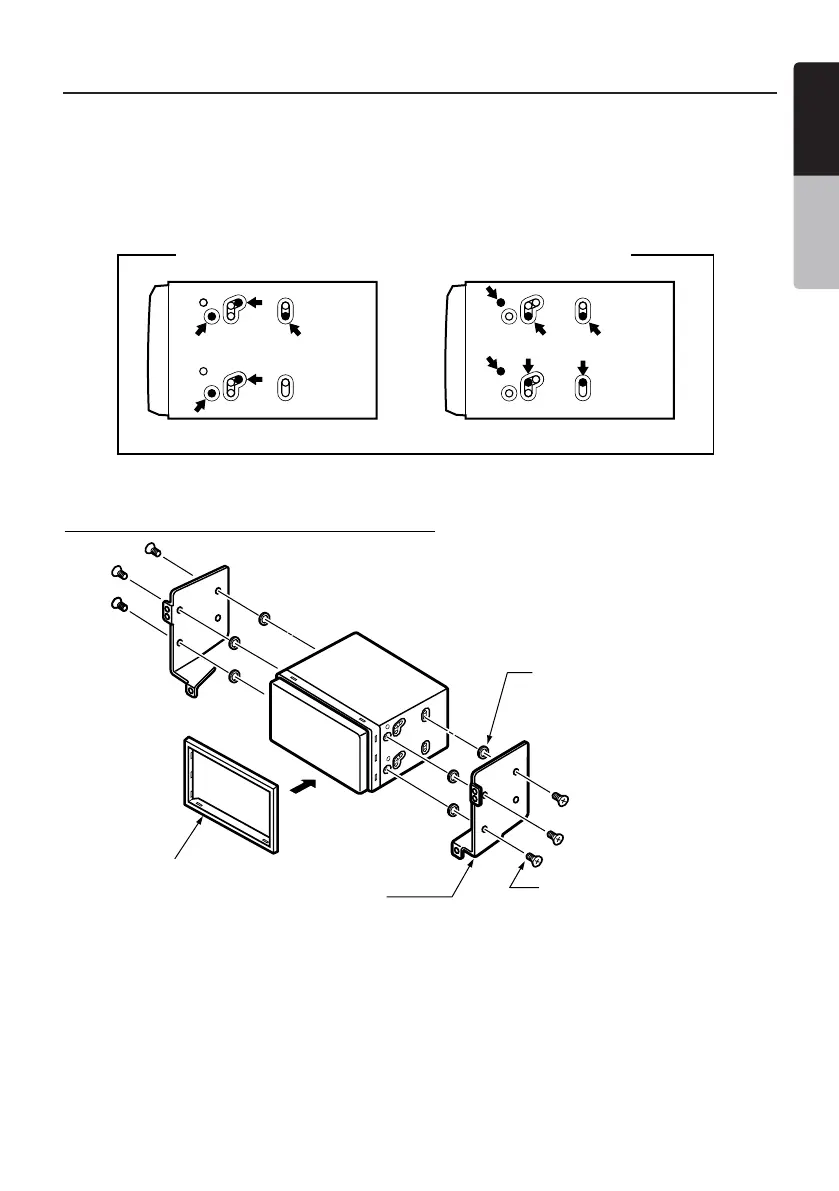
5. Installing the Main Unit
This unit is designed for fixed installation in the
dashboard.
1. When installing the main unit in NISSAN vehicles,
use the parts attached to the unit and follow the
instructions in Figure 6.
When installing the main unit in TOYOTA vehicles,
use the parts attached to the vehicle and follow the
instructions in Figure 7.
2. Wire as shown in Section 7.
3. Reassemble and secure the unit in the dashboard
and set the face panel and center panel.
For NISSAN vehicle For TOYOTA vehicle
Mounting Screw Holes (Side View of the Main Unit)
Figure 5
Installing the Main Unit in NISSAN Vehicle
Note:
* 1: Position the face panel with its wide edge at the bottom. Fit the edge
into the groove of the main unit.
6-Flat head screw
(M5 8)
(attached to the main unit)
6-Spacer (thickness: 1 mm)
Main Unit
Mounting bracket
(1 pair for the left and right sides)
Figure 6
6- Spacer (thickness: 1mm)
6- Flat head screws
(M5x8)
(Attached to the main unit)
Trim ring

 Loading...