on welding shield maintenance, given on page 23. When replacing the glass
panels, use ONLY those parts supplied by Clarke International. The dark panel is a
certified, specific optical class, and should not be exchanged for any other type.
The clear glass panel should be replaced when it becomes badly pitted.
WARNING:
NEVER look at an electric arc without eye protection as this can injure the
eyes permanently. ALWAYS use a protection mask or welding helmet.
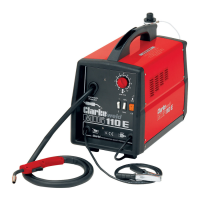
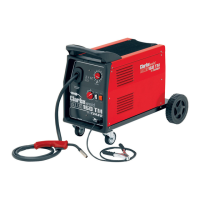
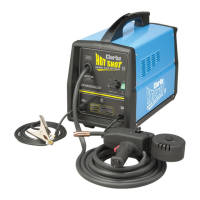
C. Installing the Welding Wire
NOTE: These machines are designed to accept either the Clarke ‘Mini’ or 5kg wire
spools of mild steel, stainless steel or aluminium according to the type of metal you
wish to weld. Mini Mild Steel wire spools are supplied with the machine...others
must be purchased separately. See ‘Accessories’ or your Clarke dealer for full
details.
1. IMPORTANT: Ensure that the gas and electrical supplies are disconnected.
2. (Ref. Fig. 2). To fit the wire spool (2), firstly pull open the cover, on the left hand
side of the unit, by inserting your finger in the hole provided and pulling sharply.
16
B. The Welding Shield
To assemble the welding shield, (Fig.1),
insert the clear glass panel first, followed
by the dark glass panel into the recess in
the shield, i.e. the clear glass MUST be on
the outside of the shield. Securing them
with the plastic screws provided.
Slot the two pieces together as shown, and
enter the threaded end of the handle
through the holes provided. Thread on the
plastic nut and tighten.
It is important to pay attention to the notes
Fig.1
Fig.2