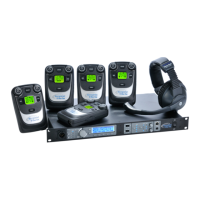
Select a location for the
BaseStation and/or Remote Transceiver
1
3
System range and performance may be greatly reduced if antennas
are blocked or obstructed.
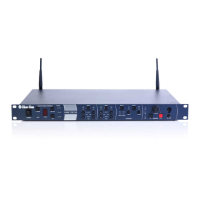
● Always operate the system with antenna attached, located as high
as possible and away from all obstructions (especially metal).
● Never use the antenna on the back of the BaseStation when
the BaseStation is in a rack (greatly reduced range will be
experienced).
● When using the omni-directional whip antenna, always locate it as
close as possible to the center of the coverage area.
● When using a directional antenna, always aim it in the same general
direction.
● When remotely locating antenna, use only high quality 50 ohm, low
loss, RF cable (45 ft max, or approx 14m).
● Remote antenna location of up to 1500 ft (approx 457m) using
standard CAT-5 wiring may be achieved using the optional Tempest
Remote Transceiver.
» This connection cannot be through an active IP switch or router.
» Plug your Transceiver into the BaseStation prior to powering
ON the BaseStation.
● Connect the AC power cord to the BaseStation and to the AC
wall outlet.
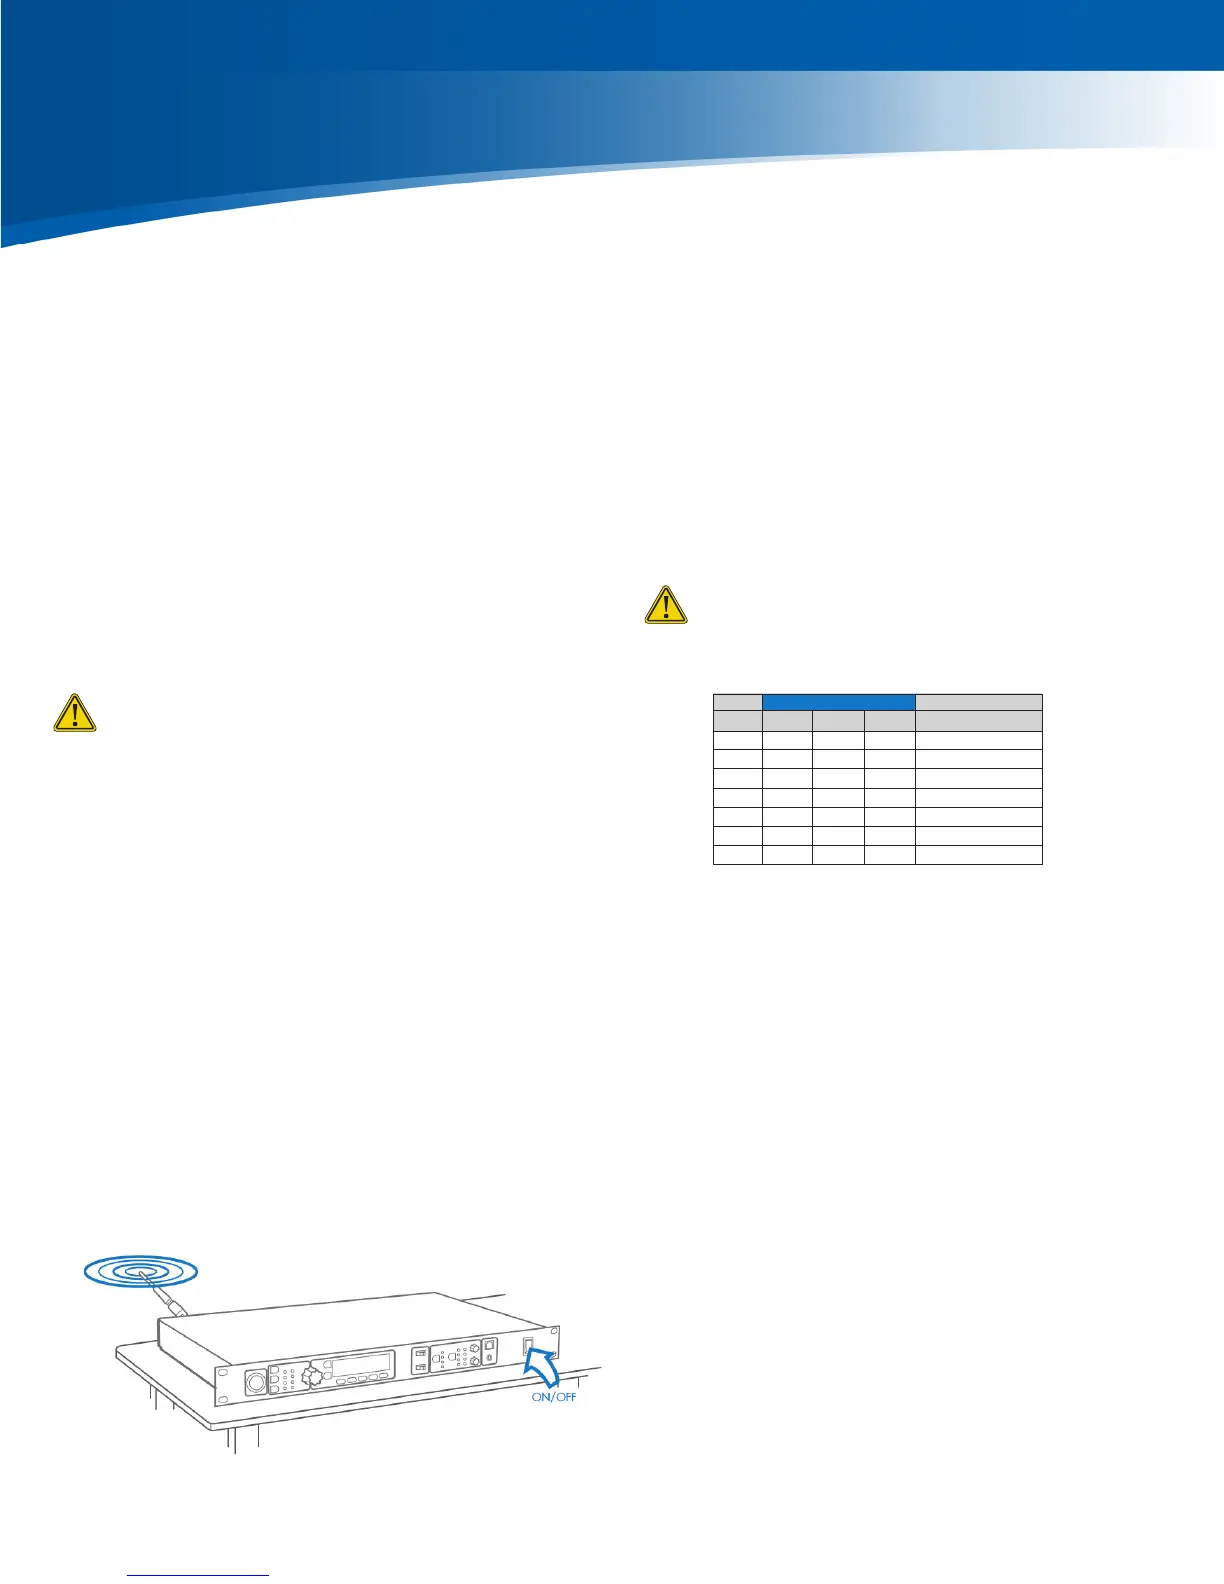
● Turn the BaseStation on via the front panel ON/OFF switch.
● The rst time you power up the BaseStation, you will be prompted
to “select an authorized band for your location.”
● There are seven RF bands that use different parts of the 2.4GHz
spectrum.
● Scroll to an appropriate band for your location and press ENTER
to select.
● Press MENU to return to the operational screen.
Band 1 is appropriate for most, but not all locations worldwide (US
is band 1). Some countries require that you use a limited portion of
the 2.4GHz band. It is the user’s responsibility to ensure you select a
band that is permitted for use in your location.
Power ON the BaseStation
Selecting the RF band
MHz
Band Start End Wide Avoid 802.11b/g
1 2400 2480 80 None
2 2400 2450 50 11
3 2423 2473 50 1
4 2431 2480 49 1,2
5 2400 2428 28 7,8,9,10,11
6 2423 2450 27 1,11
7 2453 2480 27 1,2,3,4,5,6,7
4
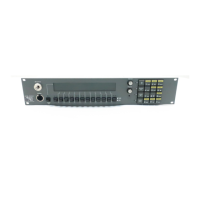
From the front of the BaseStation, follow the steps below :
● Press MENU (Main Menu).
● Press 1 (BaseStation Settings).
● Scroll to 7 (Tech Menu) and press ENTER. A Tech Menu warning
message will appear - Press ENTER to proceed.
● Press ENTER or 1 (Radio Conguration).
● Press ENTER or 1 (Network Number) and select a network other
than zero, and press ENTER to save setting.
● If you have multiple BaseStations, ensure you select a different
Network Number for each BaseStation.
● Collocated BaseStations should be in the same Network Number
Group.
● Press MENU to return to previous menu; press 2 (Lockout Key)
and select a lockout key other than 255 and press ENTER to save
setting.
● Press MENU repeatedly until you get back to the Operational
screen.
● Power the BaseStation OFF; wait 10 seconds and power the
BaseStation ON again.
Changing the Default RF
Conguration
Tempest2400 operates in the 2400 to 2483 MHz frequency
spectrum and should never be synced with Tempest900 models.
Tempest® BaseStations and BeltStations are shipped with a
default RF configuration. It is highly recommended that you change
your system from the default to ensure proper RF performance,
especially in the presence of other Tempest systems.
A BeltStation must be paired with a BaseStation for any
communication to take place. Pairing should be done AFTER the
default RF configuration is changed on the BaseStation.
Charge the BeltStation batteries prior to starting set-up.
Important things you need to know
2

 Loading...