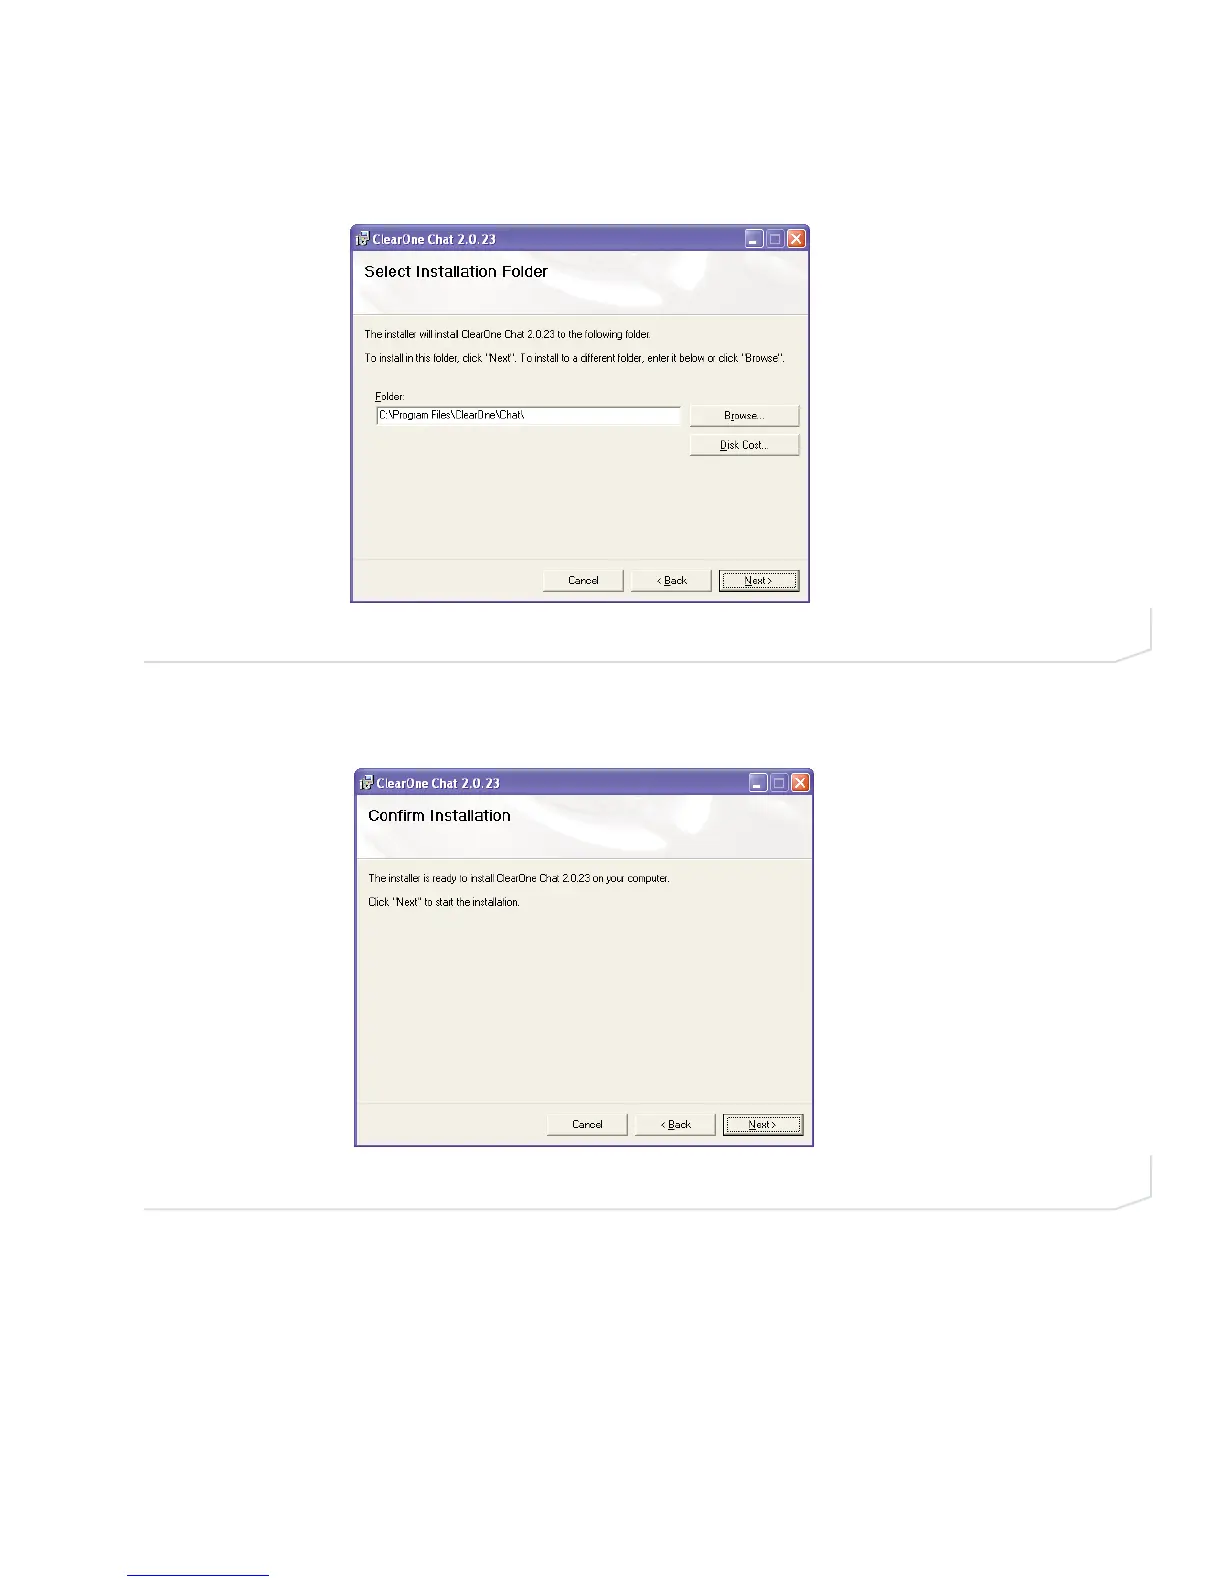
4. The Select Installation Folder screen appears (Figure 2.4). You can change the target installation folder, if
you wish, or simply accept the default folder shown by clicking Next> to continue..
5. The Confirm Installation screen appears (Figure 2.5). Click Next> to continue the installation.
FIGURE 2.5 Chat 150 Confirm Installation screen
FIGURE 2.4 Chat 150 Select Installation Folder screen
Chapter 2: Getting Started 7
 Loading...