Disassembly
Removing the Battery 2 - 7
2.Disassembly
5. The battery will be visible at point on the computer (Figure 3d).
6. Carefully disconnect the cable , then remove screws
- (Figure 3e).
7. Lift the battery off the computer (Figure 3f
).
8. Reverse the process to install a new battery (do not forget to replace all the screws and bottom cover - check the
HDD sponge information below).
d.
e.
26
19
22
18
20
25
f.
17
21
23
24
HDD Sponge
Note that the sponge must exist
on the back of the bottom cover
for machines using a 36W bat-
tery.
While these sponge must be re-
moved from the back of the bot-
tom cover for machines using a
54W battery.
Figure 3
36W Battery
Removal (cont’d.)
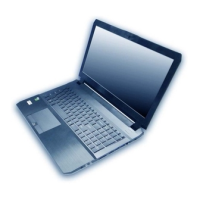
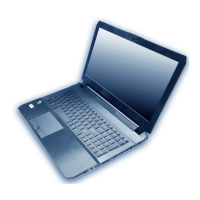
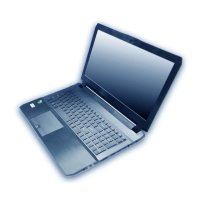
d. Locate the battery.
e. Disconnect the cable and
remove the screws.
f. Lift the battery off the
computer.
Powering the
Computer On
After every disassem-
bly, make sure that the
bottom case’s screws
are all inserted and
tightened before turn-
ing the computer on.
 Loading...