www.climecon.fi
© Climecon 11
Lämmittäjänkatu 4 A, FI-00880 HELSINKI, Finland · Telephone +358 20 198 6600, Fax +358 020 198 6609
3.7 Before you start the CleanMaster® system
Check the following points before starting the CleanMaster® system:
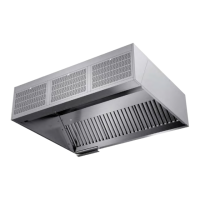
• UV lamps are correctly installed
• Wires led from the UV lamps are connected through their quick connections to sockets in the
hood, and tightened
• The wires of UV lamps and SlideSafe safety lock from the UV control unit to the terminal block
box of the hood are fixed from both ends with a screw
• The air flow sensor has been installed in the ventilation duct and adjusted
• A maintenance / safety switch has been installed to supply voltage line before the UV control unit
• All grease filters have been installed and the safety lock of grease filters has been locked
• The labels about UV lamp replacement and maintenance instructions of the hood, which were
included in the delivery, have been attached to a visible place near the hood
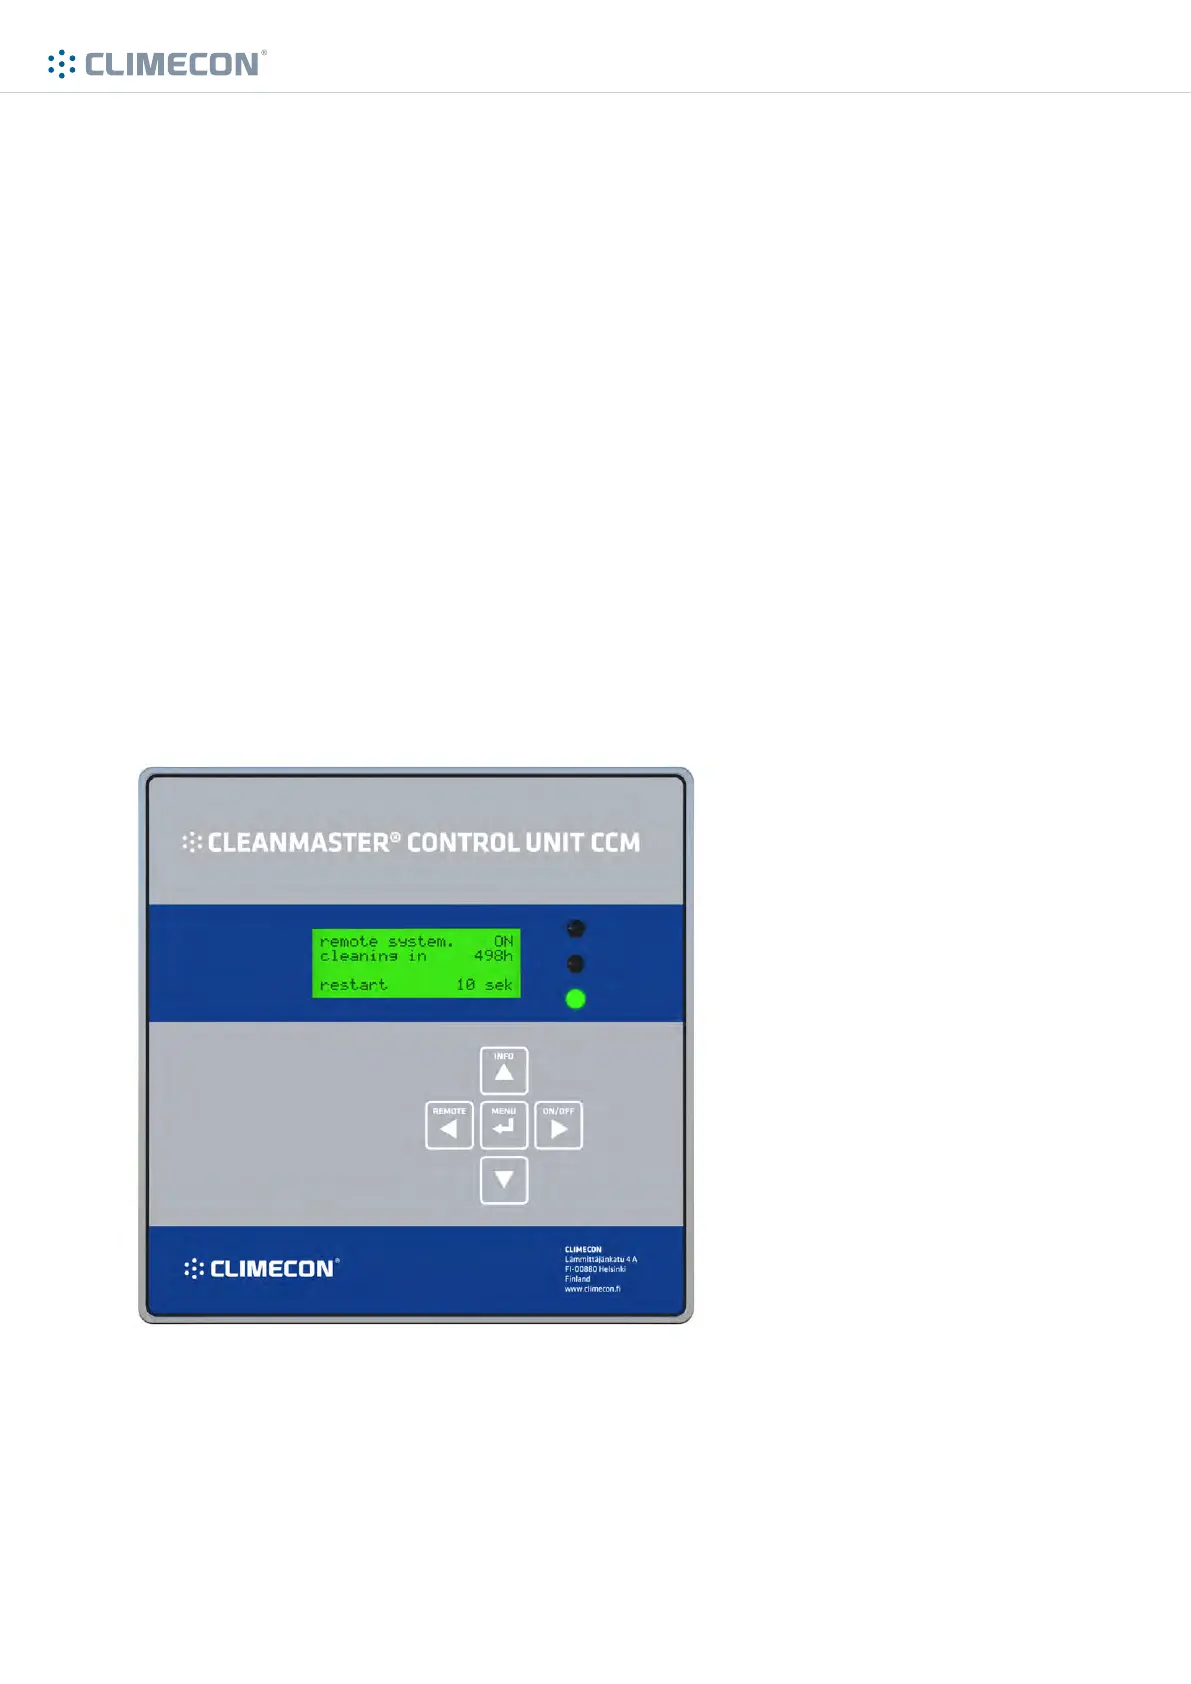
3.8 Starting the CleanMaster® system
Start the CleanMaster® system by turning the main switch of the CCM control unit to ON-position.
After the start, the text «restart» appears on the display of the UV system, after which in about 60
seconds the starters of UV lamps become active (starting delay of the air flow sensor).