Press the AM/FM button to change bands.
Operation
9
Operation
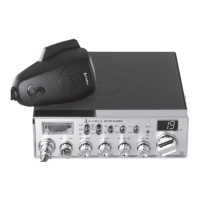
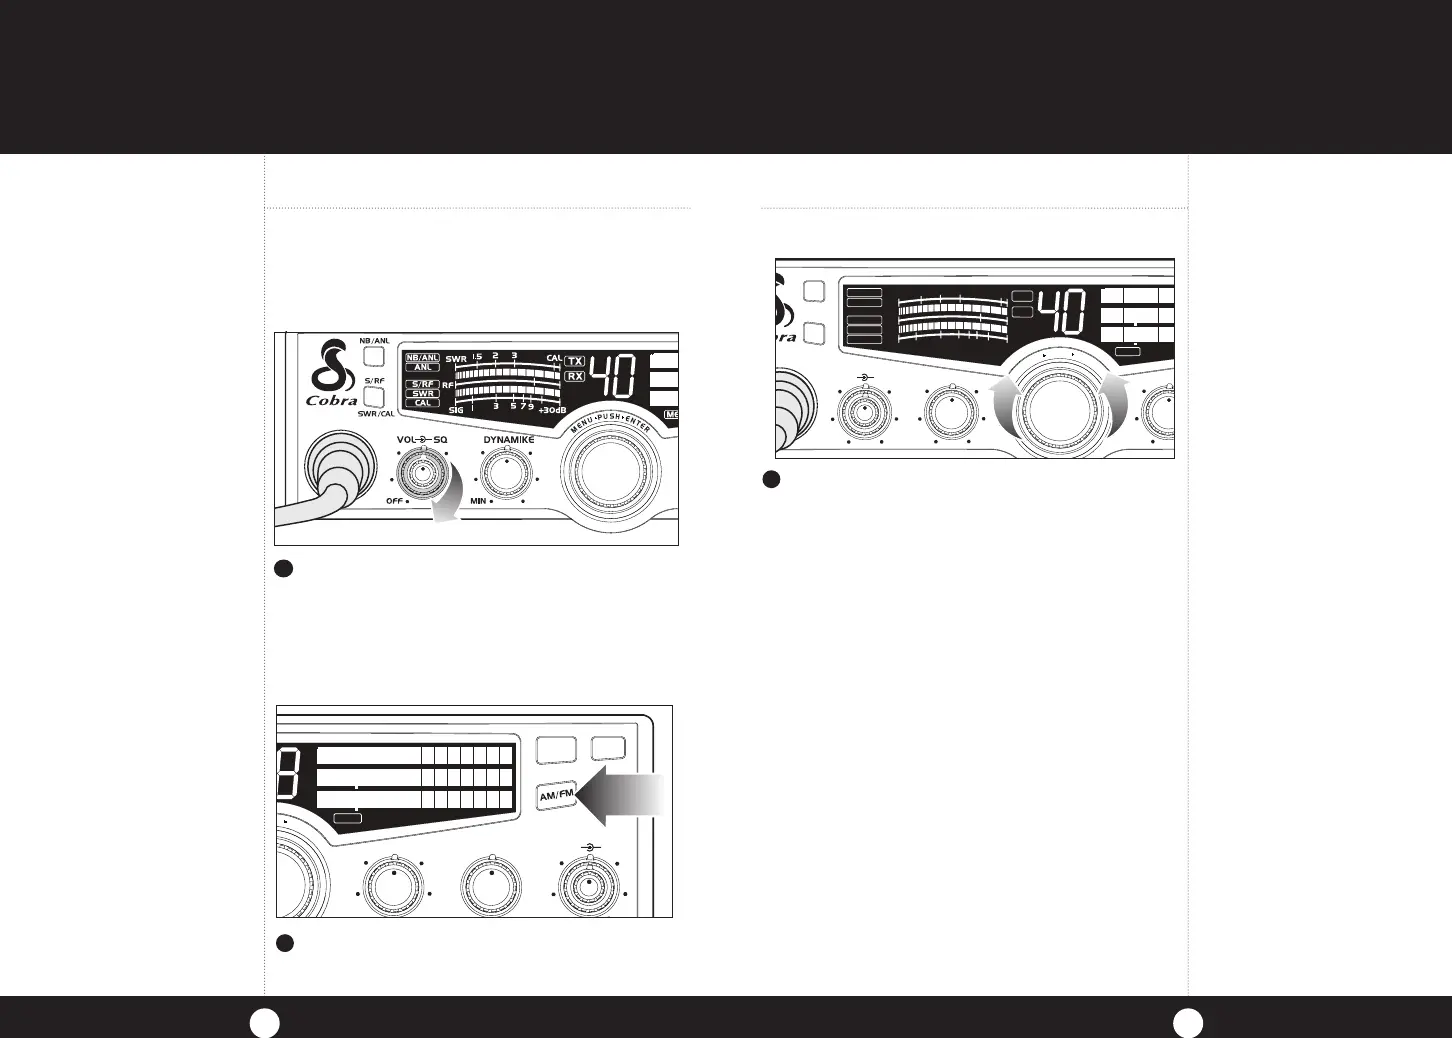
Turning On
Setting Channel
Selector
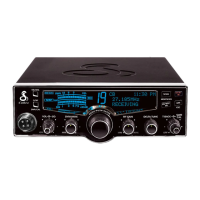
8
Turning On
Make sure the power cord, antenna and micro-
phone are connected to their proper connectors
before starting.
Setting Channel Selector
1
SWR/CAL
NB/ANL
VOL SQ DYNAMIKER
F GAIN DELTA TUNE
T BACK
SWR
CAL
ESC
MEM SCAN
H
E
N
T
E
R
SIG
RF
+30dB
1
1.5
2
3
CAL
3
5
7
9
SWR
TX
RX
NB/ANL
MEM
CH 9/
19
DIM
SCAN
2
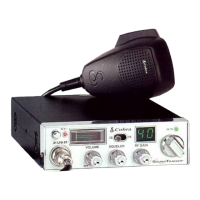
Rotate the On/Off Volume knob clockwise to
turn unit on and adjust to a normal listening
level.
Select one of the channels and adjust
volume. The selected channel will be indicat-
ed by the readout directly above the channel
selector knob
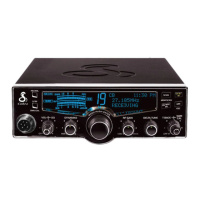
3
SWR/CAL
NB/ANL
VOL SQ DYNAMIK
F G
OFF MIN
MIN
S/RF
M
E
N
U
P
U
S
H
E
N
T
E
R
SIG
RF
+30dB
1
1.5
2
3
CAL
3
5
7
9
SWR
TX
RX
NB/ANL
MEM
ANL
S/RF
SWR
CAL
Note
Beforeusingthistransceiver,
pleasecheckthattheradiohas
beenprogrammedonthe
frequencybandspecifications
andoperatingmodesallowed
bytheregulationsvalidinthe
countrywheretheproductis
used.Ifnot,pleaseproceedto
modifythefrequencyband
programming,asdescribedon
page17.Thistransceiverispro-
grammedatthefactoryonthe
EUfrequencyband(40CHAM
1W/40CHFM4W).
29LXEU_MANL_ENG_vD.indd 8-9 1/11/12 10:09 AM
 Loading...