Manual FLOW 38 Page 18 (total 54) COMAC CAL s.r.o.
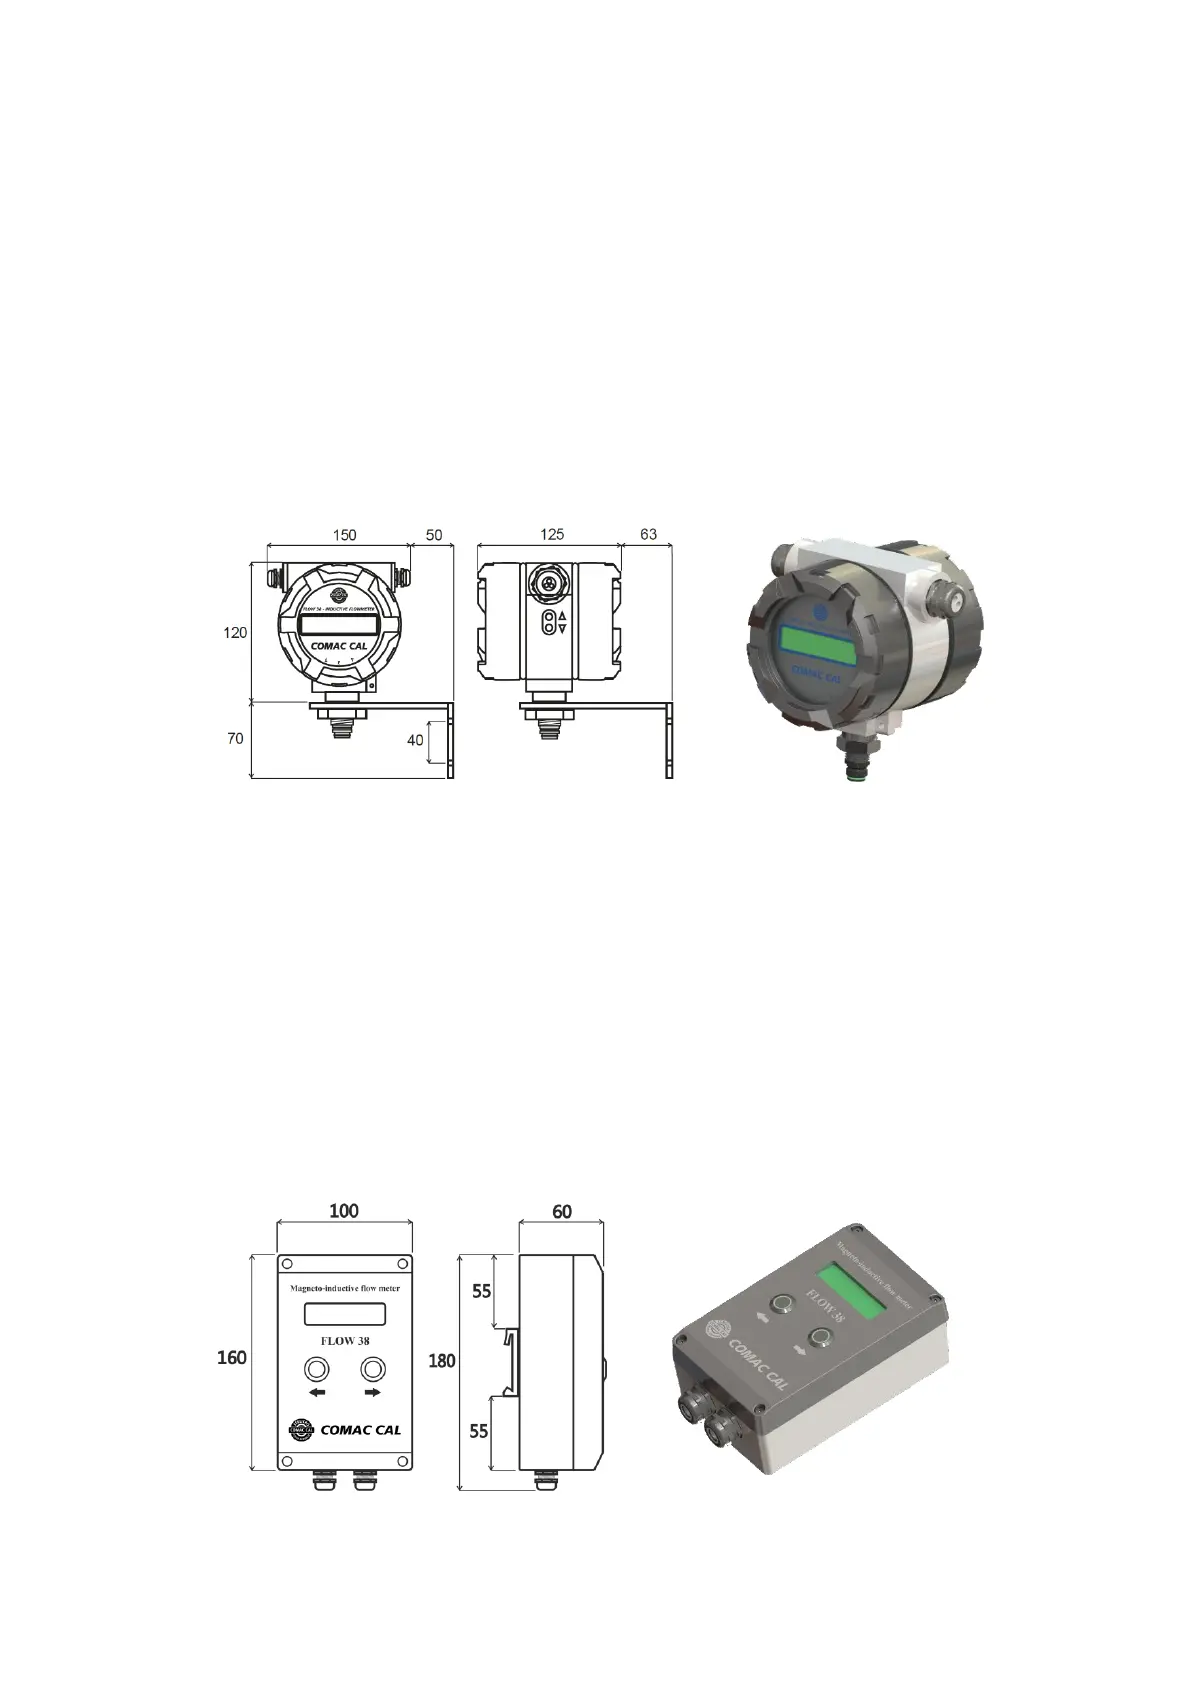
Installation of the meter's detached evaluation unit
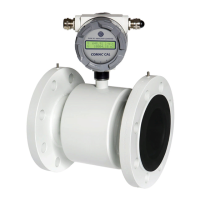
The design HEAD (H) – it is a standard design with a possibility of installation both in compact and
detached designs (as per purchase order)
Firstly decide if you want to install the fixing bracket behind, or under the electronics (the bracket with
holes upward or downward). Install the fixing bracket on the meter's aluminium housing; place the unit
as required on the wall or on a structure and mark the holes in this position for the attachment of the
bracket. Unscrew the bracket and attach it to the marked location, e.g. using wall plugs and screws.
Screw down the electronics on to the fixing bracket and connect the sensor cable using the connector.
Attach the cable to the wall or to the structure so that it does not "dangle" from the connector. Make a
"drip loop" downwards so that water cannot trickle onto the connector. Fix the conductors for power and
the outputs in a similar way. After installation of all cables, turn the electronics to the required position
and fix the unit to the bracket by tightening the fastening nut.
The FRONT (F) design – this design can be positioned again as the compact or detached ones
Wall mounting:
At first, unscrew the DIN rail holder from the unit by slackening two screws from the bottom of the box.
After that, attach the unit without the top cover to the wall into the desired position and mark the internal
holes (in corners of the 63x145mm rectangle). Drill the holes and put in the wall plugs, use the screws
to fix the unit to the wall and connect the flow sensor cable using the connector. Attach the cable to the
wall or to the structure so that it does not "dangle" from the connector. Make a "drip loop" downwards
so that water cannot trickle onto the connector. Fix the power conductors (possibly outputs) in a similar
way and complete the installation by closing the unit with the cover and tightening it.
Din rail installation:
Installation is carried out by locking the holder located on the bottom part of the unit into the DIN rail.
After that, connect the connector of the flow sensor cable with the power cable (possibly outputs) and
close the unit with the cover and tighten it in a similar way as in the case of wall mounting.