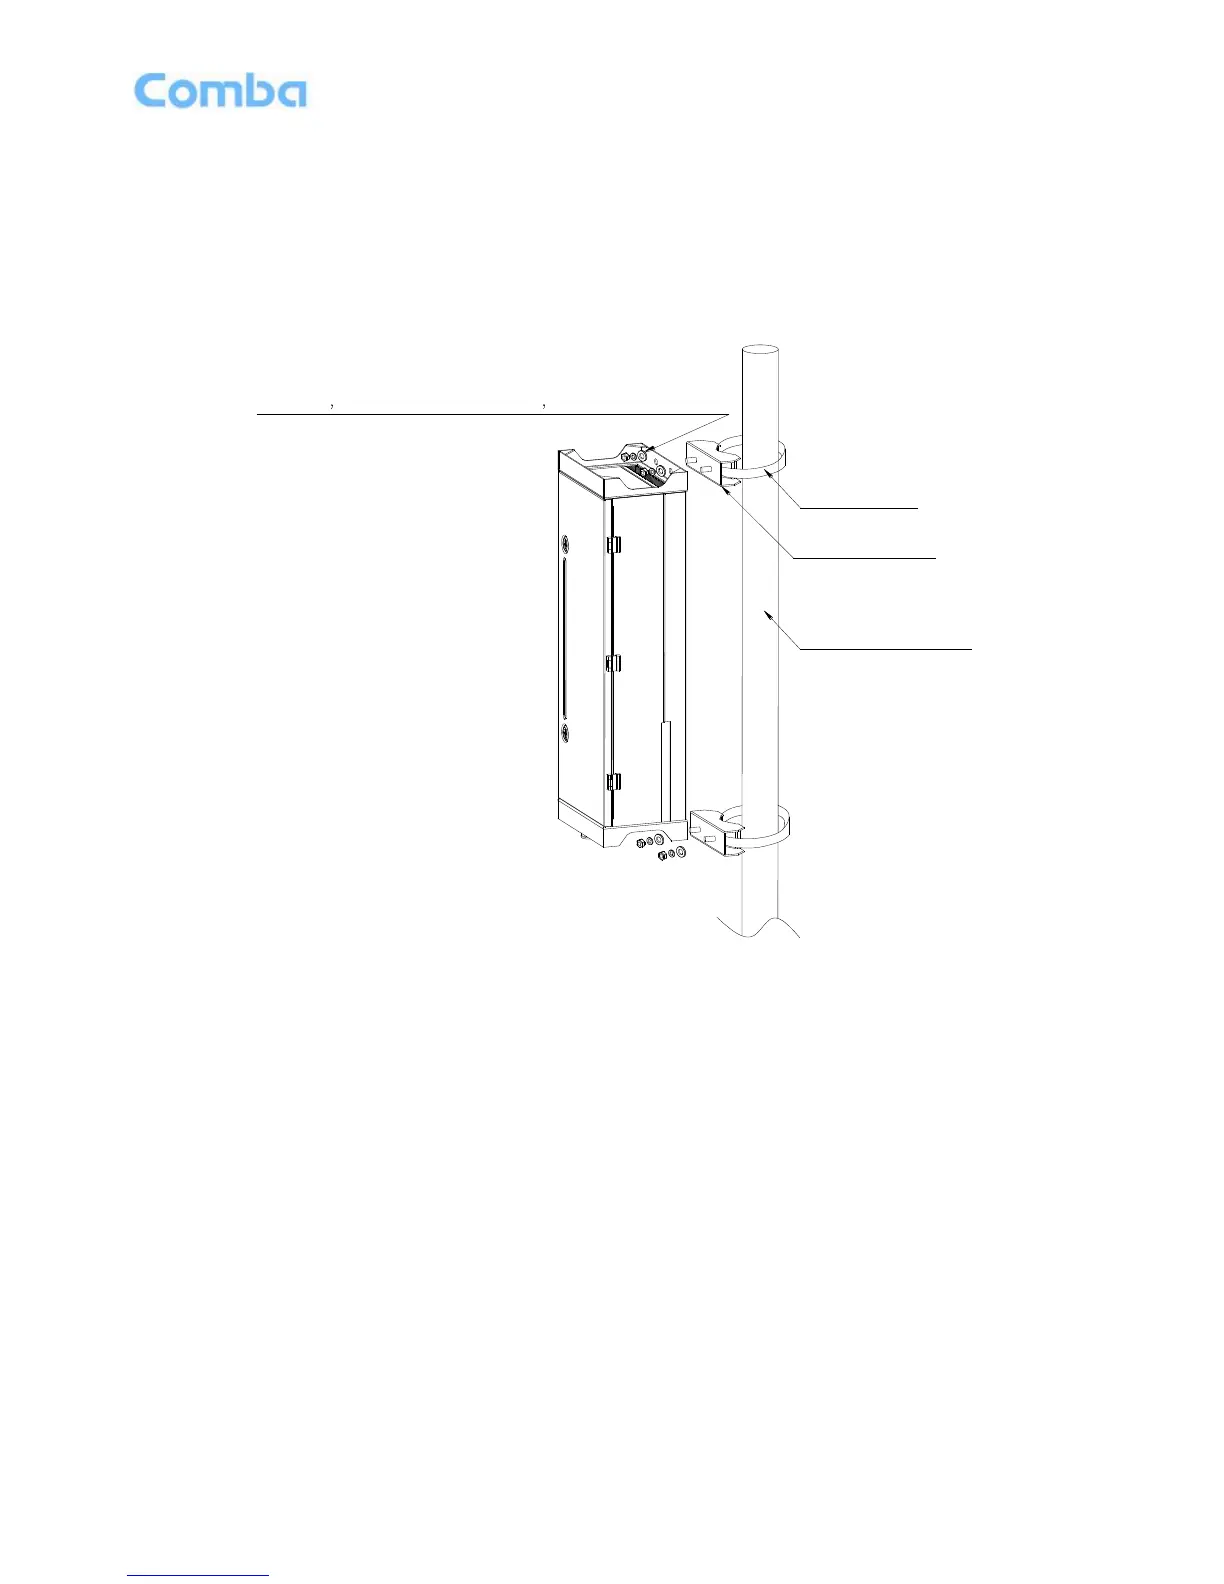
Pole mounting steps are shown as below.
Step 1: Secure the Mounting rack onto the pole using hose clamps.
Step 2: Hook the enclosure up onto the studs of mounting rack, then tighten four M10 nuts (spring
washer and plain washer should be used with nuts together).
Step 4: Check if the chassiss be firmly installed, ensure the lock and hasp are fastened.
Step 5: Finish installation..
Figure 18: Hose Clamp Diagram
3.3.8 DRIP-LOOP
Comba recommends that every horizontal cable entry to the equipment forms a 'U' before it‟s entry to the
equipment. Any accumulated water on the cable will drip down at the bottom of the loop and will not climb
up to the equipment.