Chapter 3. Removal and Replacement Procedures
Chapter 3.0 Introduction
This chapter provides subassembly/module level removal and replacement
procedures for the Compaq Contura Aero Family of Personal Computers.
After completing all necessary removal and replacement procedures, run the
diagnostics program to verify that all components operate properly.
Chapter 3.1 Replacement Procedures
For replacement procedures, follow the removal procedures in this chapter
in reverse order.
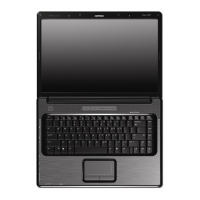
Chapter 3.2 Disassembly/Assembly Sequence Chart
This section provides instructions for removing and replacing these
components:
|
3.4 |---BATTERY PACK
|
3.5 |---CPU COVER
|
3.6 |---KEYBOARD
|
3.7 |---VGA BACKLIT DISPLAY
| |--Compaq Contura Aero 4/25
| |----Bezel
| |----Inverter Board
| |----LCD Panel
| |--Compaq Contura Aero 4/33C
| |----Bezel
| |----Inverter Board
| |----LCD Panel
|
3.8 |---POWER SUPPLY
|
3.9 |---TRACKBALL
|
3.10 |---HARD DRIVE
|
3.11 |---SYSTEM BOARD
| |---Real time Clock Battery
|
3.12 |---CHASSIS
Chapter 3.3 Preparation Procedures
Before beginning the removal and replacement procedures, follow these
steps (Figure 3-1):

 Loading...