To replace the hard drive, follow these steps:
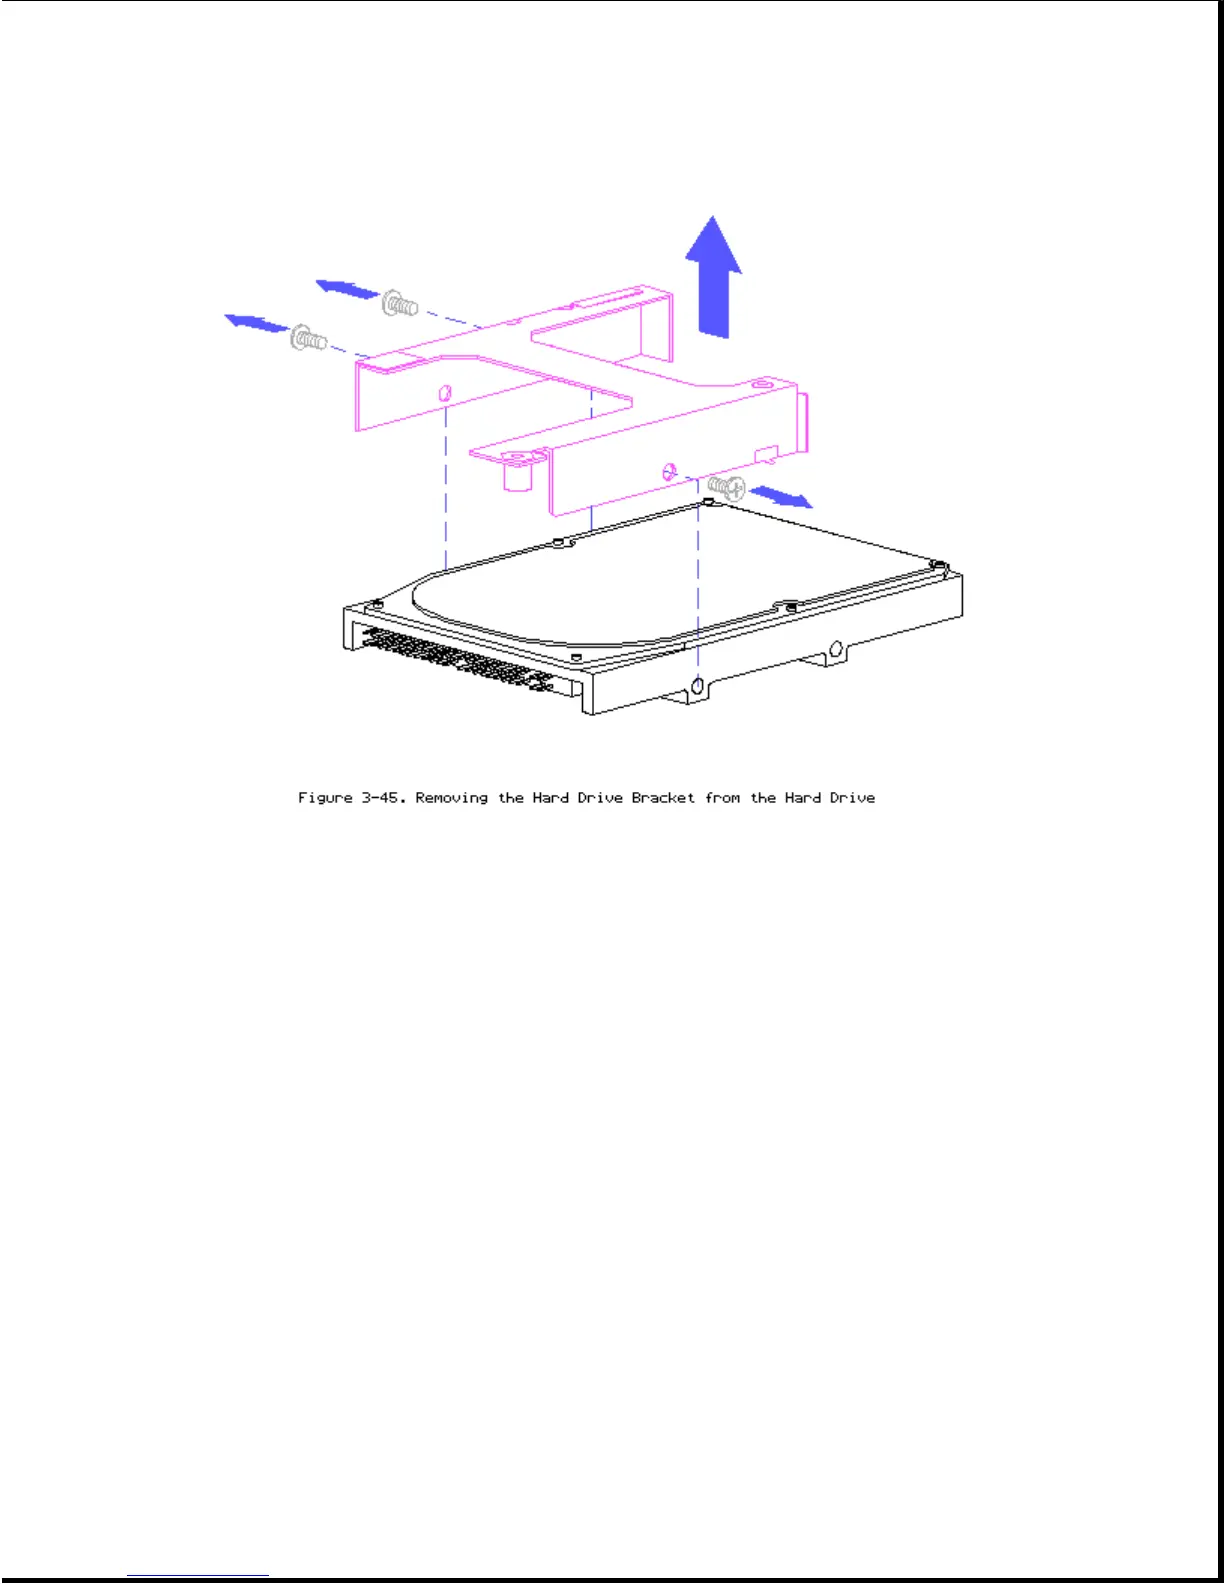
1. Place the hard drive inside the hard drive bracket and align the holes
on the side.
2. Align the hard drive inside the bracket by inserting the screws into the
holes, then tightening the screws.
3. Slide the hard drive bracket into the system chassis.
>>>>>>>>>>>>>>>>>>>>>>>>>>>>>>>>> CAUTION <<<<<<<<<<<<<<<<<<<<<<<<<<<<<<<<<
To prevent damage to the system board connectors ensure that the hard drive
is aligned correctly.
>>>>>>>>>>>>>>>>>>>>>>>>>>>>>>>>>>>>><<<<<<<<<<<<<<<<<<<<<<<<<<<<<<<<<<<<<<
Chapter 3.11 Removing The System Board
Before you can remove the system board, you must remove the optional memory
expansion board, optional base unit, and the optional PCMCIA external
drive, if applicable.
To remove the system board, follow these steps:

 Loading...