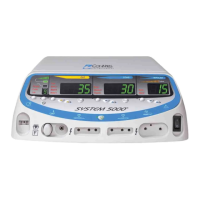
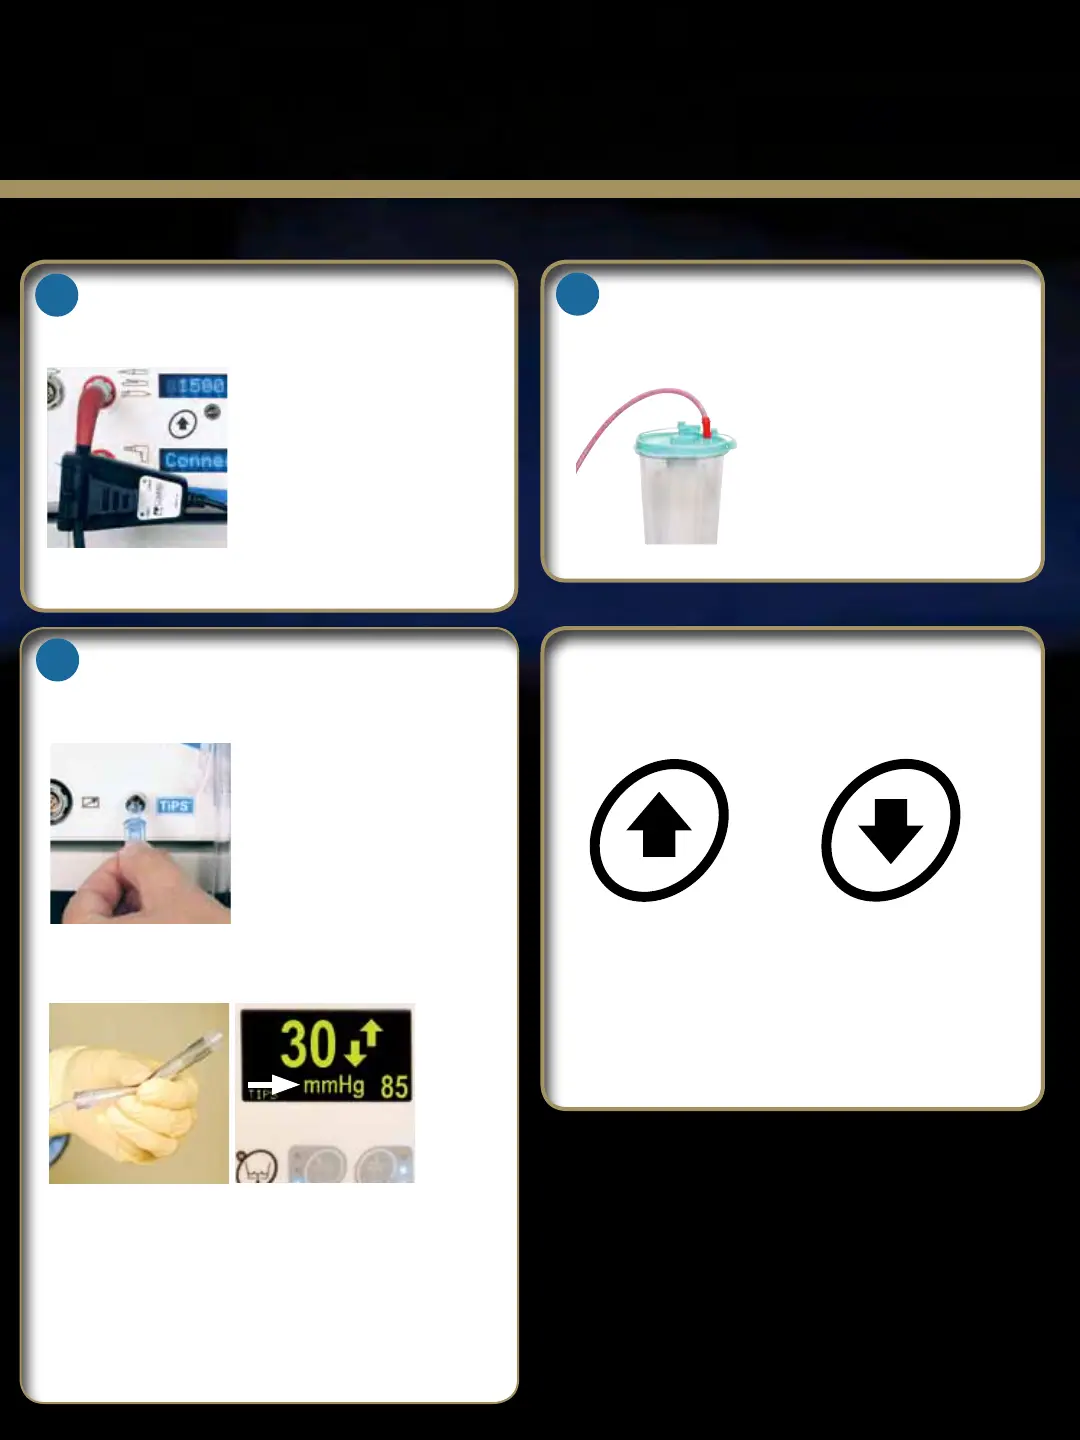
Adjusting the Pressure Set Point
To increase the set
pressure, press the
front panel or remote
control “Pressure
Increase” button.
To decrease the set
pressure, press the
front panel or remote
control “Pressure
Decrease” button.
* Pressure setting can be adjusted from 10mmHg to 150mmHg
in steps of 5mmHg.
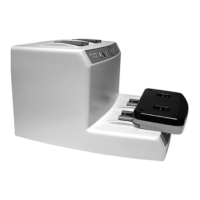
TIPS Installation
Installing the 24k
®
Shaver Sensor
Waste Line
Insert the luer connector of
the TIPS line into the TIPS
connector on the pump. Turn
clockwise ½ turn until tight, but
do not over tighten.
Always perform a patency test
on each new tube set.
Clip the the shaver sensor on the
shaver handpiece cable as close
as possible to the shaver cable
connector. Note: Do not clip the
shaver sensor to the strain relief
boot.
Activate the shaver handpiece to
confirm proper installation. The
shaver icon will appear on the
display screen when the shaver handpiece is activated.
Connect the waste line to the
appropriate hospital waste
collection mechanism.
Patency Test
Perform a patency test on the TIPS tubing set by
squeezing the pressure sensor balloon. The pressure
should increase when the balloon is squeezed. Fold
and hold the balloon, the pressure should be held at
50mmHg or greater for 10 to 15 seconds. If a drop of
5mmHg is seen, discard and replace with another TIPS
tube set and repeat the test.
4
3
5