4
2. Getting Started
2a. Inserting and Removing Test Modules
To insert a module into or remove a module from your unit:
1. Power off your unit.
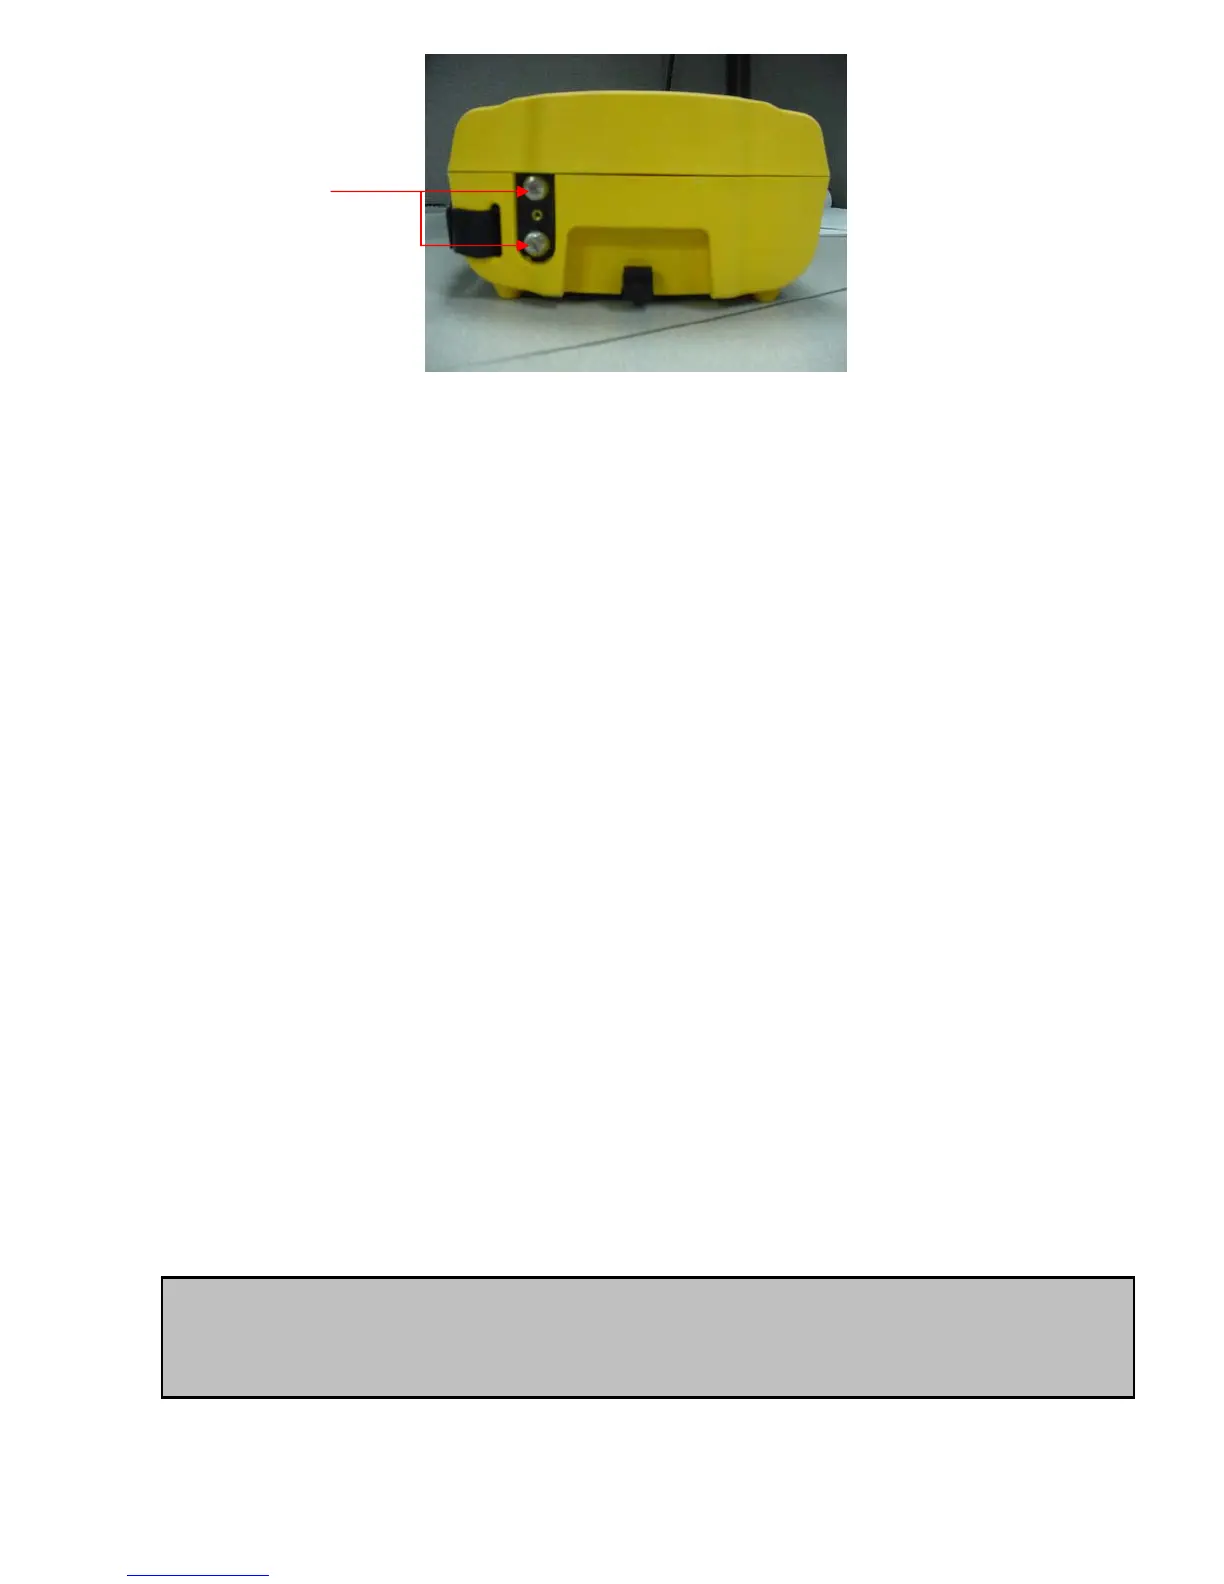
2. To take a module out of the OV-1000, loosen the retaining screw on the
bottom of the unit using a coin (in a counter-clockwise direction) until the
module pops out and pull the module out. It is not necessary to remove the
screw to remove the module.
3. To put a module into the OV-1000, make sure the connector pins are at the
back and on the same side as the retaining screw. Look into the OV-1000, and
make sure you can see the screw to align it with the connector pins. On some
of the modules, there is a message that states: “This end towards back”.
Ignore the message because it is meant for module installation in an
OPTIVISOR 400 not the OV-1000. Once the pins are aligned, slide the module
in gently. Once the module slides as far as it can go, put pressure on the
module and tighten the retaining screw (turn in a clockwise direction) until the
module is flush with the unit. Do not use a screwdriver because you may over
tighten the screw and break the module (the pins may break).
4. When you turn on the unit, the startup sequence will automatically detect the
newly installed module. Also, if the module port is empty, please make sure it
has a blank port cover for protection.
2b. Turning the OV-1000 On or Off or going into “sleep” mode.
IMPORTANT
• The OV-1000 has both a sleep and off mode. In sleep mode (1 beep)
the unit is still consuming battery power.
Module
retaining screws