Installing Sensors
VentoVind™ PRO is supplied with one indoor sensor and one
outdoor sensor. It is important to position the sensors in the
designated locations at installation. An incorrectly positioned
sensor can cause incorrect operation of the VentoVind system.
Indoor sensor
The indoor sensor is connected to the control unit via a 15m cable upon delivery. The indoor sensor
must be installed so that the measured values are representative of the general climate in the attic
space. When VentoVind ventilates the attic space, the indoor sensor must not be affected by the
incoming air too fast. Normally, the sensor is mounted in the far part of the attic in relation to
incoming air flow from the fan and approximately at half the ridge height. Sensor and cable output
must be pointing down. In cramped attics, the sensor should primarily be placed at the exhaust air
damper, alternatively, the sensor can be placed behind the fan. The airflow of the fan must be
directed away from the sensor so that the attic space can be ventilated before the indoor sensor is
affected by incoming air.
Important!
•
Do not place the indoor sensor so that it is affected by heat radiation or leaking air from outside or from the
residential environment such as the proximity of an attic hatch or other leaks in the attic structure.
•
Do no place the indoor sensor too close to incoming air from the fan.
•
Do not place the indoor sensor in direct contact with the outer roof
•
The indoor sensor may not be covered with insulation
•
When removing the sensor cable ensure that the current to the control unit is disconnected
Outdoor sensor
The outdoor sensor is connected to the control unit via a 15m cable upon delivery. The cable has a
connector 1.5m from the sensor that can easily be separated to facilitate routing the cable through
pipes or walls. The connector is 10mm in diameter and holes for lead-through should be a diameter
of at least 11mm. The connector must be weather-protected at installation.
The sensor must be installed so that the measured values are representative of the general climate in
the outdoor air. It is therefore extremely important that the outdoor sensor is placed outdoors in a
location that is protected from direct sunlight, rain and snow, preferably under the roof overhang or
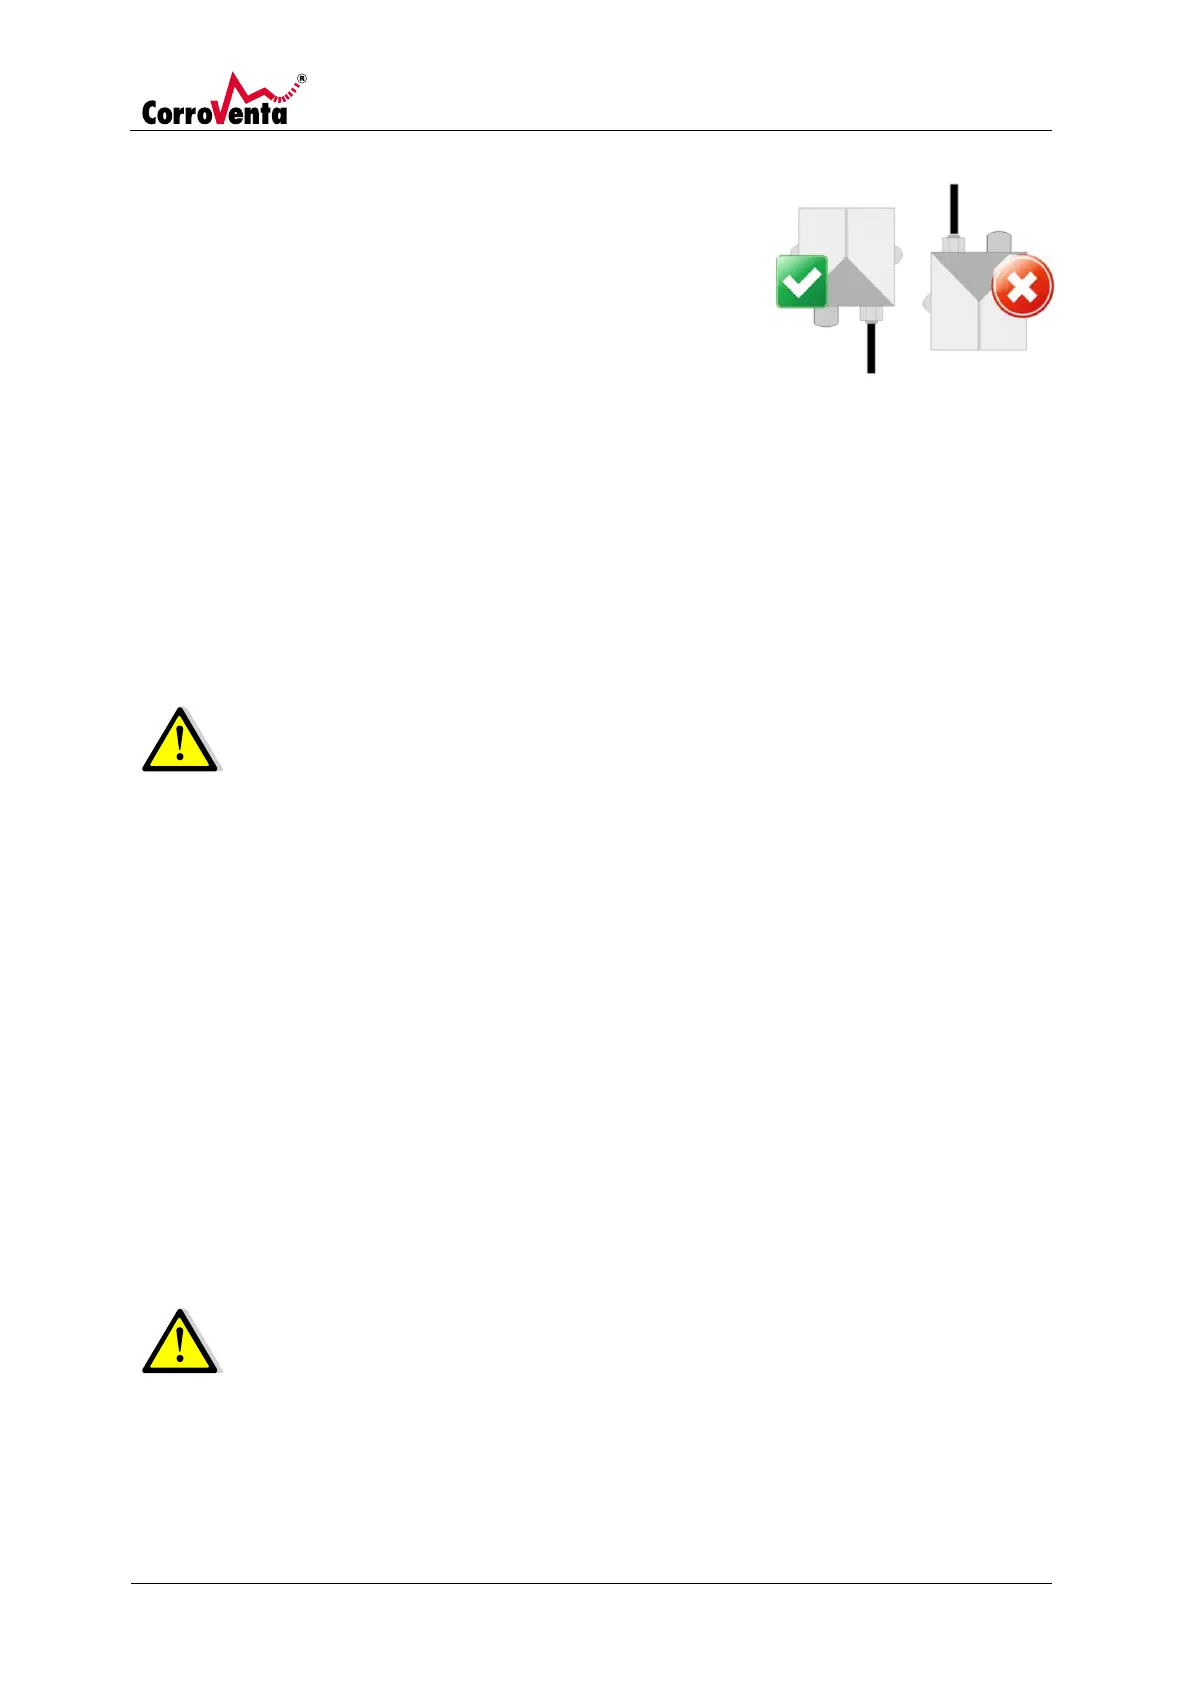
under the eaves on the house's north or west side. Sensor and cable output must be pointing down.
Important!
•
Position the outdoor sensor so that it is not affected by heat radiation from the sun or other heat source.
•
Do not install the outdoor sensor in or on any steel roof hood on the roof.
•
Do not place the outdoor sensor too close to the vent for outgoing air from the attic space.
•
Do not place the outdoor sensor by outgoing air from the house's ventilation system.
•
the outdoor sensor must not be recessed, the sensor must be installed with a good exchange of air.
•
When removing the sensor cable ensure that the current to the control unit is disconnected.