13
www.starweb.com.au Covert Security & Wildlife Monitoring T.C. - User Manual March.2013
8 Mounting the Camera
Camera must be securely & rigidly mounted to avoid false motion triggers. Do not position
the camera where it may be subject to damage from passing stock or animals, is directly
exposed for long periods to extremes of weather or in low lying areas subject to flooding.
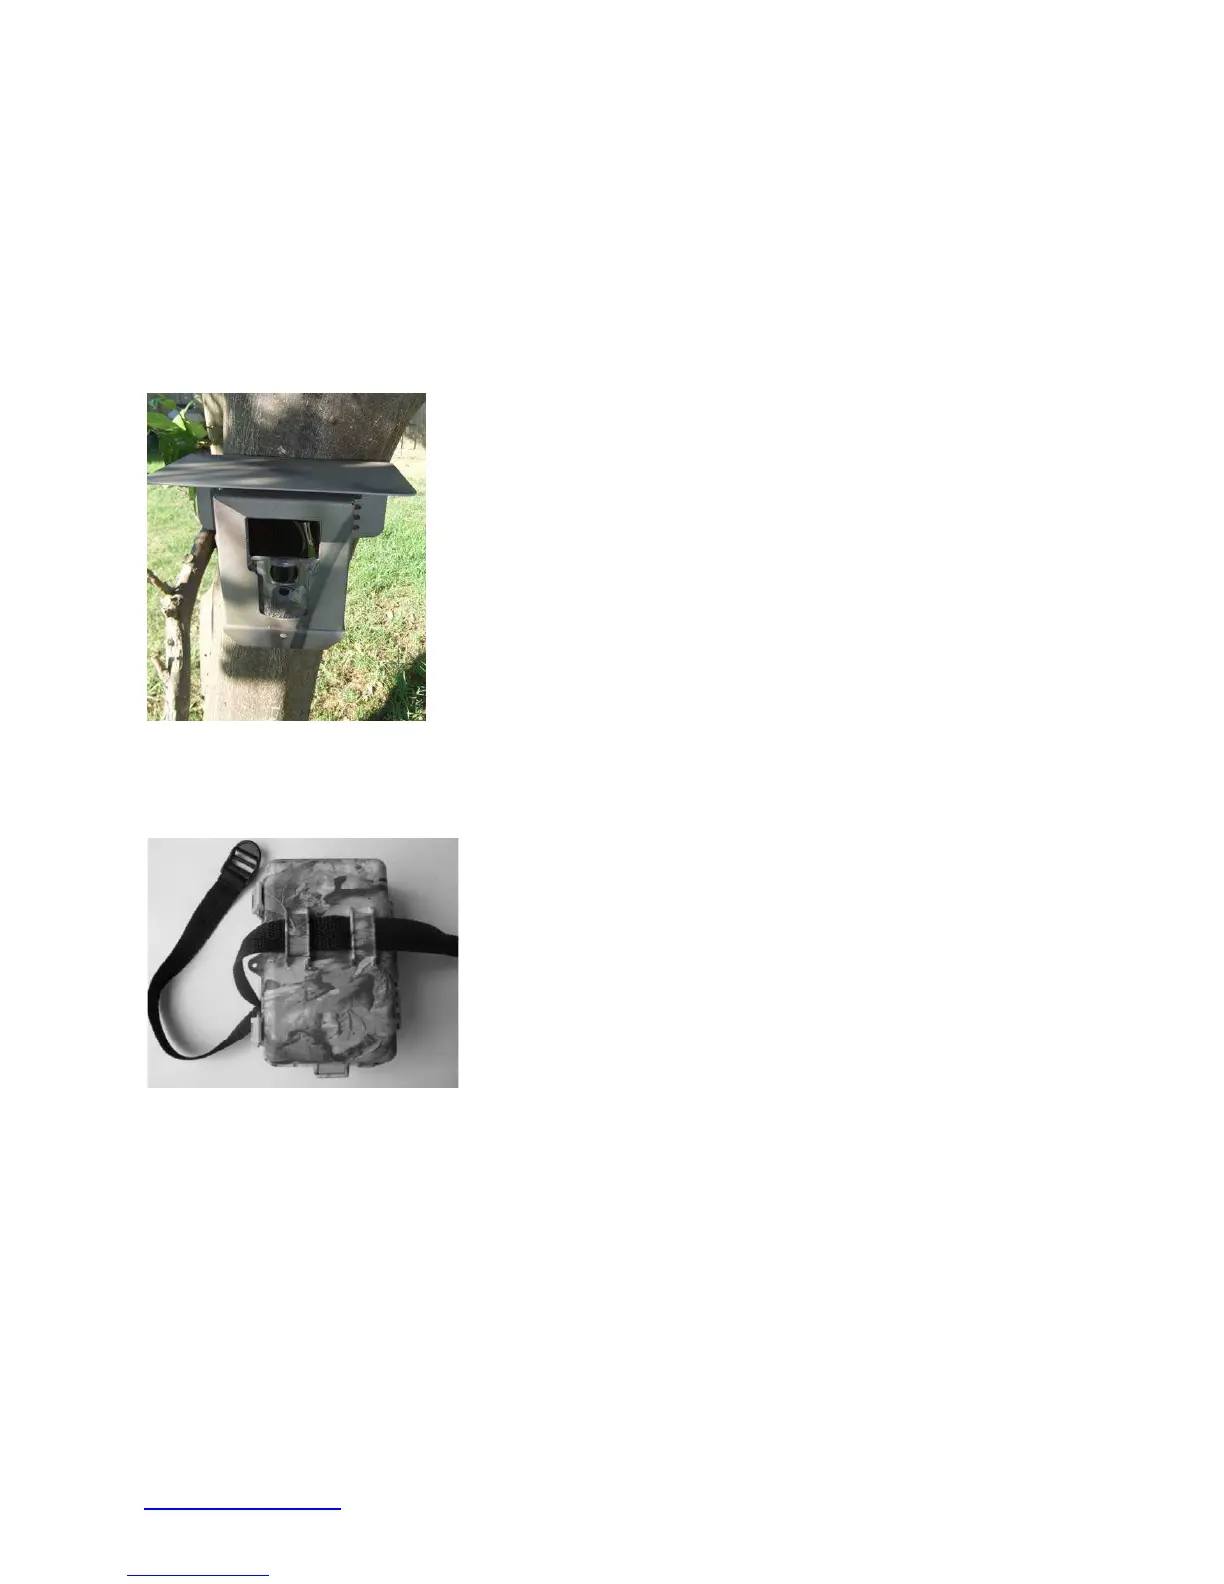
For added protection we recommend using the Anti Theft Box with Weather Shield.
On farms & buildings mount the camera under the eaves.
Camera mounting will vary from one application to the next &
is left to the ingenuity of the user.
Monitoring nocturnal species requires additional care when
setting up. Be aware that infra red light will reflect off wet
grass & shrubs, smooth tree trunks (especially gum trees) &
may degrade image quality at night.
As a rule it is better to mount the camera high & angle it down
towards the target area than to mount it close to the ground
looking up. To avoid image wash out, position the camera so
that there are not large areas of sky visible in the image & so
that it does not face directly into the rising or setting sun.
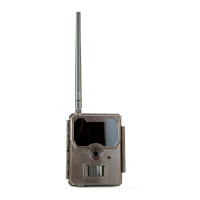
Figure 5 Anti Theft Box with Weather Shield
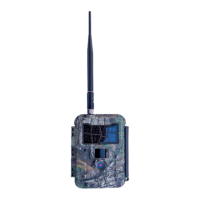
For short term applications the camera can be mounted by
using the belt supplied fed through the two loops on the
back of the camera. There is also provision for using a
lockable Python Cable or elastic strap.
Figure 6: Fixing the
camera
with belt
The camera may be concealed amongst common debris or even inside objects such an old
rusty drum with suitable small viewing holes or logs. For daytime applications only the
camera lens & PIR sensor require a clear view of the target area. For nighttime applications
the rectangular Infra Red illuminator window will also require a clear view of the target area.