19
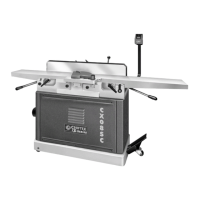
To maintain control of larger work
pieces start of by feeding the material by
hand and once the material is fully
supported by on the table saw surface
use the push stick to complete the cut
so that your hands don’t pass directly by
the blade.
Figure 28
Miter Gauge
The miter gauge is equipped with stop
screw which allows you to effortlessly
adjust the miter gauge from 45° to the
left, 90°, and 45° to the right. The stop
screws make contact with the shaft
which has a pin that moves in and out of
the way when adjusting the angle.
TO achieve angles other than 90° and
45° loosen the locking handle B by
turning it in a counter clockwise
direction, then pull the locking pin C and
rotate the miter head to the desired
angle. Once the desired angle is set
retighten the locking handle B. See
figure 29.
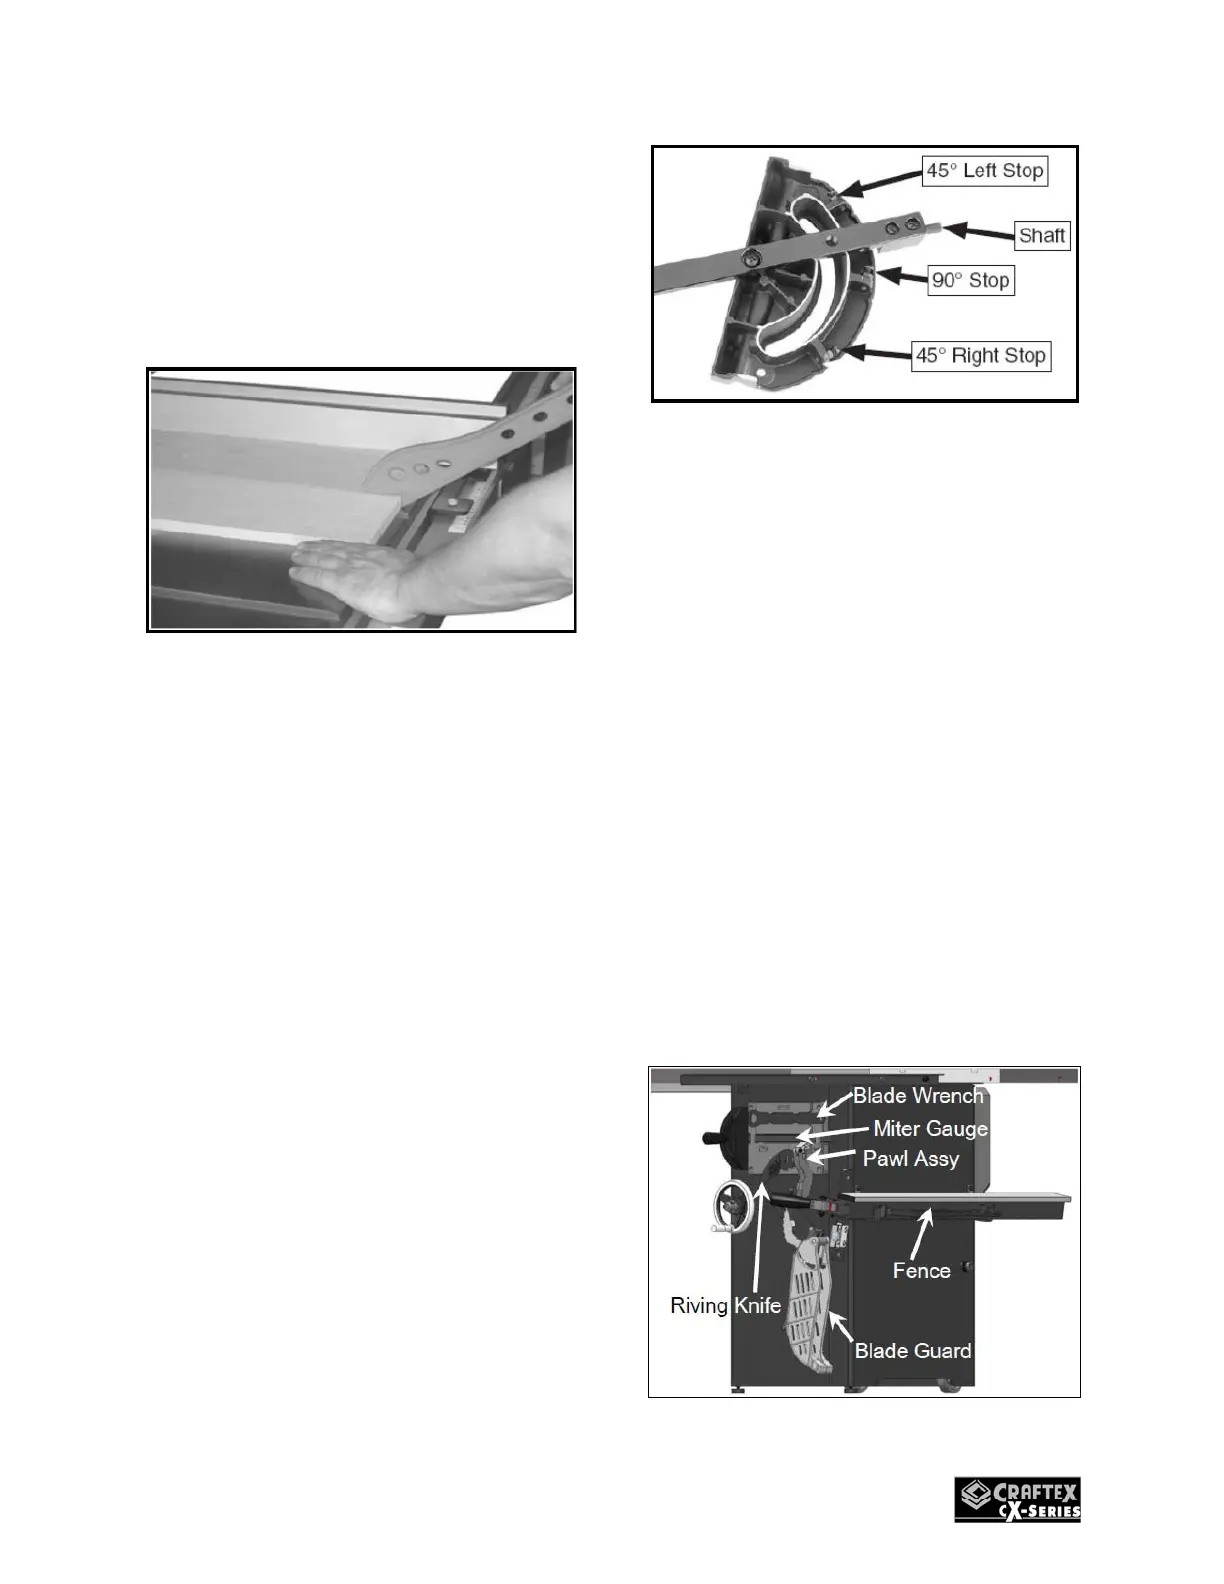
Figure 29
In order to check the miter gauge for
accuracy set it at 90° and check it with a
machinists square to verify it’s accuracy.
Then make a test cut with a scrap piece
of stock and check it with the machinists
square. Repeat and adjust as necessary
until desired results are achieved.
If the miter gauge pointer needs
adjusting manually set the miter gauge
to 90° using a machinists square and
move the pointer to the 90° mark to
insure accuracy.
Storage Box
The CX213 and CX214 are equipped
with a storage box located conveniently
on the side of the table saw cabinet to
provide onboard storage for the table
saws accessories. See figure 30 Below.
Figure 30

 Loading...