Do you have a question about the Craftsman 113.23100 and is the answer not in the manual?
Installation procedures and initial setup safety.
General safety guidelines to prevent accidents.
Safety precautions for ripping operations.
Safety precautions for crosscutting operations.
Safety considerations for using saw accessories.
List of tools required for assembly.
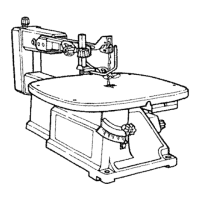
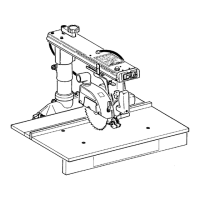
Identify key controls and their functions.
Initial steps for unpacking and verifying parts.
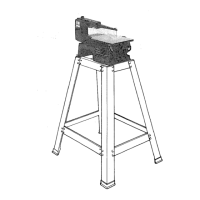
Attaching and leveling table support channels.
Eliminating looseness in the column tube.
Ensuring straight carriage travel for accurate cuts.
Aligning the saw blade square to the table.
Correcting blade heel/toe relative to the fence.
Positioning anti-kickback and spreader for ripping.
Identify key controls and their functions.
How to adjust the depth of cut mechanism.
Adjusting radial arm miter and bevel angles.
Using yoke pivot controls for positioning.
Securing the carriage for safe operation.
Adjusting motor bevel angles.
Operating the power switch and key.
Adjusting anti-kickback and spreader for ripping.
Performing crosscuts safely and correctly.
Executing cuts at various miter angles.
Performing cuts with a tilted blade angle.
Combining miter and bevel cuts.
Safe procedures for ripping stock to width.
Performing ripping with a tilted blade.
Instructions for using a dado head attachment.
Using molding heads or sanding drums.
Motor specifications and power requirements.
Connecting the saw to a 120V power source.
Connecting the saw to a 240V power source.
Thermal overload protector and motor care.
Guidelines for selecting extension cord wire sizes.
Resolving column tube looseness and rough elevation.
Troubleshooting 0° and 45° miter/crosscut accuracy.
Fixing cuts not perpendicular to the table.
Resolving issues with bevel angle accuracy.
Diagnosing and fixing rough cut edges.
Troubleshooting wood binding or motor stalling.
Resolving issues with boards moving away from fence.
Adjusting carriage bearings for play.
Fixing yoke indexing and clamp handle problems.
Safety warnings before maintenance and lubrication.
Specific points for periodic oil lubrication.
Identifying parts that do not need oil.
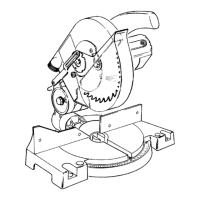
Catalog of available accessories and their part numbers.
Parts for the guard assembly with diagram.
Component part numbers for Figure 2.
Component part numbers for Figure 3.
Component part numbers for Figure 4.