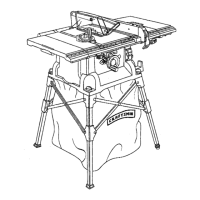
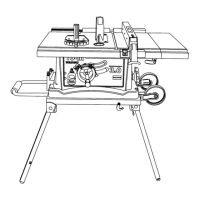
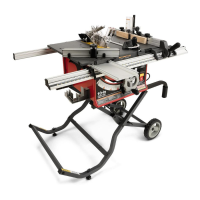
OPERATINGCOMPONENTS
The upper portion ofthe blade projectsup throughthe
table and is surroundedby an insertcalledthethroat
prate.The height ofthe blade is sat with a handwhsel on
thefront ofthe cabinet.To accommodate wide panels,
thesaw table has rails on each side. Detailedinstructions
are providedinthe Opera,on sectionof thisrnanualfor
the basic cuts: crosscuts, miter cuts, bevelcuts, and
compound ¢U_l
The slidingmitertableaseemblyisused forcrosscutting
operatfens.The miterfenceiseasilyadjustedtocutwood
at an angleby looseningtheadjustingclamp, settingthe
fenceto the miterscale, and retightening the clamp. The
stlding miter table, which restson a basemountedon the
rails,can be repositfehedalong the milsforwide work. _t
can be reversed so the projectingbaseis in the back and
can be moved from the leftside to the rightsideas need-
ed. With _a miter fence removed, the miter table offers
additions]support"for other operationssuchas ripping.
The ripfenceis usedto positionwork for lengthwisecuts.
A scale on the front railshows the distance between the
ripfence and the blade.
it isveryimportantto usethe blade guardassemblyfor all
through-sewingoperations.The blade guardassembly
includes:rivingknife/spreader/splitter, anti-kickback
pawls,and plasticbladeguard.
The saw features a receptacle on the rightsideof the
cabinet that permitsuse of accessories. Use onlyacces-
sories that arelistedfor usewith thistool When usinga
listedaccessory, unplugthe saw motorcordand usa the
receptacleand the saw'-, powerswitchto operate the
accessory.
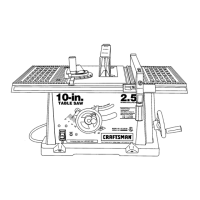
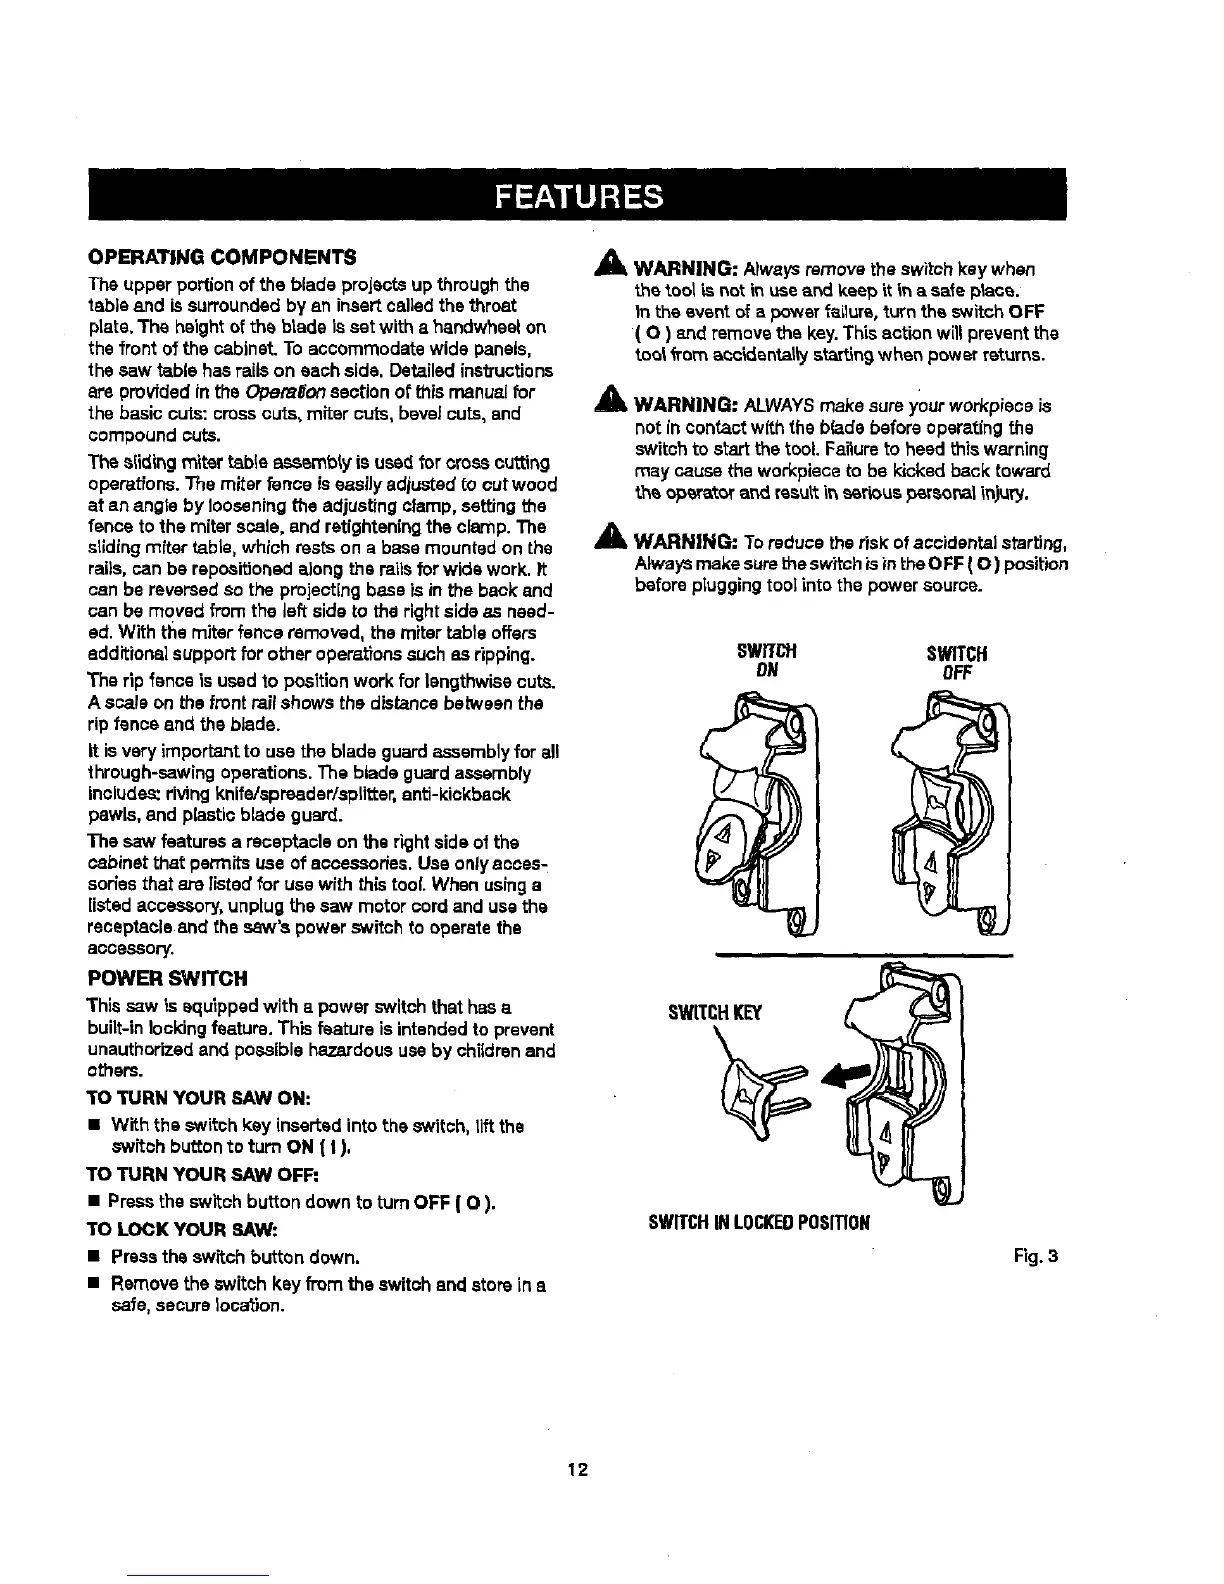
POWER SWITCH
This saw is equipped with a power switchthat has a
built-in locking feature. This feature is intendedto prevent
unauthorizedand possiblehazardoususeby chUdrenand
others.
TO TURN YOUR SAW ON:
• With the switch kay inserted into the switch, tiltthe
switch bu_tonto turn ON ( I ),
TO TURN YOUR SAW OFF:
• Press the switch button down to turnOFF ( O ).
TO LOCK YOUR SAW:
• Press the switch button down.
• Remove the switch kay from the switchand storein a
safe,secure location.
Am, WARNING: Atwaysremove the switchkay when
the tool L_not m use and keep itin a sate ptsce.
In the event of a power f_zLlure,turn the switchOFF
( O ) 8.ridremovethe key.Thisaction will preventthe
tool _romaoc_dsntaltyst_tln 9 when power returns.
_' WARNING: ALWAYSmake sureyour workpisce is
not in contactwith the b(adebefore opsrat(ng the
switchto startthe tool. Faitureto heed this warning
may cause the workpiecato be kicked back toward
theoperatoraridresultit_serious_rsor_iinjury.
_lz WARNING: Toreduce the riskof accidental starting,
Alwaysmakesurethe switchis inthe OFF ( O ) position
before pIuggingtool into the power source.
SWTfCH SWITCH
ON OFF
SWITCHKEY
SWITCHINLOCKEDPOSITION
Fig. 3
12
 Loading...