Leveling Platform
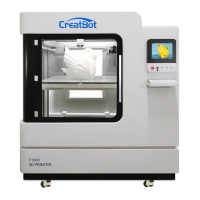
Printer Operation
1. Turn on the printer.
2. On the touch screen, press “Move axis” -> “All home”.Then “-Z” —> 100mm. Till
“Z” is at 0.00mm.
3. Move the extruder by hand to 4 corners of bed, check the distance between
nozzle and bed. Tighten or loosen 4 adjusting nuts below the bed to make
sure the distance between nozzle and bed is around 0.20mm with you feeler
blade or approximately the thickness of one business card in all corners to
ensure the bed is levelled.
4. Repeat "All home" like in step 2. Now "-Z"—>100mm till “Z” is at 0.00mm again.
Now focus on the distance between the Extruder Nozzle and Print Bed. It
needs to be 0.10mm or just slightly under. If the distance is too big “example
you can fit a 0.10mm feeler blade or business card in, decrease the setting
Servo Z offset value in -0.10mm steps and recheck the distance with your
feeler blade. If adjusted the wrong way the nozzle will become too close to the
bed, so increase the Servo Z offset value in +0.10mm steps each time and
recheck the distance with your 0.10mm feeler blade.
5. Auto Level Process. Enter "Setting"->"Auto leveling” and press ->"Probe".
Machine will start to detect 25 points. Once the Probe is COMPLETED, press
SAVE.
- 6 -
- 7 -
1
1
Leveling nuts
Machine Diagram
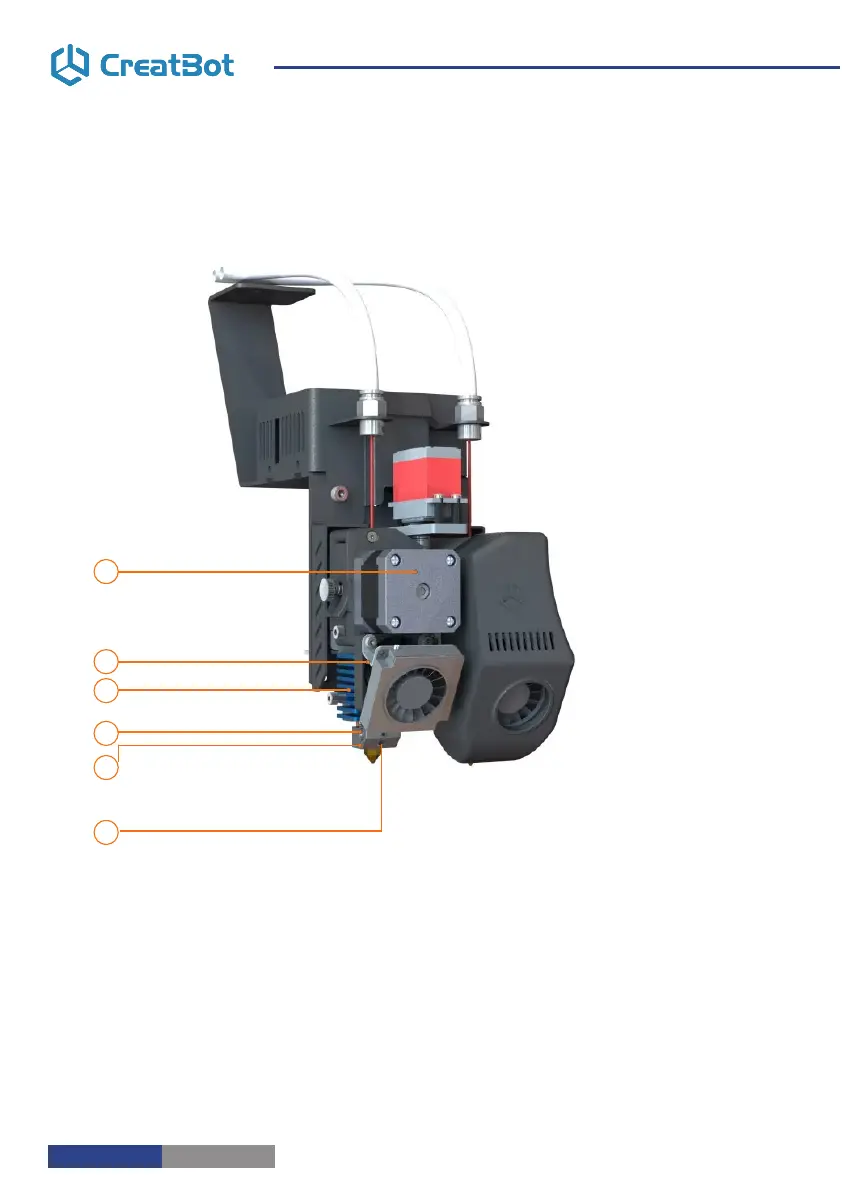
New Printer Head
1
2
3
4
5
6
1. Extruder motor
2. Sink fan
3. Heat sink
4. Heating tube
5. Heating sensor
6. Hotend