In this guide, the disabled and enabled
jumpers
are represented using
blocks as shown in Figure B-2.
Figure B-2: Representation of"disabled (lefi)
and
enabled (right)jumpers.
Changing
Configuration
of
Jumpers
B-2
Jumper
configurations define the hardware settings
of
the audio card.
Before you actually change a
jumper
configuration, you should identify
the current setting and the setting you want to change to. You can then
proceed
to
change the
jumper
configuration.
To change the configuration
of
jumper(s):
I. Switch
off
your computer and all other peripheral devices.
2. Remove the system's cover and card from your system.
3.
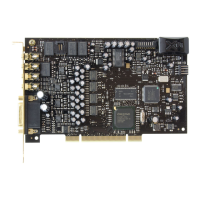
Identify thejumper(s) to change.
For more information on how to identify the jumpers, refer to the
Figure B-1.
4. Remove the
jumper
block(s) from the jumper(s) as shown in
Figure B-3.
Figure B-3: Removing the Jumper Block.
Sound Blaster Pro (Sony Interface) Getting Started
5. Select the settings for the card by placing the
jumper
block(s) on
the
desiredjumpcr(s)
as
shown in Figure B-4.
Figure B-4: Inserting the Jumper Block.
Changing
the
Settings
This section will describe the settings available for changing the settings
of
the following:
D Base 1/0 Addresses
D IRQ Lines
D OMA Channels
D
OMA Sharing
D Joystick Port
Changing
Base
1/0
Address
of
Audio
Interface
Two
base 1/0 addresses are available for the Audio interface: 220H
(factory default setting) and 240H. These settings are shown below with
their
1/0
address range.
220H (default)
220H to 22FH
240H 240H
to
24FH
Changing Hardware Settings
H-3