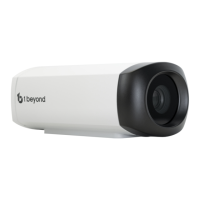
27 • IV-CAMA3-20-N-W-1B, IV-CAMA3-20-N-SLVR-1B, IV-CAMA3-20-W-1B, and IV-CAMA3-20-
SLVR-1B
Product Manual — Doc.
9323C
3. Under Network information, confirm that the ConnType (Connection Type) is correct for how the
camera is connected. Set it to either Static IP or DHCP.
By default, the camera ships with the static IP address
192.168.18.77
and a subnet mask of
255.255.255.0
NOTES:
l
If an Ethernet cable is connected directly to the computer running the
1BeyondCameraManager software, the computer’s network port will need to be set to
an address on the same subnet (for example,192.168.18.78) in order to communicate
with the camera.
l
If the camera is connected to a network switch, the camera’s IP address needs to be
changed to DHCP or to a static address within the same subnet as the computer
running the software.
l
If the camera is set to DHCPfor ConnType, it will receive its IPaddress dynamically
from a network router. This option does not work when the camera is connected
directly to the host computer for configuration.
l
If the installation requires a different static address (for example,The IP address of the
camera needs to be modified to match the subnet of the computer), enter the IP, Mask
and Gateway info and then click Modify.
4. After modifying the IP address, click Refresh to update the camera list.
5. Select the camera and click Add to Camera List. The Add panel appears where you can verify that
the camera’s network settings are correct. By default, 1Beyond cameras do not require any
administrator credentials to be controlled. Once added, the camera will appear in your camera
list.
 Loading...