Product Manual — Doc. 9341A GLS-ODT-C-CN and GLS-ODT-C-NS • 21
Mounting
Install in a drop ceiling or drywall, or into an octagon electrical box. The following items are
included with the GLS-ODT-C-CN and GLS-ODT-C-NS for installation.
In the Box
Qty. Description
1 1/2 Solid PIR Mask
1 Full Perforated PIRMask
1 Hole Cut Out Template
The following items are required for installation:
l
Slotted or Phillips Screwdriver
l
Pencil
l
Cutting Tools
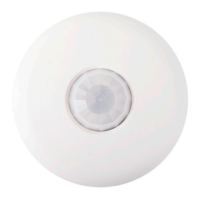
NOTE: Ensure that the cover faces in the correct direction when it is installed.
Drop Ceiling or Drywall Installation
NOTE: To determine the mounting location, refer to Determine the Mounting Location on
page 10.
1. Mark the hole for the cut out using a pencil and the hole cut out template.
2. Cut a hole in the drop ceiling or drywall following the marks made in Step 1. Use tools
appropriate for the surface type.
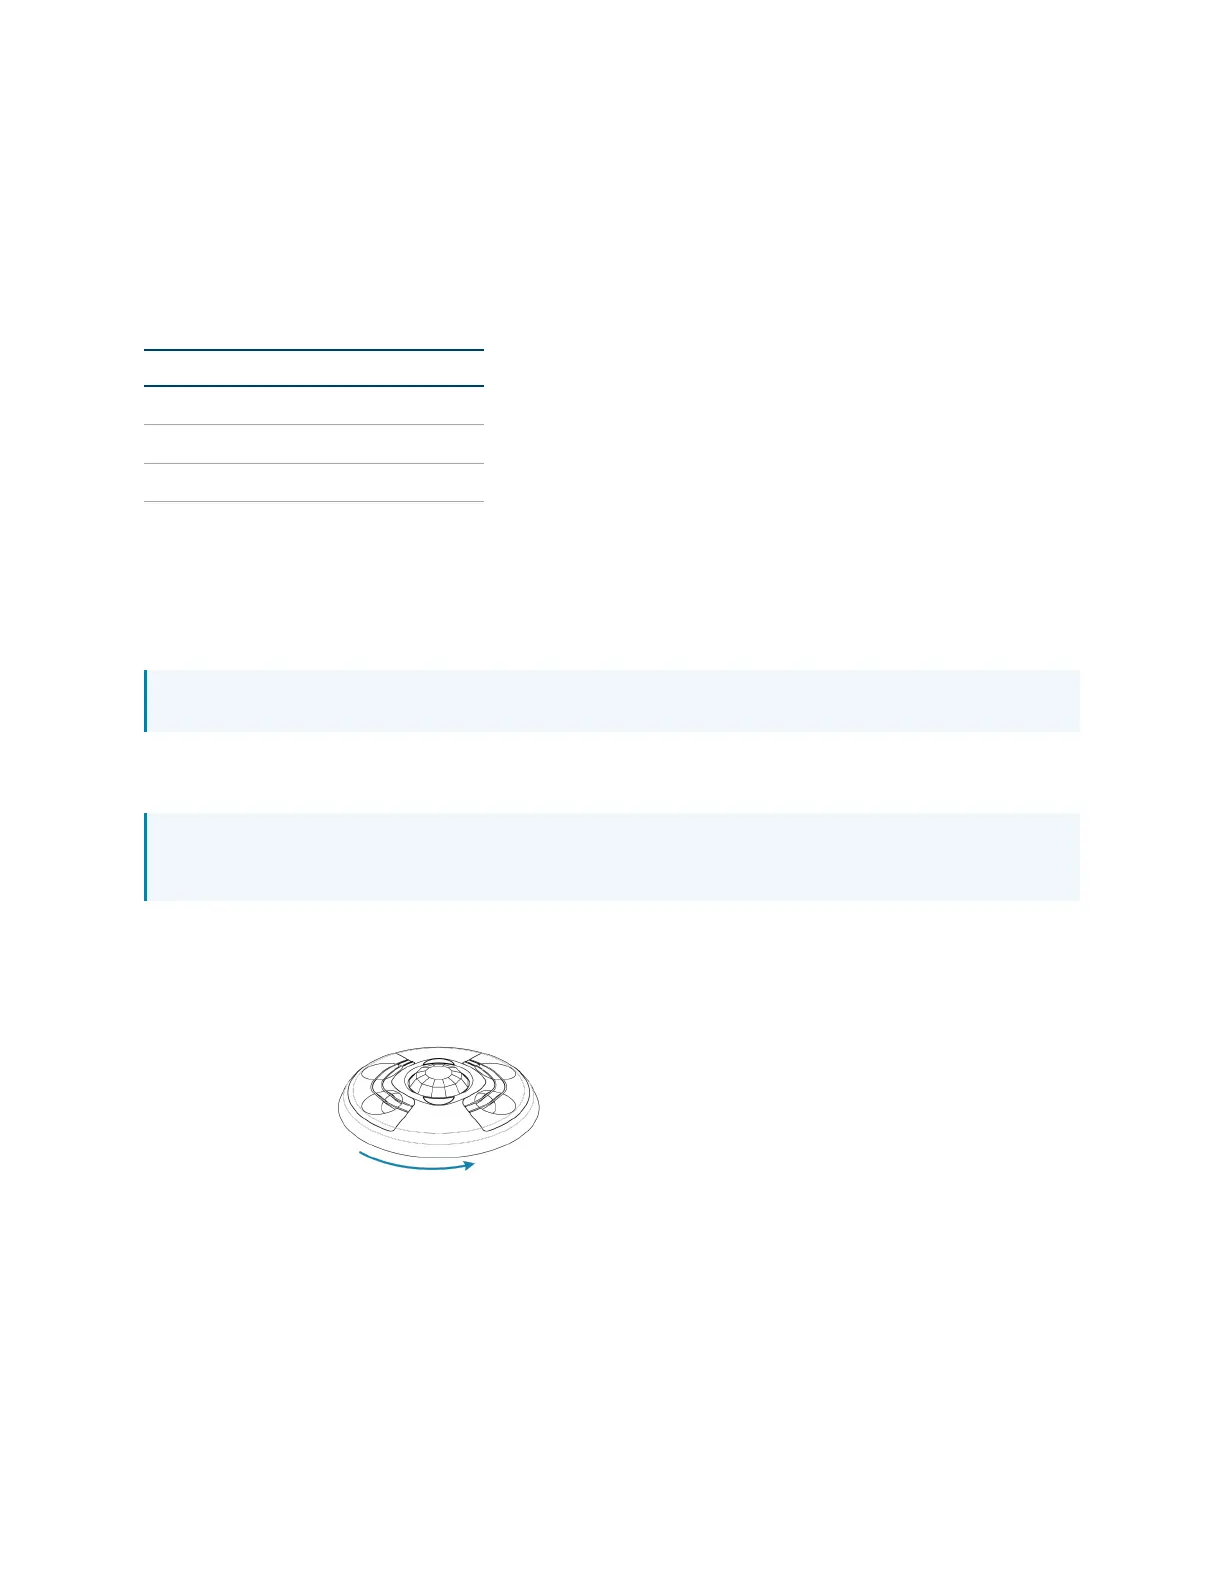
3. Twist the sensor cover counterclockwise to separate it from the sensor base.
4. Wire the occupancy sensor. For details, refer to Wiring on page 24.
 Loading...