28 • GLS-ODT-C-CN and GLS-ODT-C-NS Product Manual — Doc. 9341A
LEDs
The LEDs can be disabled to prevent flashing during normal operation. For details, refer to the
GLS-REMOTE-ODT/OIR Operations Guide.
Sensitivity
Set the occupancy and vacancy sensitivity to Low, Medium, or High using the GLS-REMOTE-
ODT/OIR programming remote. The default sensitivity for PIR and US sensors is Medium.
1. Press and hold OCC SETUP for 3 seconds to set up the occupancy sensitivity or press and
hold VAC SETUP for 3 seconds to set the vacancy sensitivity.
l
Press the PIR HIGH, PIR MED, or PIR LOW button to set the PIR sensitivity.
l
Press the US HIGH, US MED, or US LOW button to set the US sensitivity.
2. Walk around, as well as in and out of the room to simulate typical room usage.
l
In occupancy setup (OCC SETUP), the LEDs flash to indicate that motion is
detected
l
In vacancy setup (VAC SETUP), the occupancy sensor beeps to indicate that motion
is detected.
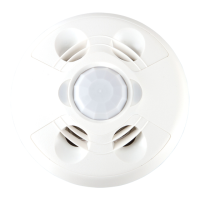
PIR and US Sensors
The PIR and US sensors can be turned off to make sure that occupancy is properly detected in
the room.
l
PIR Only: The PIR sensor is used to detect motion. US sensors are turned off.
l
Ultrasonic Only: The US sensors are used to detect motion. The PIR sensor is turned off.
The ultrasonic sensors are split into two banks—bank A and bank B—which are labeled
under the cover of the sensor. If the sensor is installed and the orientation of the ultrasonic
sensors is unknown, bank A is located on the red LED side and bank B is located on the
green LED side. Bank A and bank B can be disabled independently from the
GLS-REMOTE-ODT/OIR. For details, refer to the GLS-REMOTE-ODT/OIR Operations
Guide.
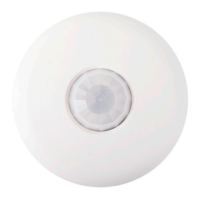
Internal Photocell (GLS-ODT-C-CN Only)
The GLS-ODT-C-CN has a built-in photocell that allows for complete daylight harvesting using
the Crestron lighting system. The control system can use the photocell to dim the lights or to not
turn lights on at all if sufficient natural daylight is present.
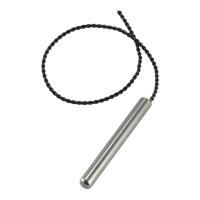
Connect an external photocell to the GLS-ODT-C-CN for additional daylight harvesting
capabilities. For details, refer to Wiring on page 24.
Net ID
Set the Net ID to match the Net ID in the control system program.
 Loading...