MAINTENANCE INFORMATION
Owner’s Manual and Service Guide
52
1) All the lubrication should be replaced if it become black or without lubricative feel. Please
jack up the cart to remove the bottom cover of the gear-box or let all the lubrication flow out
from the
Disassemble the rear axle
Disassemble and assemble of the transaxle
Required tool Qty
Bearing puller 1pcs
Inner snap ring plier 1pcs
Slip hammer 1pcs
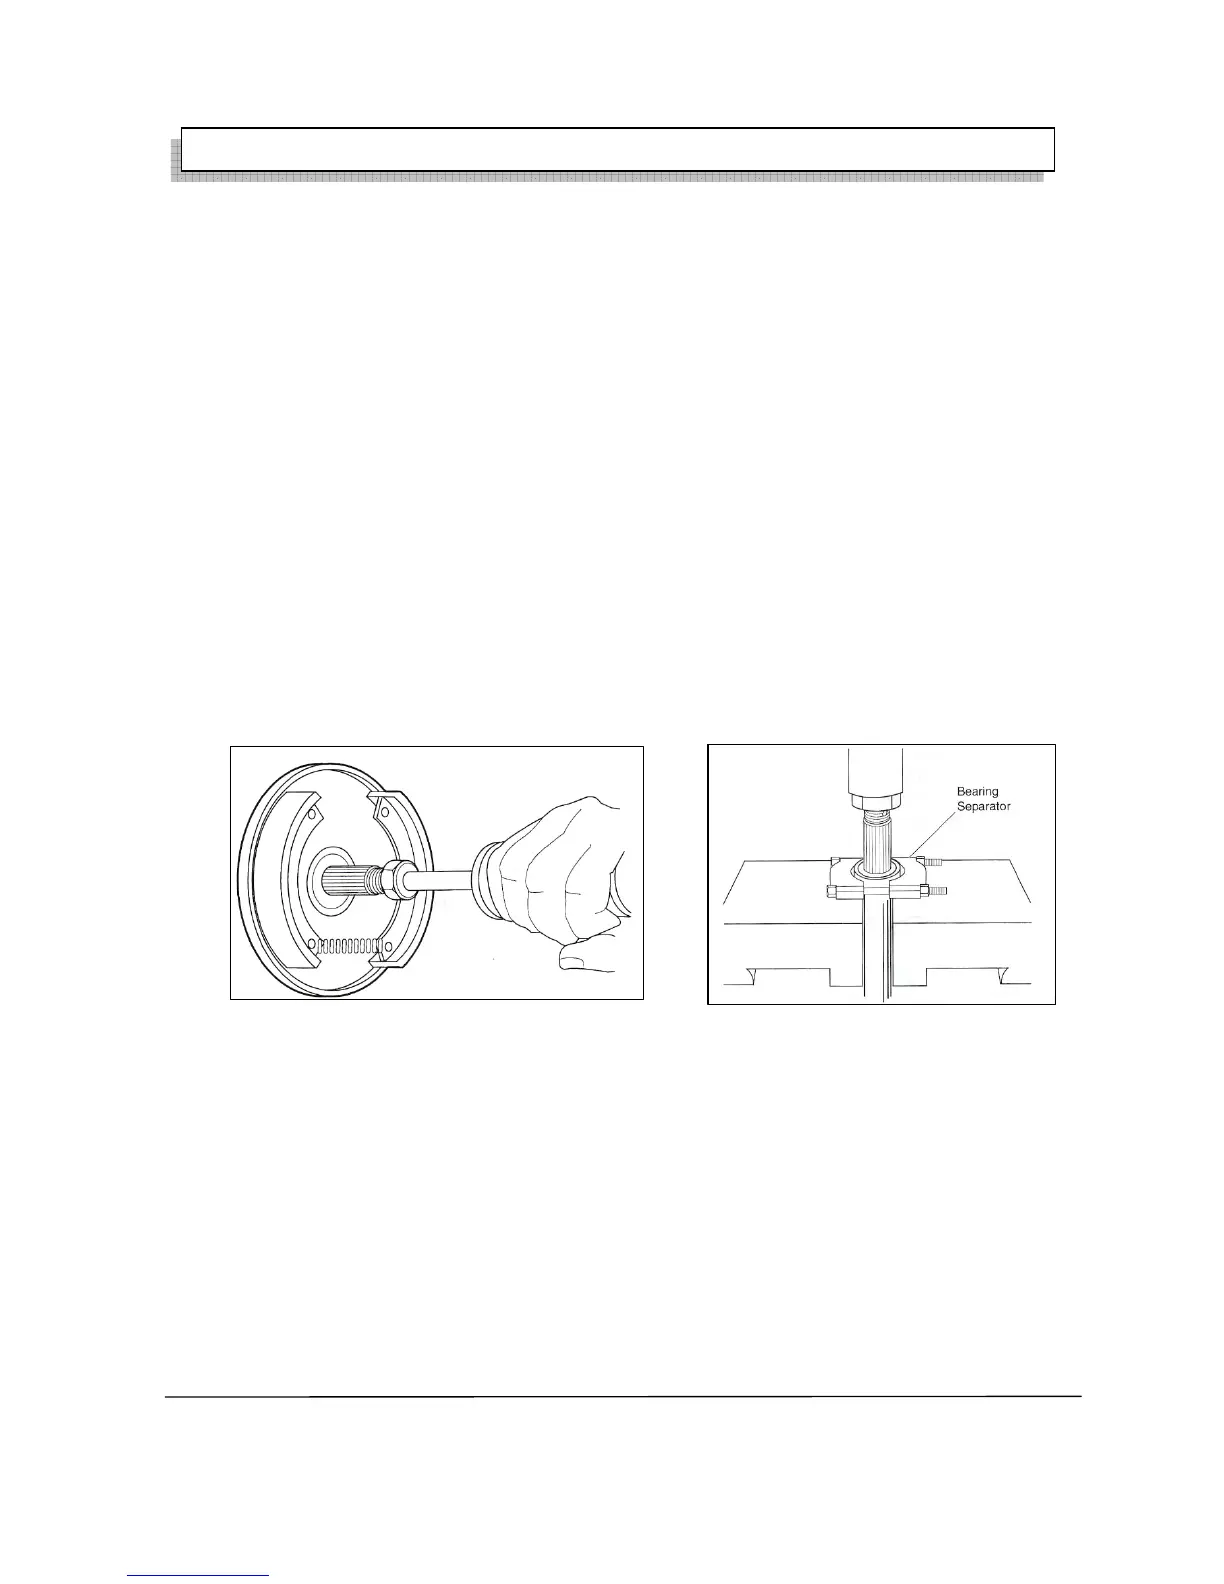
1) Please refer to the section “brake” to remove the brake hub.
2) Remove the outer snap ring from the axle tube.
3) Take out the axle and bearing from the axle tube with slip hammer.
4) Assemble the inner surface of the bearing to the axle segregator, and press the bolt at the end
of the axle to take out the bearing.
Disassemble and replace the oil seal.
Required tool Qty
Inner snap ring plier 1pcs
Oil puller 1pcs
Oil seal assembling tool 1pcs
Spherical tack hammer 1pcs
1) When installing please note the contact area between axle and oil seal should be not damaged.
2) Take out the inner snap ring.
3) Take out the oil seal with the oil puller.
4) Install the oil seal well with the oil seal assembling tool.
5) Install the inner snap ring.
Install the axle
1) Insert the axle into the bearing tube carefully avoiding to damage the oil seal.
2) Install the axle well after rotate the axle till spline tooth meshing gear-box tooth, then install
the inner snap ring.
3) Daub the special loose-proof glue on the outside end of the axle, then install the brake hub,
wheel hub, thrust pad, nut and new cotter pin.