INSTALLATION / 5
PLACEMENT
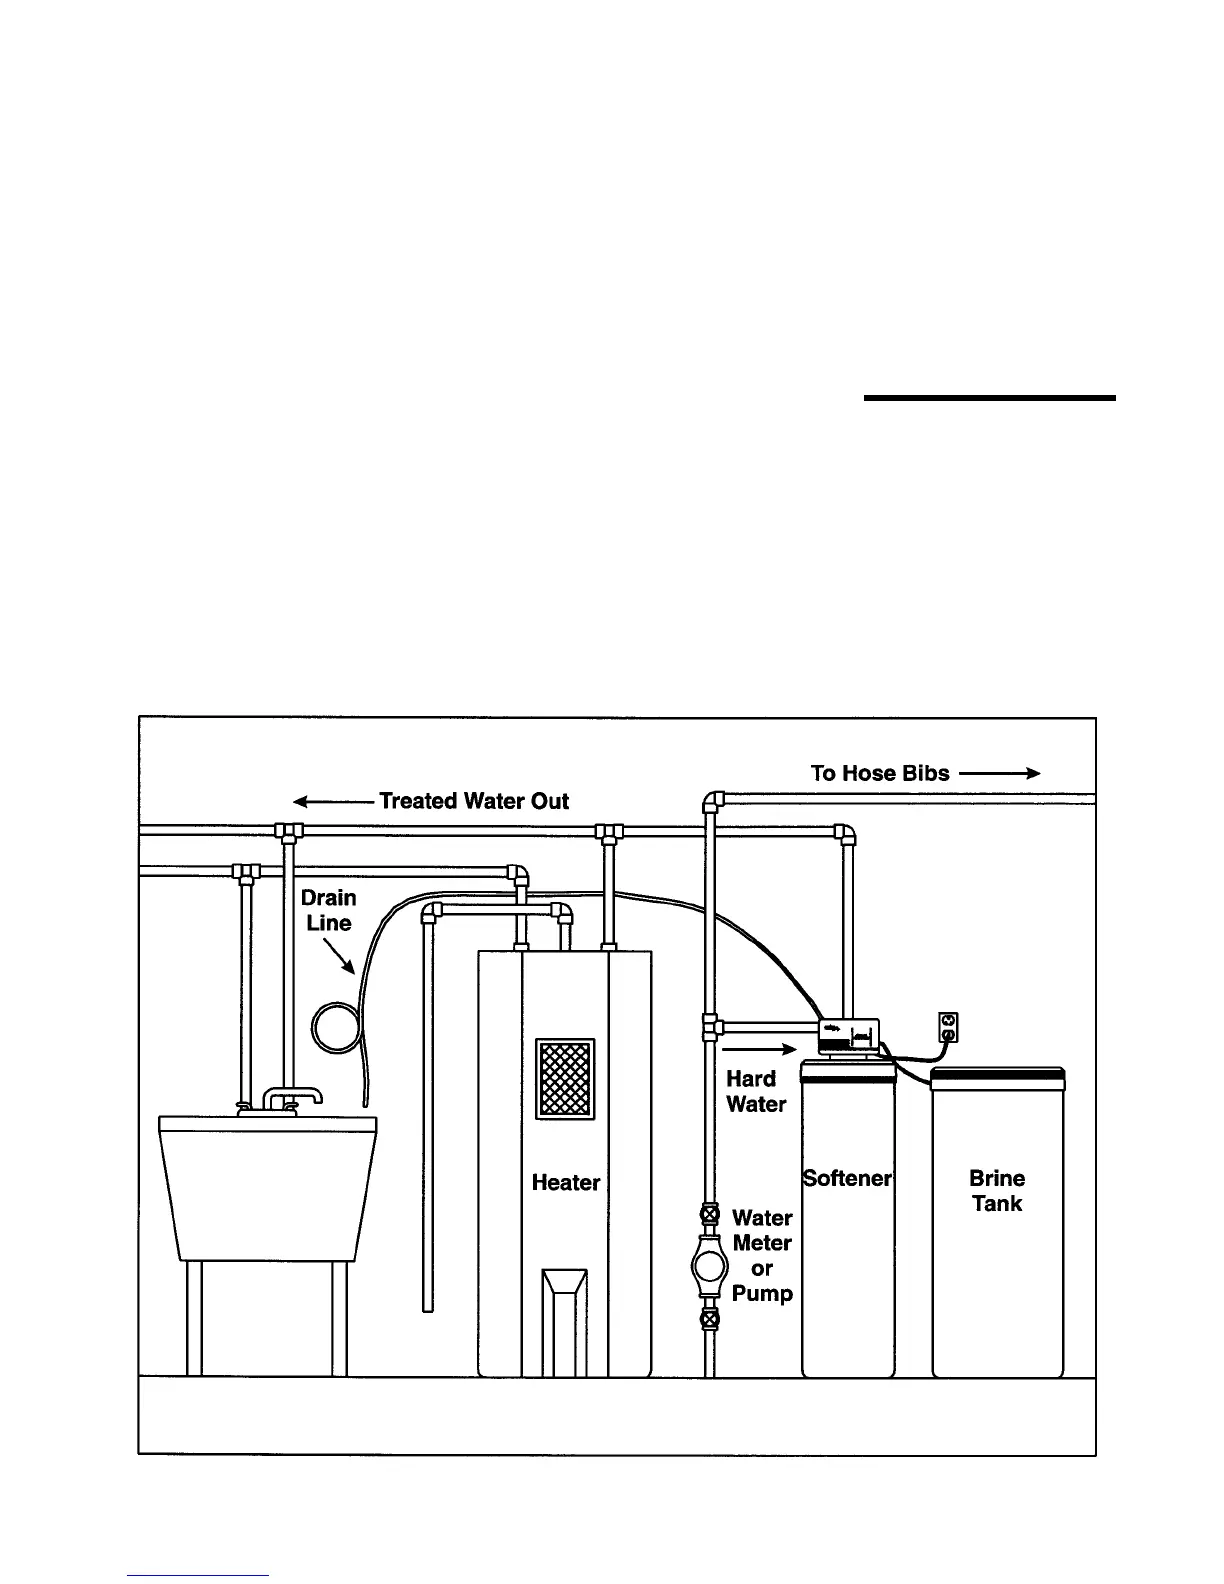
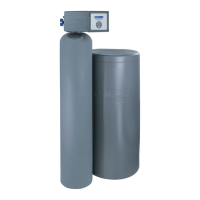
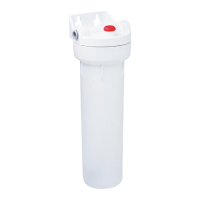
Refer to Fig. 1
• Set the media tank on a solid, level surface near water,
drain and electrical facilities. Place the outlet (black cou-
pling) of the tank on the left.
• Set the brine system on a flat, smooth, solid surface as
near the media tank as possible.
BRINE CHAMBER ASSEMBLY
• Remove the nut and screw from the brine chamber
housing.
• Locate the hole in the recess of the brine tank. Place the
screw through this hole.
• Line up the hole in the brine chamber with the screw. Place
the brine chamber onto the screw and secure with the nut.
FIG. 1
Installation