11
IMPORTANT: MAKE SURE THE WATER SUPPLY TO THE UNIT IS SHUT OFF BEFORE PROCEEDING.
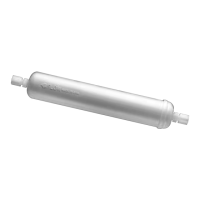
At some point it may become necessary to unclog the strainer in the unit water line. If clogged, water will not be able
to feed into the unit.
1. Shut o water supply to unit. Dispense 2 quarts of water into a container to relieve water pressure.
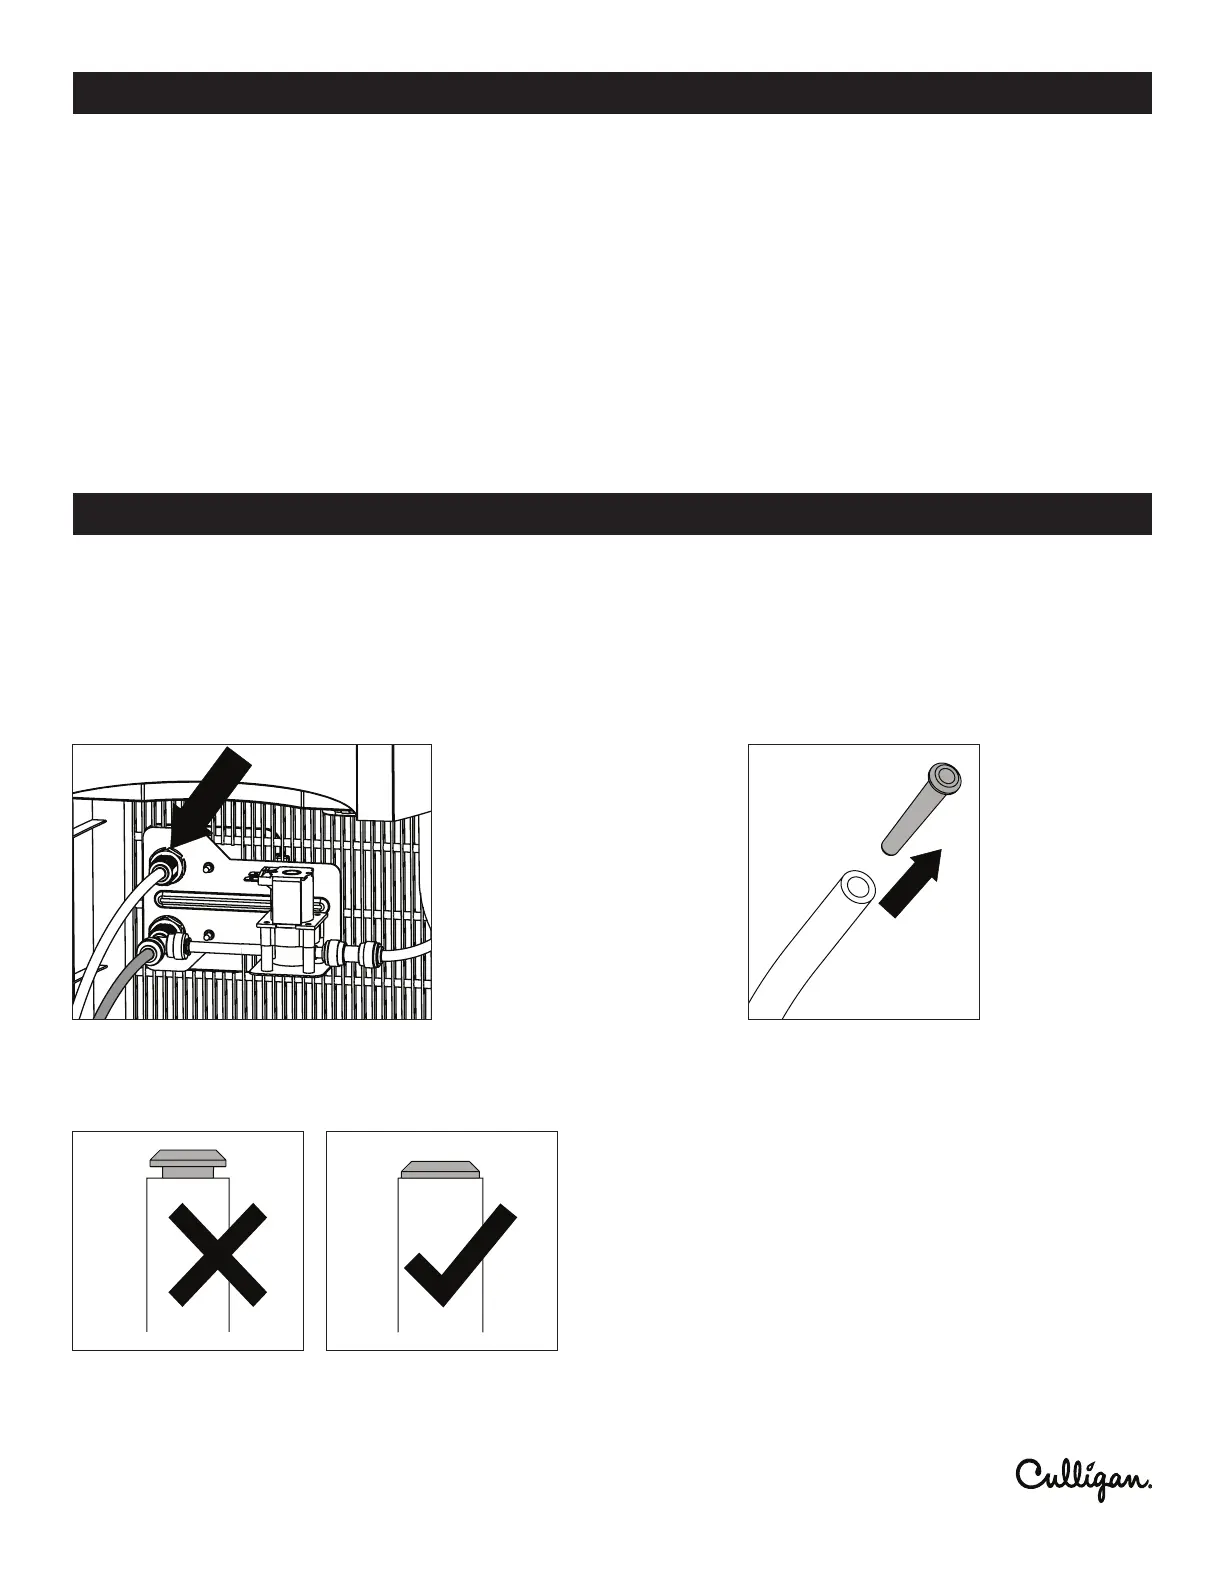
2. Pull white water line-in tubing (inside the cabinet) from the bulkhead tting and remove the in-line strainer.
3. When clean, install the strainer back into the water line. Be sure to seat the strainer properly or the line will not be
sealed properly and will leak.
5. Turn the water supply to the unit back on.
CLEANING AND MAINTENANCE
CLEARING THE WATER LINE STRAINER
Draining the Reservoirs
IMPORTANT: UNPLUG THE DISPENSER BEFORE PERFORMING THIS PROCEDURE.
1. Dispense hot water from the water dispense point until the temperature drops to a safe level to avoid the risk
of scalding.
2. Remove the water bottle or turn o the water supply.
3. Press all 3 dispense buttons until water no longer comes out.
IMPORTANT: Collect the water in a container, not the drip tray.
4. Place a container beneath the hot tank drain valve on the back of the dispenser.
5. Remove the hot tank drain cap from the hot tank drain valve, allowing the water to ow into the container.
6. Re-install the hot tank drain cap.
The in-line strainer is
located inside the cooler
and set into the water
line-in tubing (white) in
the top bulkhead tting.
IMPORTANT: The in-line strainer must be fully seated into
the water line or else the line will leak. The in-line strainer
has a tight t and may be dicult to push back into the
water line.




 To Next Page