9
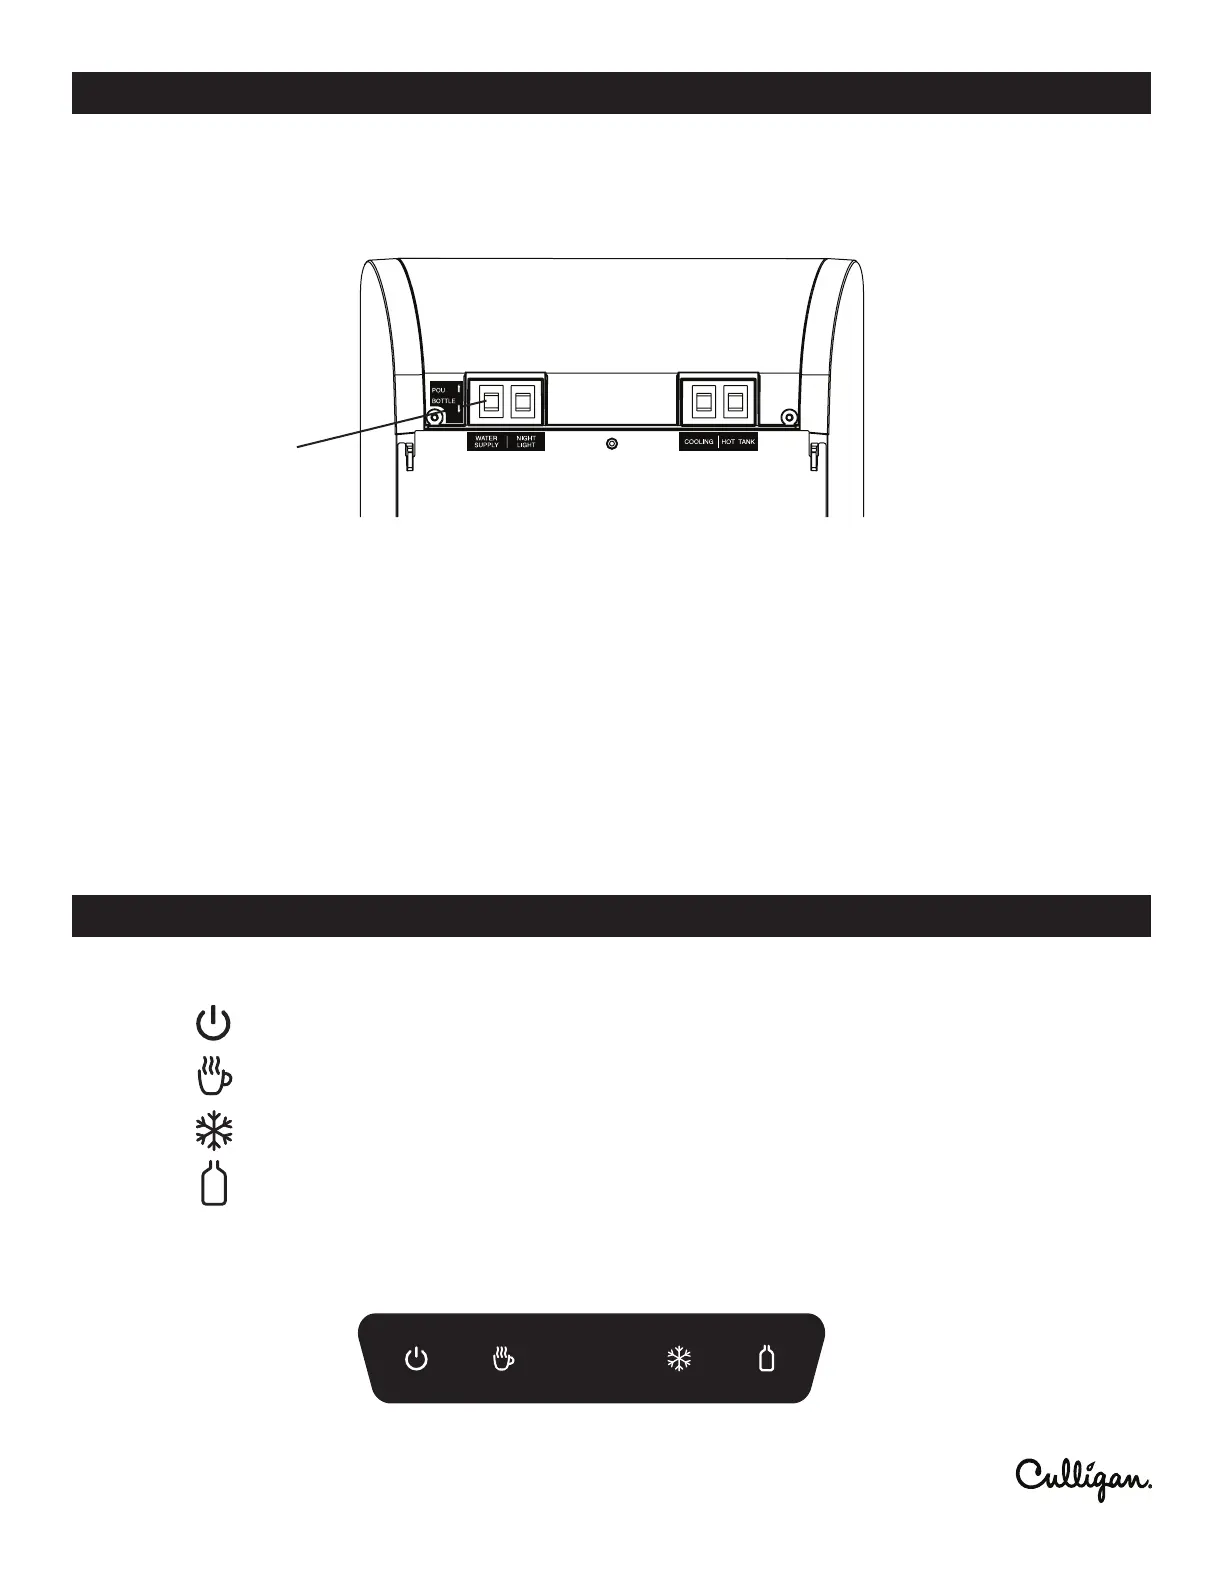
The water dispenser has 4 indicator lights on the front panel.
• When the indicator light is on, the dispenser has power.
• When the indicator light is on, the dispenser is heating water inside the heated water tank.
• When the indicator light is on, the dispenser is in the process of cooling water inside the cooling tank.
• When the indicator light is on, there is no water left in the water bottle and it needs to be replaced.
Replace the water bottle, and close the door to reset the dispenser. The dispenser will work again and the
indicator light will turn o. If set up as a bottle-less unit, then the indicator light means that the lter is becoming
clogged and should be replaced or the water supply is turned o.
LED DISPLAY PANEL
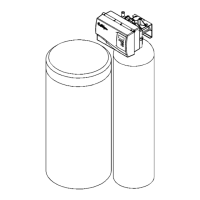
1. Locate the water supply switch on the back of the unit near the top. Switch the unit to POU.
2. Turn on the water supply to the unit.
IMPORTANT! Make sure both cooling system and hot water switches are o.
3. Plug the dispenser into a grounded GFCI power outlet. An internal solenoid valve will turn on for several minutes
to ll the cold and hot tanks.
4. Once the solenoid valve has stopped, place a container under the water dispense point and press the hot water
dispense button until water ows freely.
5. Turn ON both the cooling system and hot water switches located on the back of the dispenser. If you are not going
to use hot water, turn the hot water switch OFF to conserve energy.
6. The rst time the dispenser is used, you will have to wait at least 1 hour for cold water and 15 minutes for hot
water.
7. Continue to the OPERATION step below.
NOTE: Please allow the several minutes for solenoid valve to operate and ll up the water tanks before using
the dispenser. If the water tanks are not full, water will not dispense.
INITIAL SET-UP FOR A BOTTLE-LESS SYSTEM
OPERATION
WATER SUPPLY
SWITCH