INSTALLATION
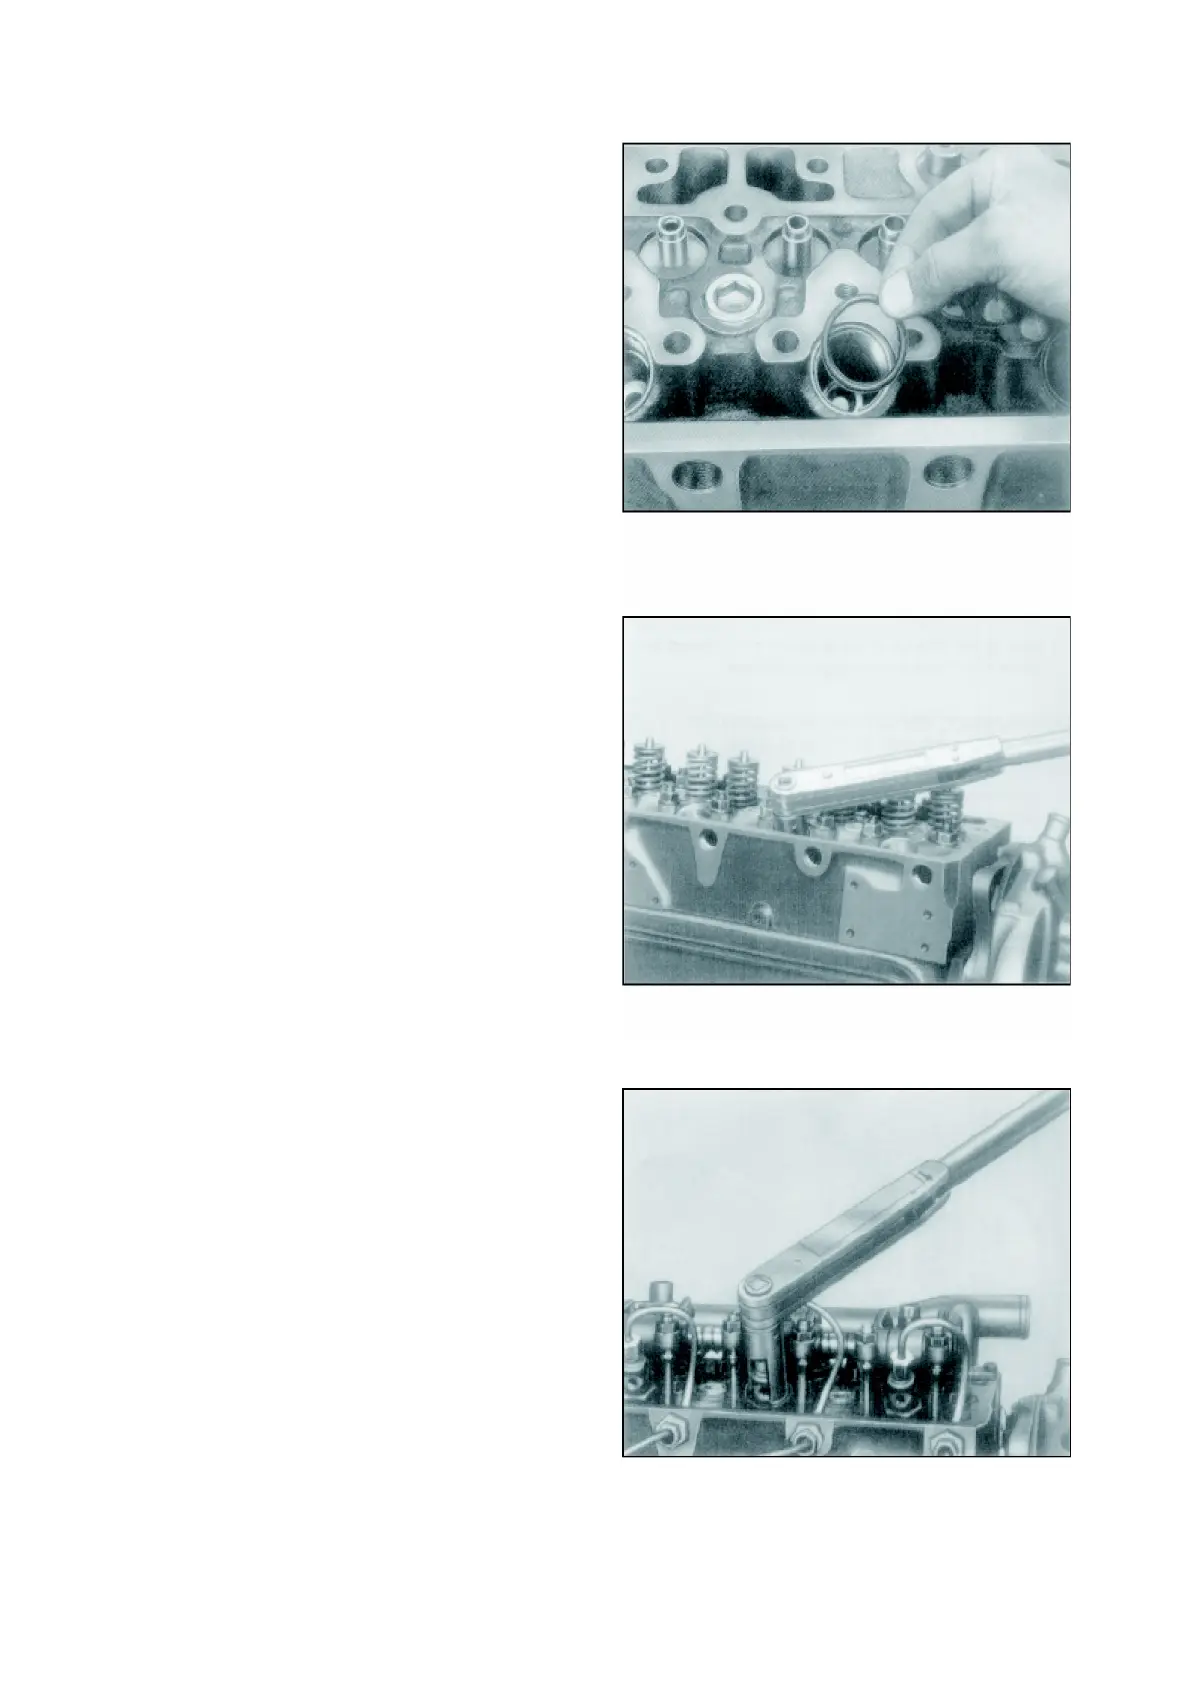
1. Apply a light coat of grease/oil to new
sealing ring and place it in cylinder head.
Fig. 18.
2. Screw in protective sleeve into cylinder head
with adapter, 000 589 0309 and tighten to
specified torque. Fig. 19.
3. Insert new copper washer for the injectors
into protective sleeves.
4. Insert injectors into cylinder head after
aligning the locating lug of the nozzle holder
into slot provided into cylinder head.
5. Screw-in pressure screw for nozzle holder
with socket, 000 589 0209 and tighten to
specified torque. Fig. 20.
6. Install leak off line with new sealing washers
and tighten banjo bolts to specified torque.
7. Connect high pressure line to injectors and
delivery valve holder ensuring the pipes are
free from tension. If necessary align pipes
free of tension with special tool, 312 580
0085. Tighten high pressure lines cap
nuts to specified torque. Fig. 21.
8. Screw-in and tighten inner screw plugs into
cylinder head.
9. Tighten outer screw plug into the inner screw
plug over sealing rings.
10. Fit high pressure line clamps.
11. Install cylinder head covers with gasket.
INSPECTION OF INJECTION NOZZLES
(Injectors removed)
1. CHECKING NOZZLE OPENING PRESSURE
Carefully remove carbon deposits from nozzle.
Connect injector assembly to nozzle tester.
Depress nozzle tester lever down slowly with
pressure gauge connected one stroke per
second and read opening pressure when
nozzle starts opening. If the opening
pressure is too high or too low, disassemble
and clean injection nozzle and adjust as
required by selecting the adjusting shims. (If
the pressure
is too high, use thinner shims, if too low, use
Workshop Manual
S3.8 Engine
A030K288 (Issue 2)
01-2010