15
Stage 3
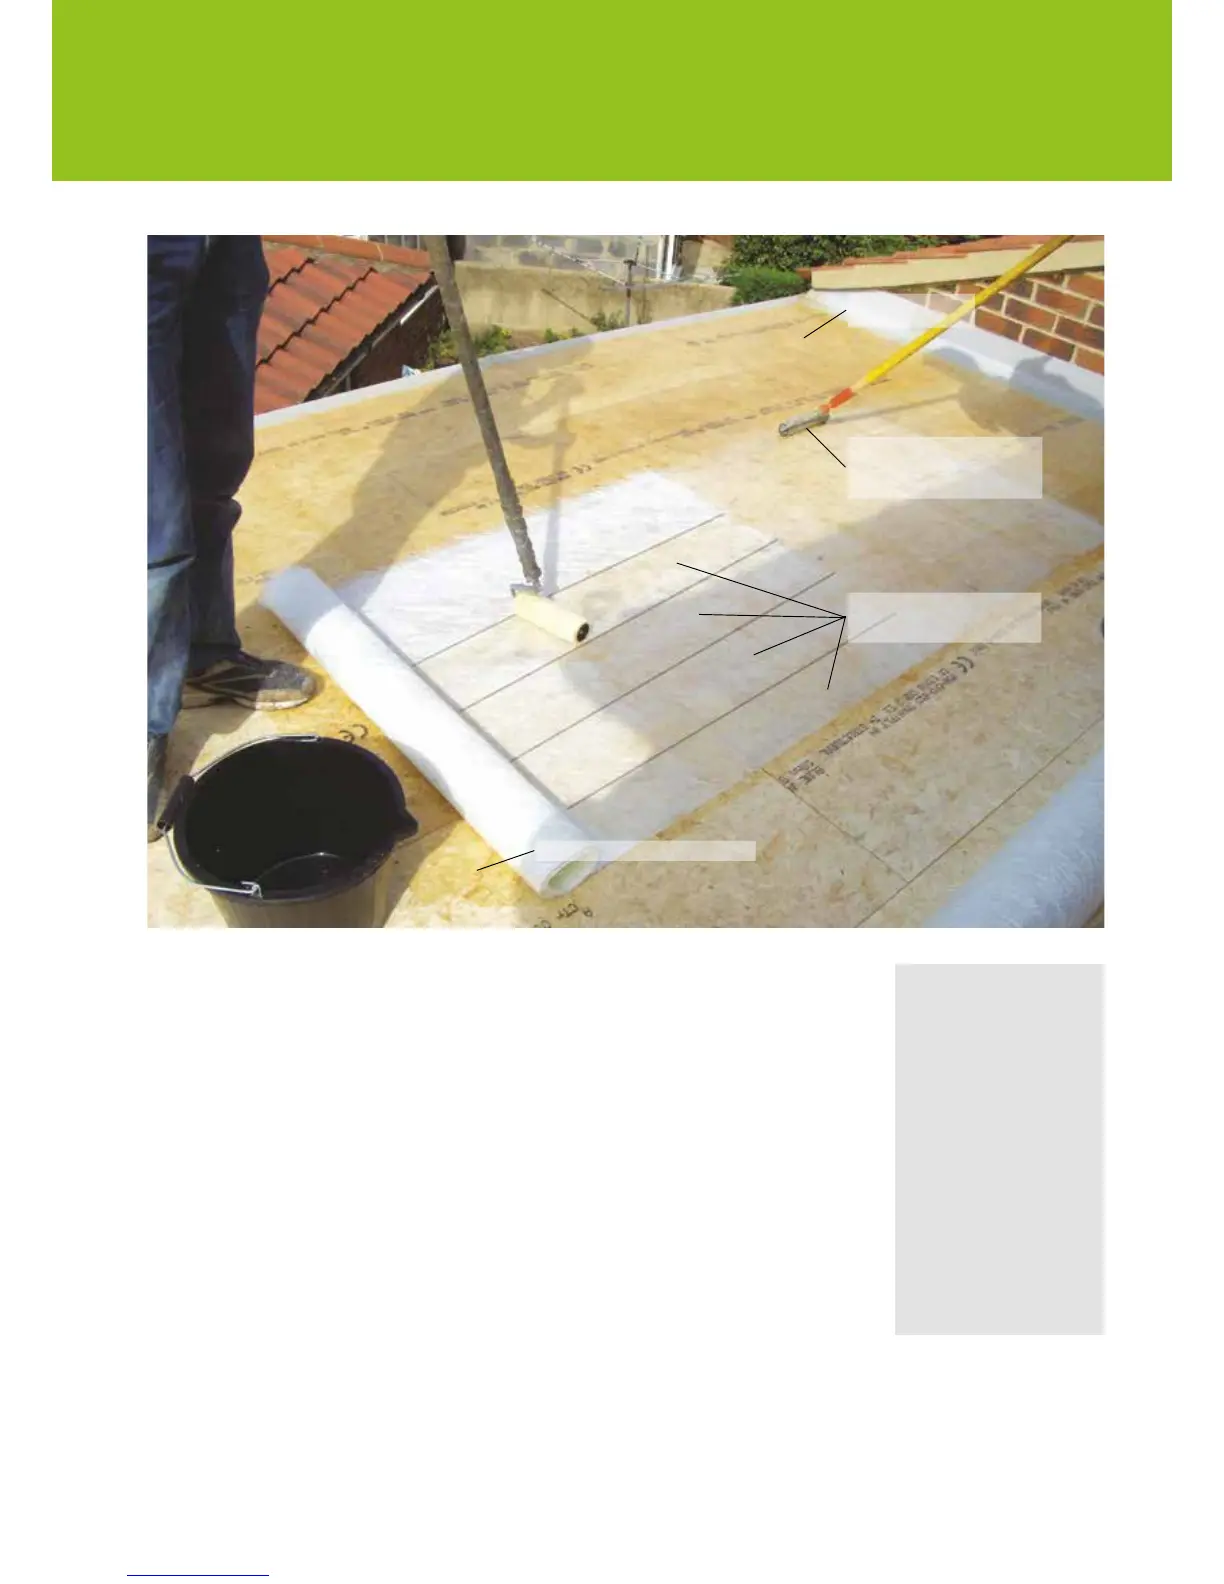
Laminating
DeckiscoatedwithCureItRoongResin
Figure 4.
Premium cost options:
WhenaclientspeciesaCure
It roof there are a number of
different options available for the
weight,colourandnishofthe
roof. All of these should be charged
at a premium.
- The Cure It laminate can be
speciedintwoweights:450g/
m²and600g/m².450g/m²is
the standard weight for most
installations and will withstand
foottrafc.600g/m
2
should be
speciedwheretheroofwillbe
subject to regular heavy foot
trafcsuchasawalkwayor
balcony. This would normally be
speciedwithanaggregateslip
resistantnish.
-Theroofcanbenishedinany
BS4800 colour.
-Theroofcanbenishedwitha
standard smooth or two choices
ofnon-slipnish(seenextpage.)
Consolidating
LettheCureItRoongResinsoakintothemattobreakdownthebinderfor2to3minutes.Usingthe
paddle roller and applying a little pressure, roll back and forth along the 2 edges and the end of the wet
mat. Now roll the paddle roller over the whole of the wet out mat, ensuring the paddle roller makes at least
2 passes over the whole area. In colder weather the resin will be thicker and will take a little longer to wet
out.Whenalaminateiscorrectlywetoutitshouldbetransparent,thereshouldbenowhiteoropaque
areas.Takecareneartheedgeoftheroofandinwindyconditionsasanespraywillbeemittedfrom
the roller.
Make regular close inspections of the laminate as it is consolidated, checking for ‘pinholes’ and areas short
ofCureItroongResin.Pinholesinthelaminatewillleadtoporosityandwaterpenetration.
Whilecompletingthenextmetrewiderunoflaminate,putaquick‘washcoat’oftheresin
(1 roller full per 2m
2
)overthepreviousrunofnishedlaminate.
On all overlaps of the mat, pay extra attention to the ‘feathering in’ as this will improve the overall
appearanceofthenishedroof.
Preparation for topcoating
Taking care and paying attention at this stage will produce a roof of superb appearance. Using a Cure It
sanding pad with a 40 grit sand paper, lightly sand the corners and trim bandages. Sand off any unsightly
bres,takingcarenottosandtooheavilyonthecorneritselfasthismayleadtoholesappearing.Cutany
excess cured mat protruding beyond the trim with a sharp Stanley knife.
Sealanyabutmentswithwallsusingaclearsiliconesealant.FitanyC100simulatedleadashingbeforetop
coating and seal off the chase with a clear silicone sealant or Cure It Trim Adhesive. Occasionally mortar will
berequiredtonishthechase.
RollerisdippedintoCureItRoong
Resin and then applied to 1m length
of mat, one roller width at a time.
Consolidator roller is used after
allowingtheCureItRoongresinto
break down the reinforcement mat
binder for a minute or two.
Finished laminate
should be transparent.