INSTALLATION WALKTHROUGH:
For more information log onto www.curtmfg.com
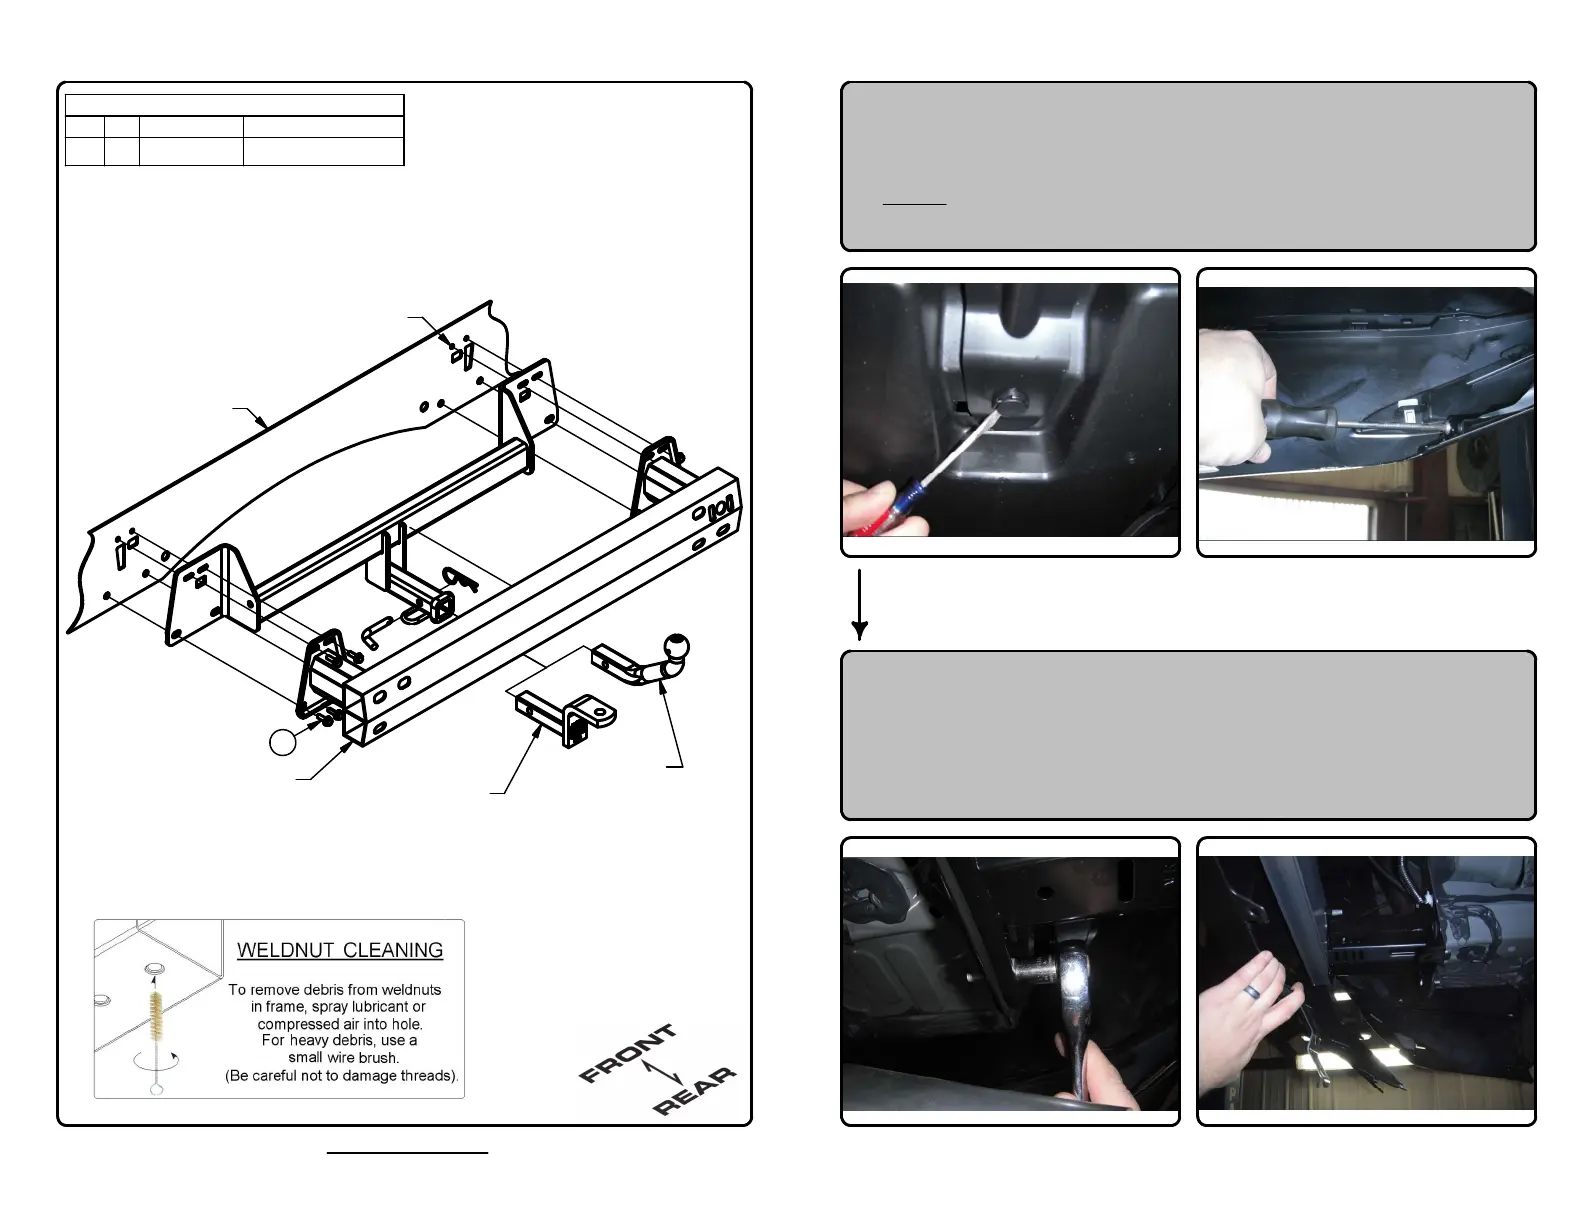
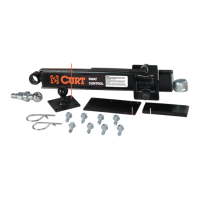
Parts List
DESCRIPTIONPART NUMBERQTYITEM
FB,M8x1.25,25,CL10.9,YZ10-1026881
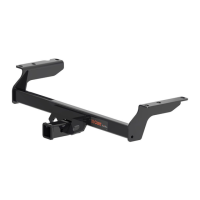
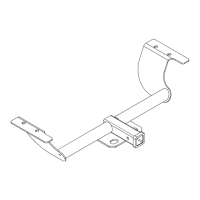
EURO MOUNT
OPTION AVAILABLE
# 45571 (1 7/8" BALL)
# 45572 (2" BALL)
DESIGNED FOR USE WITH
BALL MOUNT # 45521
BUMPER BEAM
EXISTING HOLES
AND WELDNUTS
VEHICLE FRAME
1. Remove the (14) push pin fasteners and (3) twist type fasteners
attaching the (3) underbody panels to the rear of the vehicle. Using a
phillips screwdriver, remove (2) screws from the lower rear fascia.
NOTE: Some models will have (2) white plastic clips located by the
screws, these will need to be removed as well.
2. Using a 12mm socket, remove the (8) bolts attaching the bumper
assembly to the rear face of the cabin. Lightly pull the lower fascia away
to remove the bumper beam and return flange bolts to vehicle owner.
1