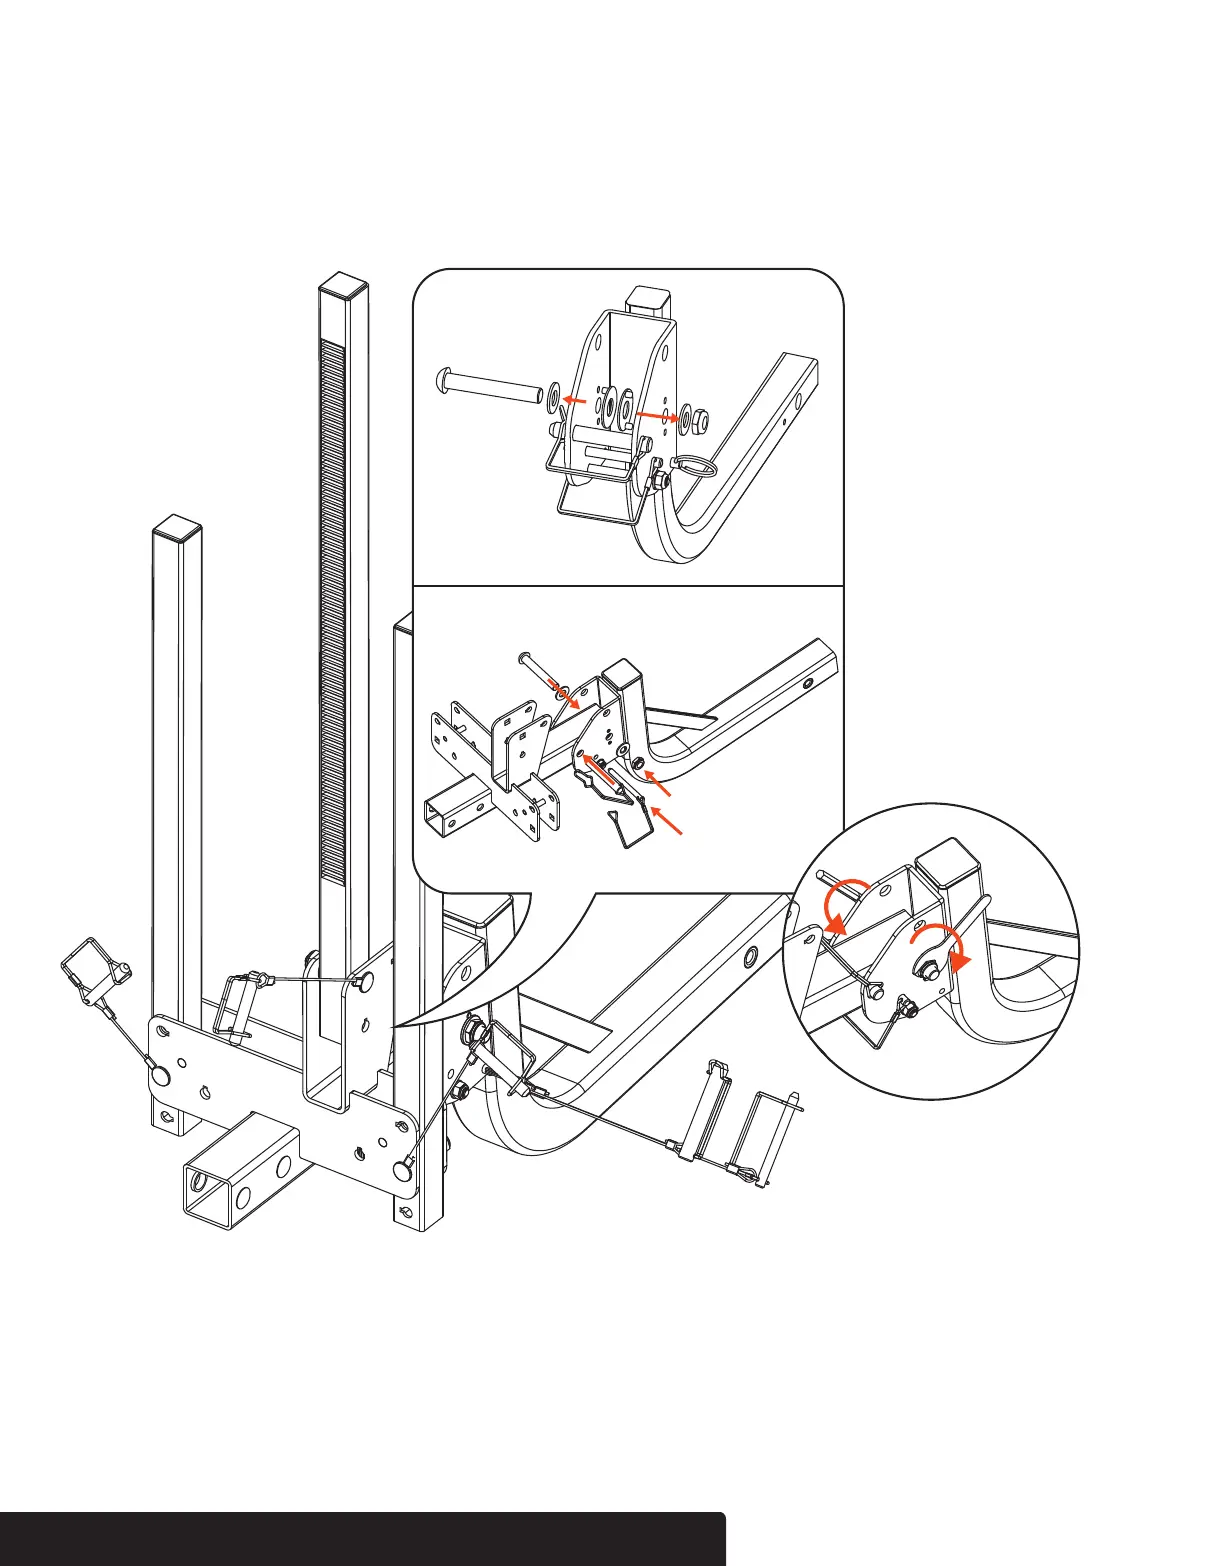
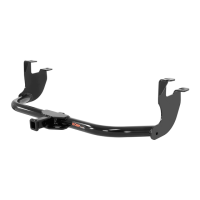
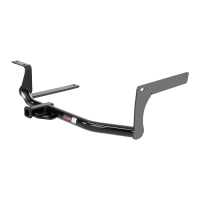
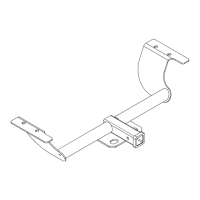
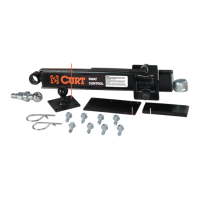
Step 1
Remove security pins from shank (#3). Insert spacers (#9) into the inside of hitch mounting shank (#3) as shown in Figure 1,
Detail A. After spacers are inserted, place the main body rack (#1) into shank (#3) and secure with the two security pins
(previously removed) and shank bolt (#12) as shown in Detail B. Tighten bolt using wrenches provided (#14, #15). See Detail C.
ASSEMBLY
Detail A
Detail B
Detail C
Figure 1
CURTMFG.COM • NEED ASSISTANCE? • 1.800.798.0813 • 18087-INS-RD • PAGE 2