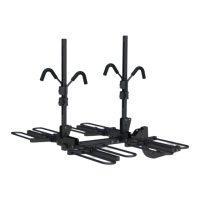
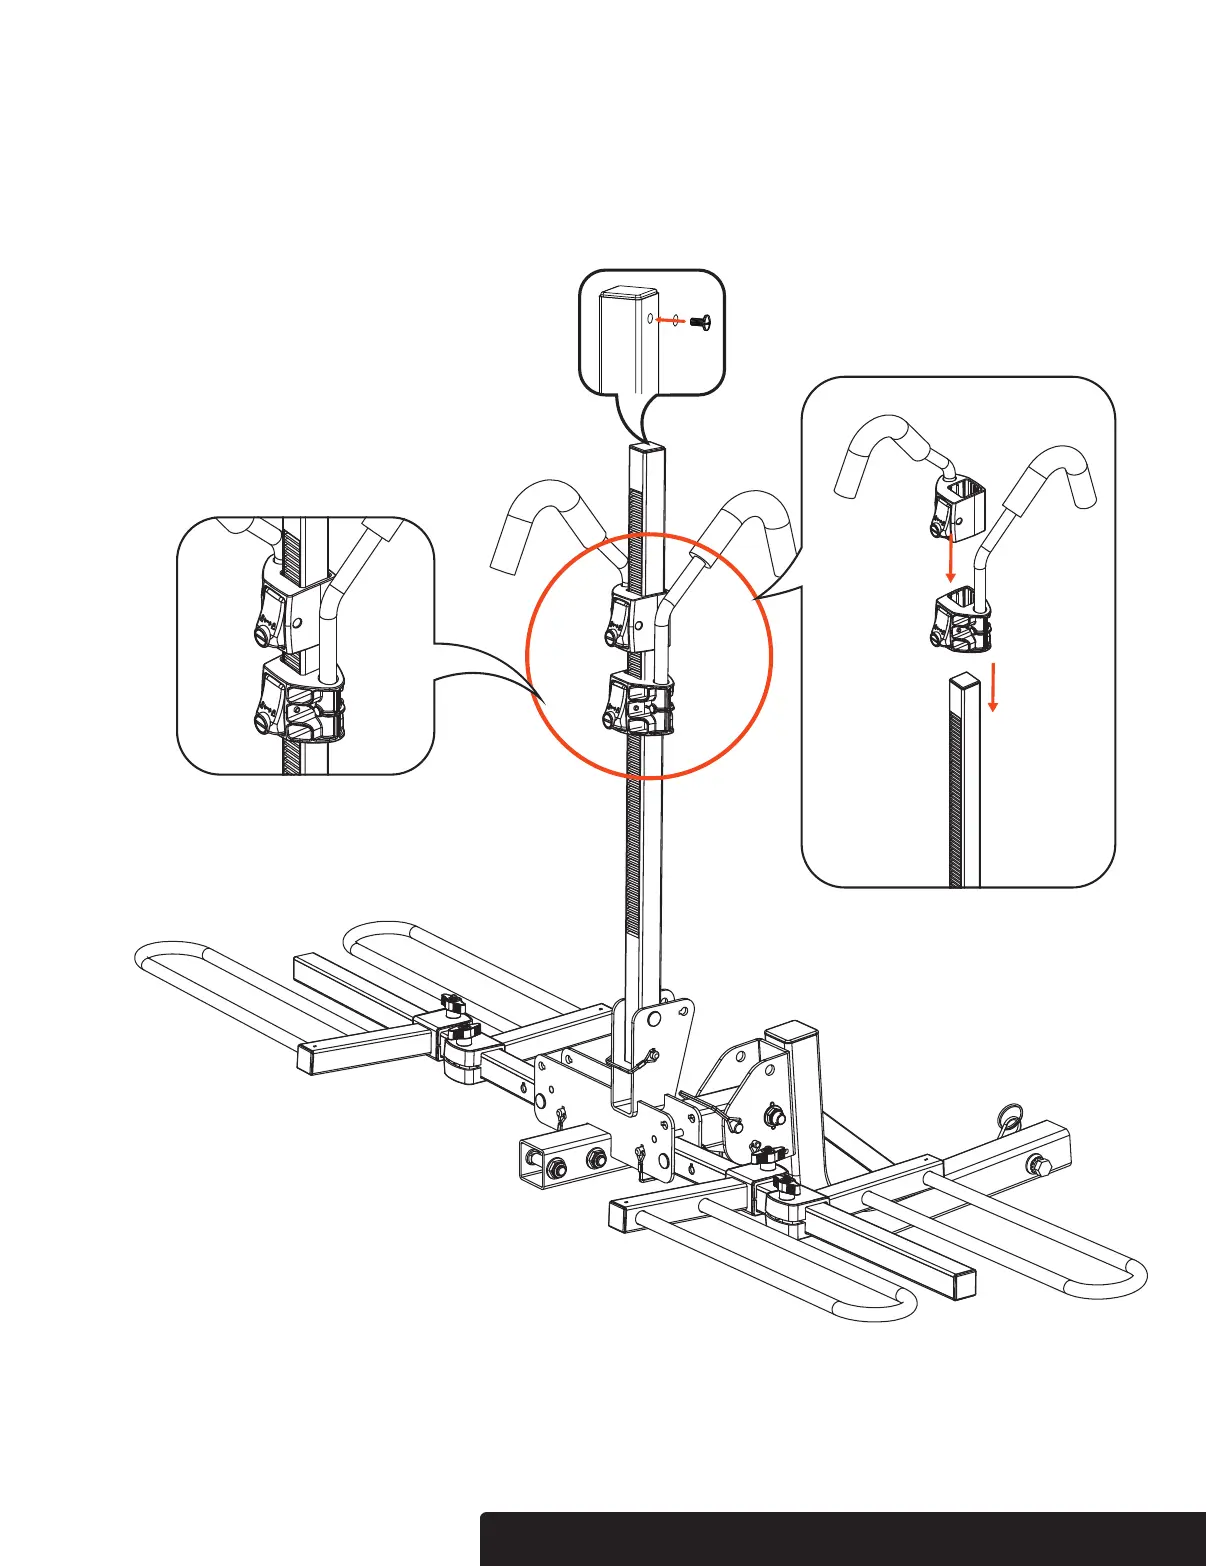
Step 4
Slide the long locking arm (#7) onto the middle arm of the main body rack (#1), making sure the locking arm is facing
the mounting shank (#3). Repeat this process with the short locking arm (#6). See Figure 5, Details H. Press hooks
down onto bike frame until it makes contact and then press down firmly until you hear one to two additional clicks
from the ratchet system. After the locking arms are installed, insert pan head screw and lock washer (#8) into the
end of the center post as shown in Figure 5, Detail I.
Figure 5
Detail H
Detail H
Detail I
ASSEMBLY
PAGE 5 • 18087-INS-RD • 1.800.798.0813 • NEED ASSISTANCE? • CURTMFG.COM