EasyManua.ls Logo

curt 55513 User Manual

curt 55513
2 pages
To Next Page IconTo Next Page
Page #1 background imageLoading...
Page #1 background image
INSTALLATION INSTRUCTIONS
CUSTOM WIRING HARNESS
WIRING LOCATION GUIDEAPPLICATIONS
NOTICE
WARNING
TOOLS NEEDED
Signal Circuits - 3.0 amps per side
Tail / Running Circuits - 7.5 amps total
Check vehicle owner's manual or contact
the vehicle manufacturer for more information.
10mm socket
Ratchet
Exceeding the product rating can cause loss of warranty,
overheating and potential fire. Do not exceed product rating
or tow vehicle lamp load rating, whichever is lower.
Make Model
Toyota Hilux (Mexican vehicle)
Toyota T-10 0
Toyota Tacoma
WARNING: DO NOT EXCEED PRODUCT RATING OR TOW VEHICLE LAMP LOAD RATING, WHICHEVER IS LOWER
PICKUP TRUCKS
(
T
)
Representative vehicle shown below
T1 - Behind driver side taillight housing
T2 - Behind passenger side taillight housing
T3 - Behind driver side rear bumper
T5 - Behind passenger side rear bumper
T2
T5
T1
T3
All steps must be followed to ensure the wiring harness
will function properly. Once installed, test for proper function
by using a test light or connecting a properly wired trailer.
PAGE 1 • 55513-INS-RB
Question and Answer IconNeed help?

Do you have a question about the curt 55513 and is the answer not in the manual?

curt 55513 Specifications

General IconGeneral
Brandcurt
Model55513
CategoryAutomobile Accessories
LanguageEnglish

Summary

Wiring Location Guide

Pickup Trucks (T)

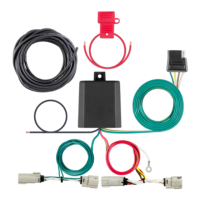
Representative vehicle diagram showing connector locations for pickup trucks.

Installation Notice and Warnings

Installation Notice

Ensures proper wiring harness function by following all steps and testing.

Tools Needed

Lists the required 10mm socket and ratchet for installation.

Safety Warning

Warns against exceeding product or vehicle load ratings to prevent damage or fire.

Installation Steps

Battery Disconnect and Taillight Removal

Disconnect negative battery terminal and remove taillights using 10mm screws.

Connector Separation

Carefully separate connectors from taillight housing without damaging locking tabs.

Wiring Harness Connection

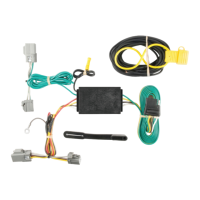
Insert yellow wire harness end between separated connectors, ensuring full insertion.

Routing and Grounding

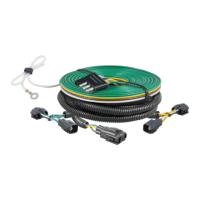
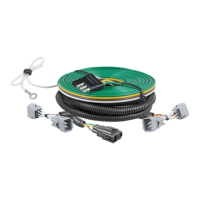
Route green wire to passenger side, secure ground wire to frame with provided screw.

Converter Box Mounting

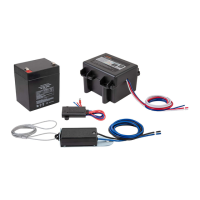
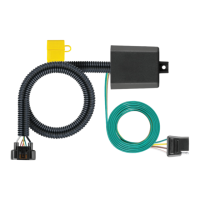
Mount the black converter box using provided double-sided tape in a flat spot.

Final Steps

Reinstall removed items, reconnect battery, and install dust cover.

Related product manuals