3
Curtis PMC 1204/1205 Manual
HARDWARE INSTALLATION
2
HARDWARE INSTALLATION
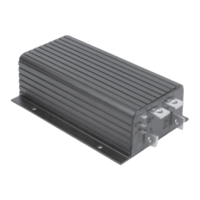
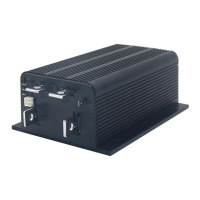
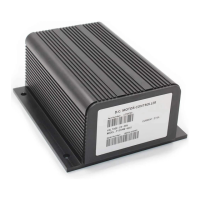
CONTROLLER
The controller may be oriented in any position, but the location should
be carefully chosen to keep the controller as clean and dry as possible.
If a clean, dry mounting location cannot be found, a cover must be
used to deflect dirt and water splash.
The controller should be fastened with four screws to a clean, flat
metal surface that provides an adequate heat sink. The mounting surface
is an integral part of the overall heatsinking of the controller, and affects
its ability to dissipate heat. The case outline and mounting hole dimen-
sions are shown in Figure 2. If your controller is an adjustable model, be
sure to mount it so as to allow access to the adjustment screws.
Although not usually necessary, a thermal joint compound can be
used to improve heat conduction from the case to the mounting surface.
Fig. 2 Mounting
dimensions,
Curtis PMC 1204/5
controller.
3.3
(0.13)
70 (2.8)
133 (5.25)
MODEL
1204:
174 (6.85)
MODEL
1205:
225 (8.85)
113 (4.45)
130 (5.13)
146 (5.75)
16.5 (0.65)
1204:
19 (0.75)
1205:
44 (1.75)
7 (0.28) dia.
8 (0.33) dia.
22
×
19
×
3
(0.85
×
0.75
×
0.125)
6 (0.25)
male push-on,
3 plcs
Dimensions in millimeters and (inches)