Do you have a question about the Curtis 1206-HB and is the answer not in the manual?
Remove the four 10mm bolts securing the environmental cover.
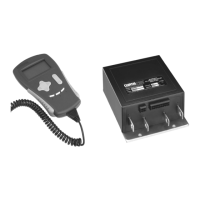
Unplug the tow/run switch wiring harness from the environmental cover.
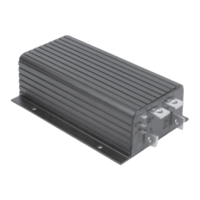
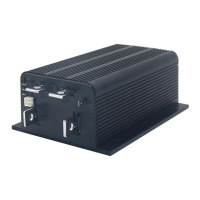
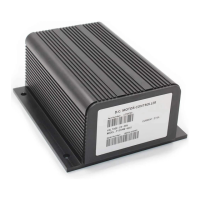
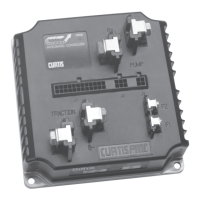
Unplug all connections, remove 13mm bolts for large wires, and 10mm bolts securing the controller.
Clean the thermal pad and spread thermal compound evenly on the new controller's heatsink.
Mount the conversion plate using original bolts and secure the new controller to the plate with M6 bolts.
Fasten the four large diameter wires to the new controller using retained 13mm bolts.
Re-crimp the black and white 10awg motor wires to ring terminals for field connections.
Secure the white (F1) and black (F2) field wires using M6 bolts, washers, and lock washers.
Insert conversion harness into 6/24 pin connectors and connect 16-pin plugs.
Connect 4-pin harness, solenoid cover, walk-away relay, fuse, and pre-charge resistor wires.
Remove, re-install, and re-connect the tow/run switch and its harness.
Mount tow/run switch plate, secure wiring, and reconnect battery.
| Brand | Curtis |
|---|---|
| Model | 1206-HB |
| Category | Controller |
| Language | English |