P 190
14
Configuration through the key board is not usually enabled. In order to enable it, shortcircuit the JP1 jumper
on the printed circuit (see Appendix C ).
Take care not to shortcircuit the JP3 jumper next to it (to be used for internal tests only).
If, when the printer is switched on, both keys are held down simultaneously, the printer enters configuration
mode and prints the first modifiable parameter. Each time the PRINT key is pressed subsequent to this,
the variation of the parameter is shown and the its current value is printed. After entering the desired
parameter, press the FEED key to go on to the next parameter, and so on. Once all the parameters
have been entered, the printer prints a message to indicate that setting procedure has been completed.
2.5 SELF-TEST
To enable the self-test, hold down the FEED key (paragraph 1.2) while switching on the printer. The
self-test consists of the printing of the printer’s currently set data, a memory check and the printing of
the entire set of ASCII characters.
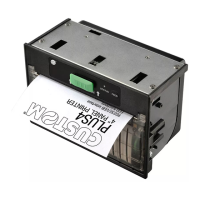
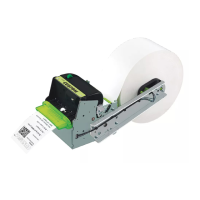
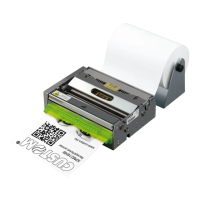
FIGURE 4
2.6 PRECAUTIONS
• Do not print when there is no paper and/or ribbon: this leads to rapid deterioration of the needles.
• Do not put objects inside the printer.
• Do not pull the printer carriage manually when the printer is ON.
• Before connecting the printer to the mains, check that the power supply or system ON/OFF switch is
in the OFF position.
• Avoid blows to any part of the printer, both during and after installation.
INSTALLATION and USE