P 190
9
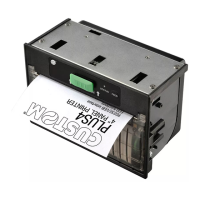
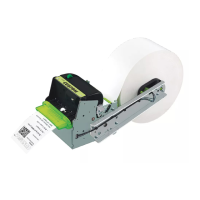
2.1 REMOVING THE PRINTER FROM ITS PACKAGING
Open the package and check that:
a) none of the parts have been damaged during transportation;
b) that the ink cartridge is fitted on the printing mechanism and the paper roll is in place;
c) the two brass screws and washers necessary for installing the printer are, in fact fitted on it
FIGURE 3
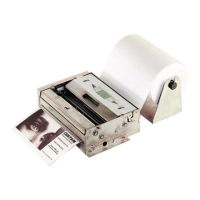
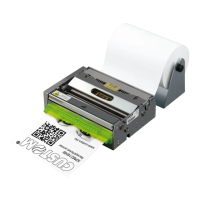
2.2 INSTALLATION PROCEDURE
Make a 112 mm x 112 mm square hole in the wall where the printer is to be installed (see Figure 3).
Unscrew the two brass washers “A”, leaving the screws “B” in their holes. Insert the printer into the hole
on the wall, open the front panel and, from the back, manually screw in the two brass washers, until the
printer is firmly in place.
Insert the interface and the power supply connectors, located on the logic card.
If possible, protect the machine from direct light sources.
INSTALLATION and USE