8
Please Note:
Arm circumference should be measured with a measuring tape in the middle of the
relaxed upper arm. Do not force cuff connection into the opening. Make sure the cuff
connection is not pushed into the AC adapter port. If the cuff is too small, call
1-866-464-6184 for further information.
4. Using your blood pressure monitor for the first time
4.1. Inserting the batteries
After you have unpacked your device, insert the batteries.
The battery compartment is located on the bottom of the
device.
a) Remove the battery cover.
b) Insert the batteries (4 x size AA 1.5 V), observing the
indicated polarity.
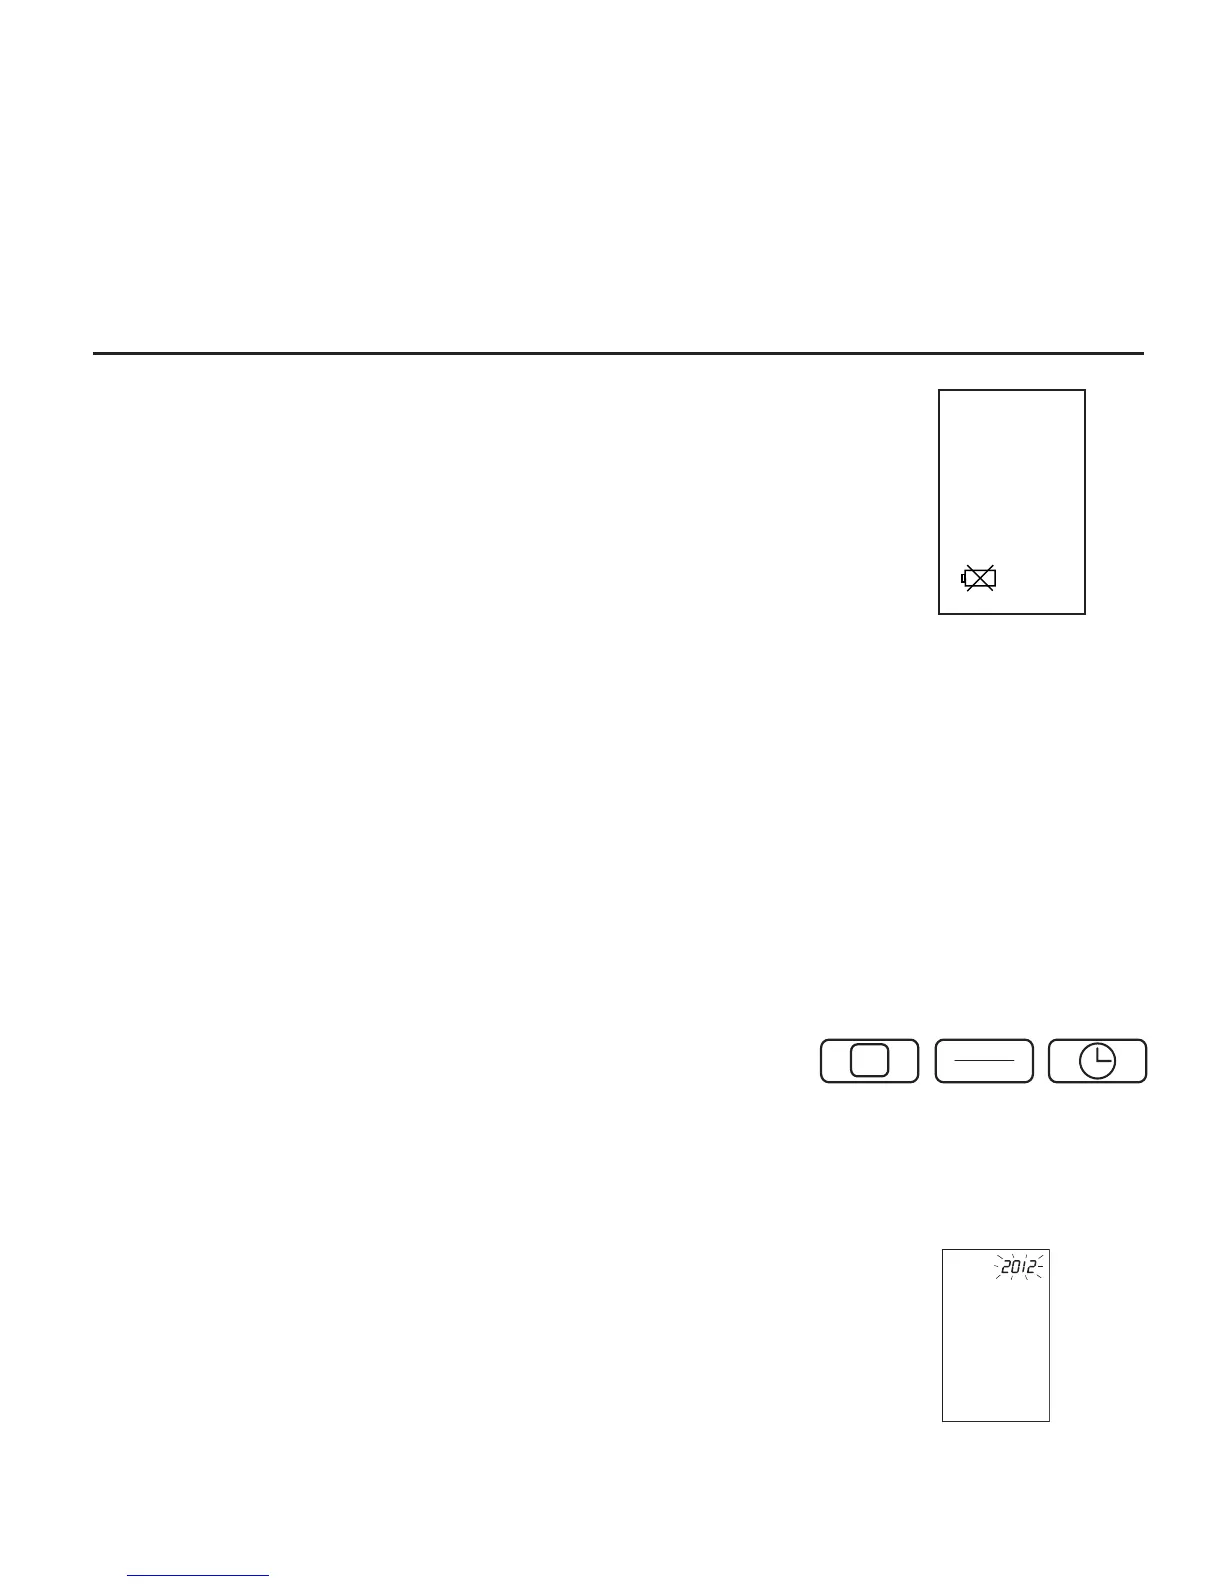
c) If a battery warning appears in the display, the batteries
are discharged and must be replaced.
Attention!
• After the low battery indicator appears, the device won’t
function until the batteries have been replaced.
• Please use "AA" Long-Life or Alkaline 1.5 V batteries.
• If the blood pressure monitor is not used for long
periods, remove the batteries from the device.
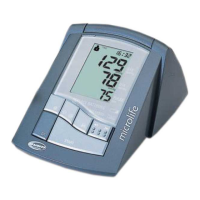
4.2. Using the touch pad
This monitor features three touch pad "buttons" which
operate similarly to traditional buttons, but require only a
light touch of the finger to operate.
• The buttons are MEMORY, START/STOP, and TIME.
Low Battery Indicator