Copyright © 2017 Cyber Power Systems, Inc.
LCD MODULE REMOTE CONTROL and WALL-MOUNTING INSTRUCTIONS
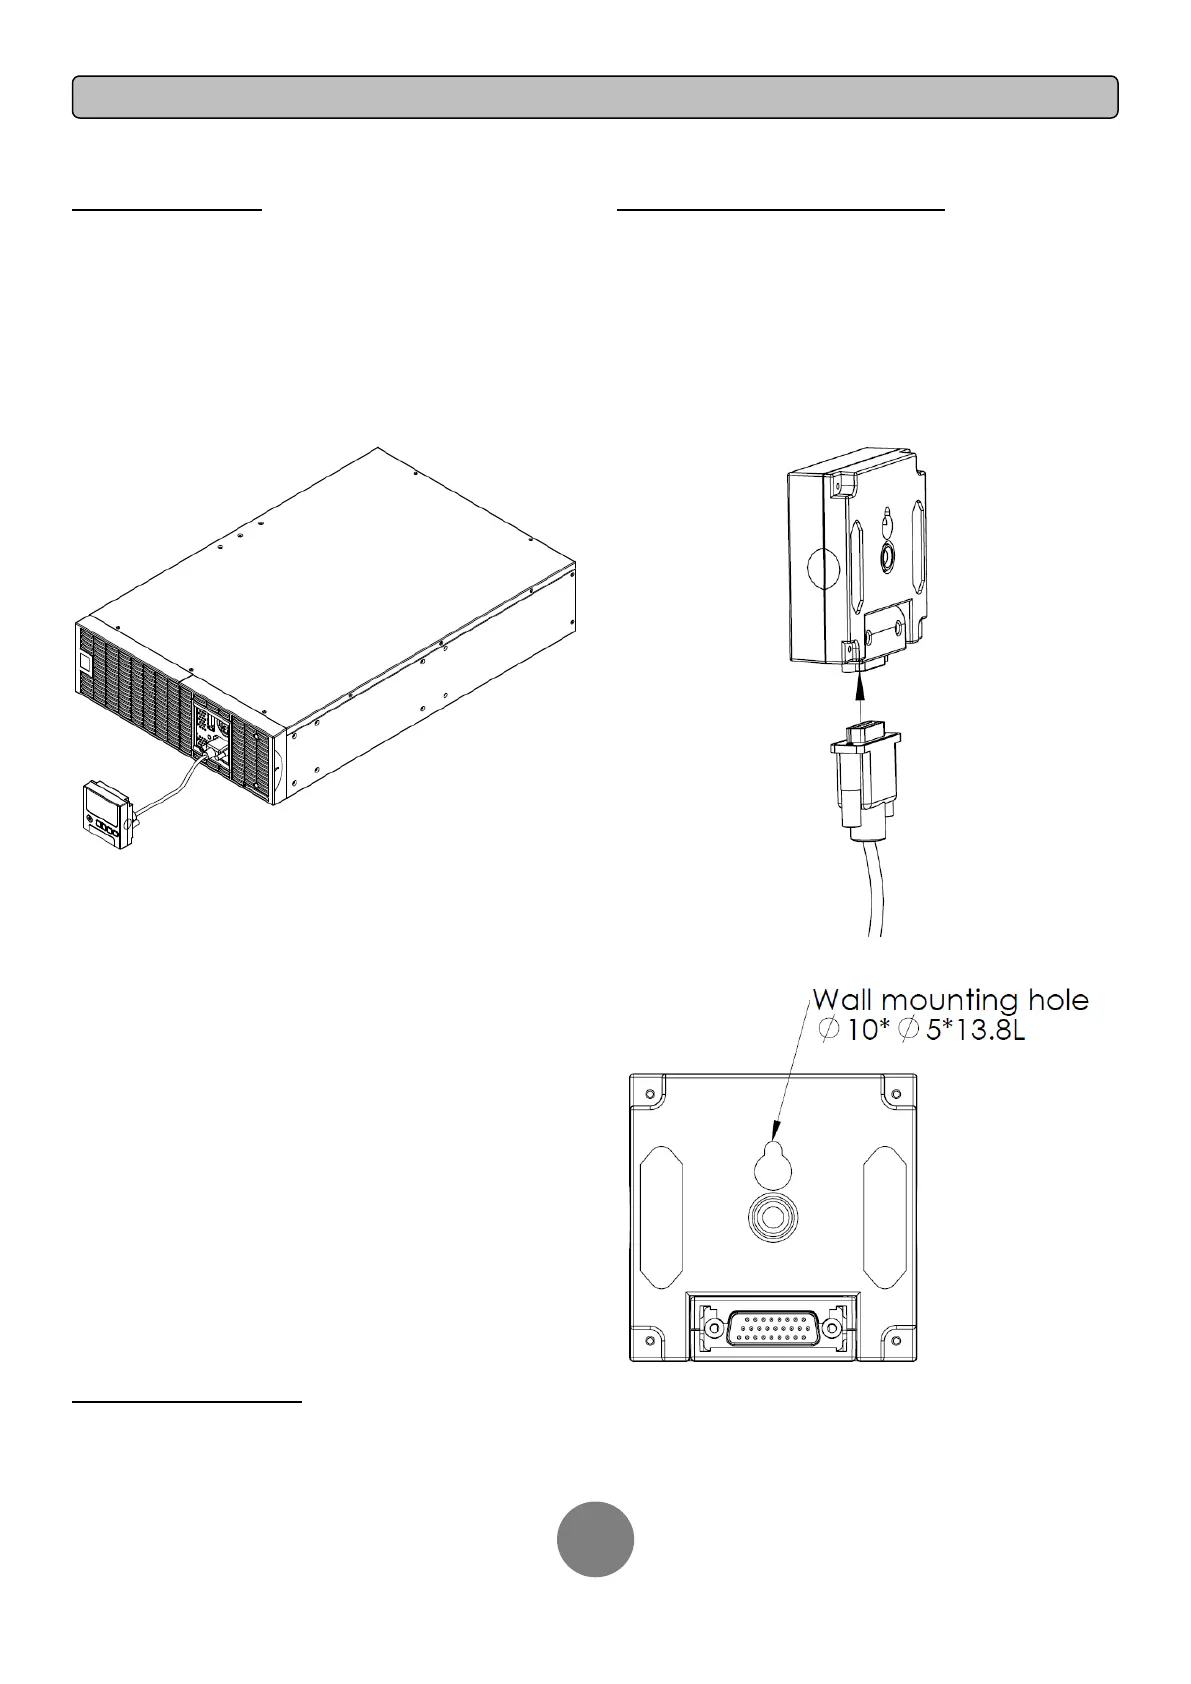
REMOTE CONTROL
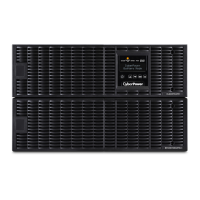
Step 1: Remove the Multifunction LCD Module
Unscrew the right panel of the Power module. Separate the right panel
from the UPS. Gently lift the LCD module out. Reinstall the right panel.
Step 2: Connect the DB26 Cable
Connect a DB26 cable (not included) from LCD module to the “Remote
Control Port” on the front panel as shown in the following figure.
WALL-MOUNTING INSTRUCTIONS
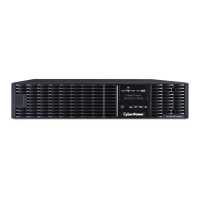
Step 1: Remove the Multifunction LCD Module
Unscrew the right panel of the Power module. Separate the right panel
from the UPS. Gently lift the LCD module out. Reinstall the right panel.
Step 2: Rotate the DB26 Connector of LCD Module
Step 3: Connect the DB26 Cable
Connect a DB26 cable (not included) from LCD module to the “Remote
Control Port” on the front panel as shown in the following figure.
Step 4: Mount LCD Module on the Wall
SAFETY PRECAUTIONS
CAUTION! To be performed by qualified personnel only.
CAUTION! To avoid electric shock, turn off and unplug the unit before installing REMOTE CONTROL or WALL-MOUNTING INSTRUCTIONS.