39Cyclone Canopy Installation - English
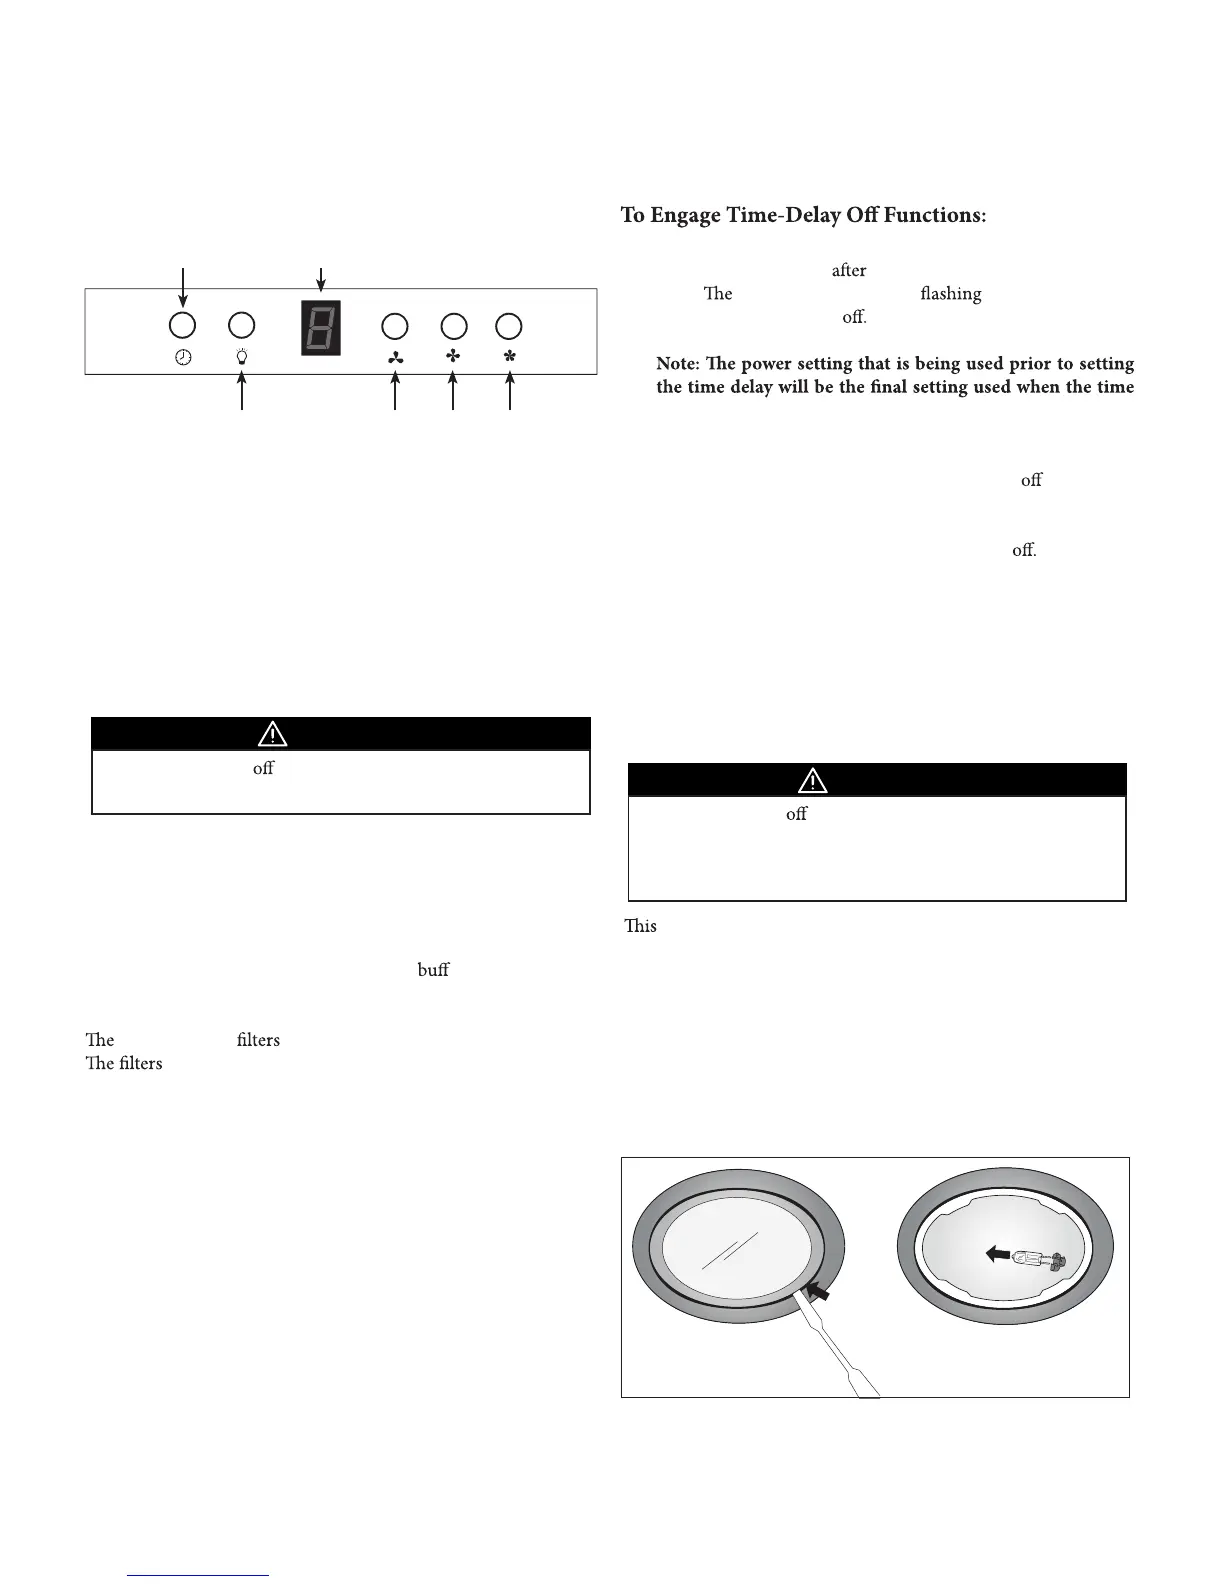
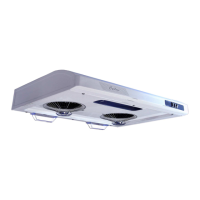
CONTROL PANEL
Power
Light
Fan Speed Levels
LED Screen
1. Turn the machine on at any speed
2. To activate the timer cooking, press the power button
once. screen light will begin with a default of 3
minutes before turning To set the timer, press the lowest
fan speed setting to toggle the desired timer up to 9 minutes.
delay option has been activated. Power settings cannot be
adjusted once the time delay option has been set.
3. Using the power level one button, set the time delay option in
minutes for the machine to automatically shut by pressing
the button until the desired time is reached.
4. If you do not wish to activate the time delay option simply
press the power button twice to shut machine
MAINTENANCE
For a complete description of our maintenance and operating instructions you may visit us on-line at
www.CycloneRangeHoods.com to download your model’s Owner’s Manual.
• Always switch power and unplug before cleaning and
maintenance.
WARNING
Surface and Filter Cleaning:
Clean with warm soapy water and a clean cloth. Do not use corrosive
or abrasive detergent or steel wool pads that can scratch the surface
of the machine.
Use non-abrasive stainless steel polish to out the luster and
grain. Scrub lightly.
stainless steel trap residue and grease from cooking.
should never have to be replaced but should be cleaned
thoroughly every 30 to 60 days depending on cooking habits.
Filters may be placed in the dishwasher on low heat or soaked in
warm, soapy water.
Spray degreasing detergent and leave to soak if heavily soiled.
Replacing Lightbulbs:
• Always switch electrical supply before carrying out any
operation on the appliance.
• In order to prevent the risk of personal injury, the halogen
lamps must be cooled before removal.
WARNING
range hood requires two halogen bulbs. (Type G4,
12V, 20W
Maximum)
1. Use a slot-head screwdriver to dislodge the bulb cover. Remove
the bulb from the socket.
2. Replace with Type G4, 12V, 20W Maximum, halogen bulb.
3. Replace the light bulb cover by inserting the three prongs into
the slots and insert back into place.