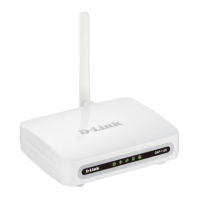
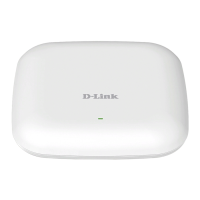
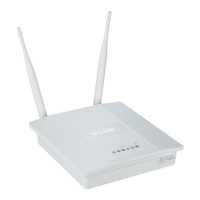
45D-Link DAP-1365 User Manual
Section 4 - Connecting a Wireless Client
Connecting Wireless Clients to the Extended
Network
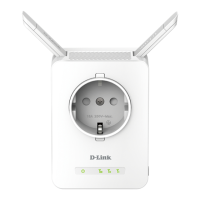
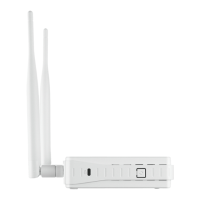
WPS Button
Once an uplink network has been established, you may use the DAP-1365’s WPS function to add additional wireless clients to your
extended network. Many wireless devices such as wireless routers, media players, printers, and cameras will have a WPS button (or a
software utility with WPS) that you can press to connect to the DAP-1365. Please refer to the user manual for the wireless device you
want to connect to make sure you understand how to enable WPS. Once you know, follow the steps below:
Step 1 - Press the WPS button on the DAP-1365 for about 1 second. The Status/WPS LED on the DAP-1365 will start blinking green.
You can also use the WPS option in the setup wizard section of the web interface.
Step 2 - Within 120 seconds, press the WPS button on your wireless device.
Step 3 - Allow up to 1 minute to congure. Once the LED light stops blinking and turns solid green, you will be connected and your
wireless connection will be secured with WPA2.