Do you have a question about the D-Link DCS-2121 and is the answer not in the manual?
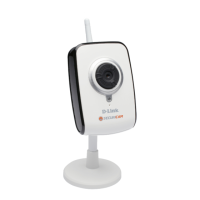
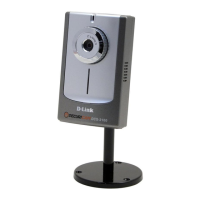
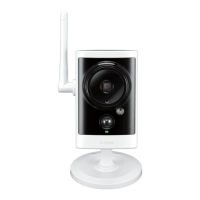
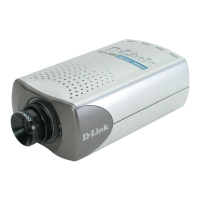
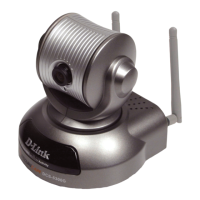
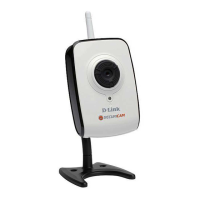
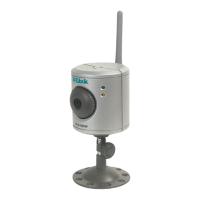
Identifies components on the front and back of the camera.
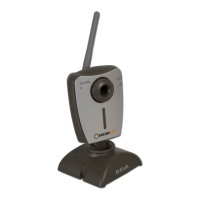
Screw the wireless antenna onto the camera connector.
Assemble the camera base and attach the camera.
Connect the Ethernet cable to the camera and network.
Connect the power adapter to the camera and power outlet.
Steps for initial setup using the Click 'n Connect utility.
Install the Setup Wizard from CD for camera setup.
Default Admin ID and Password for camera login.
Set static IP or DHCP, and configure wireless network settings.
Install ffdshow from autorun for video playback.
Adjust ffdshow settings like Autodetect and Error resilience.
Turn focus ring to get a clear image, use web interface as guide.
Use WPS button on camera and router for quick wireless setup.
Log in using IP address, username, and password.
Access camera controls and settings within LIVE VIDEO.
Utilize wizards for initial network and motion detection setup.
Set IP address, subnet mask, gateway, and DNS settings.
Scan for networks, select SSID, and configure wireless mode.
Set up DDNS for accessing camera with a domain name.
Fine-tune image properties for better visual quality.
Select VGA, XGA, or SXGA quality for video sensor.
Configure encode type, resolution, FPS, bps, and JPEG quality.
Activate motion detection and define monitoring areas.
Set time zone and configure daylight saving adjustments.
Select SD Card/Samba drive and set recording parameters.
Enable snapshots, set triggers, and configure email notifications.
Enable D/O port and select trigger events like motion detection.
Manage admin password, user accounts, and device settings.
Save, load, or reset camera configuration and reboot device.
Update camera firmware with new versions.
View camera name, date, firmware, MAC, IP, and network settings.
Access support information for various camera sections.
Log in and assign a unique camera name for network identification.
Set a local IP address and port for camera configuration.
Configure the HTTP port for remote image viewing.
Enable port forwarding for remote access and viewing.
Use router IP and ports for web or RTSP stream access.
Troubleshoots common installation and network access problems.
Use PING command to check IP accessibility and detect conflicts.
Specifications for Digital Out (DO) and Digital In (DI) ports.
Details on codecs, sensor, memory, SD card, and lens.
Specifications for LAN, microphone, and input/output ports.
Supported video algorithms, features, resolutions, and low lux capability.
Power, temperature, humidity, OS support, and certifications.
| Camera Type | IP Camera |
|---|---|
| Resolution | 1280x720 |
| Lens Type | Fixed |
| Wireless | 802.11g |
| Power Supply | 5V DC |
| Connectivity | Ethernet |
| Maximum Resolution | 640 x 480 |
| Frame Rate | Up to 30 fps |
| Image Sensor | CMOS |
| Minimum Illumination | 0.5 Lux |
| Night Vision | No |
| Power | 5V DC |
| Audio Support | Yes |
| Network Interface | 10/100 Mbps Ethernet |
| Sensor Resolution | VGA |
| Protocols | HTTP, TCP/IP, UDP, SMTP, FTP, DHCP, DNS, DDNS |
| Sensor | CMOS |
| Network | Ethernet |
| Operating Temperature | 0°C to 40°C |
| Storage | MicroSD card slot (up to 32GB) |