Restart your computer. Your installation is now complete.
Proceed to Appendix 2 to configure your adapter to automatically receive
an IP address from your DHCP server.
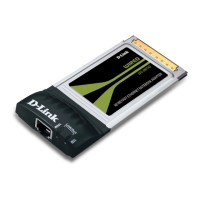
Installing the DFE-690TXD into your
Computer
This section refers to all users, regardless
of which operating system you use.
You must first install the drivers as explained in Section 1 (for
Windows users), or Section2 (for Macintosh users). If you
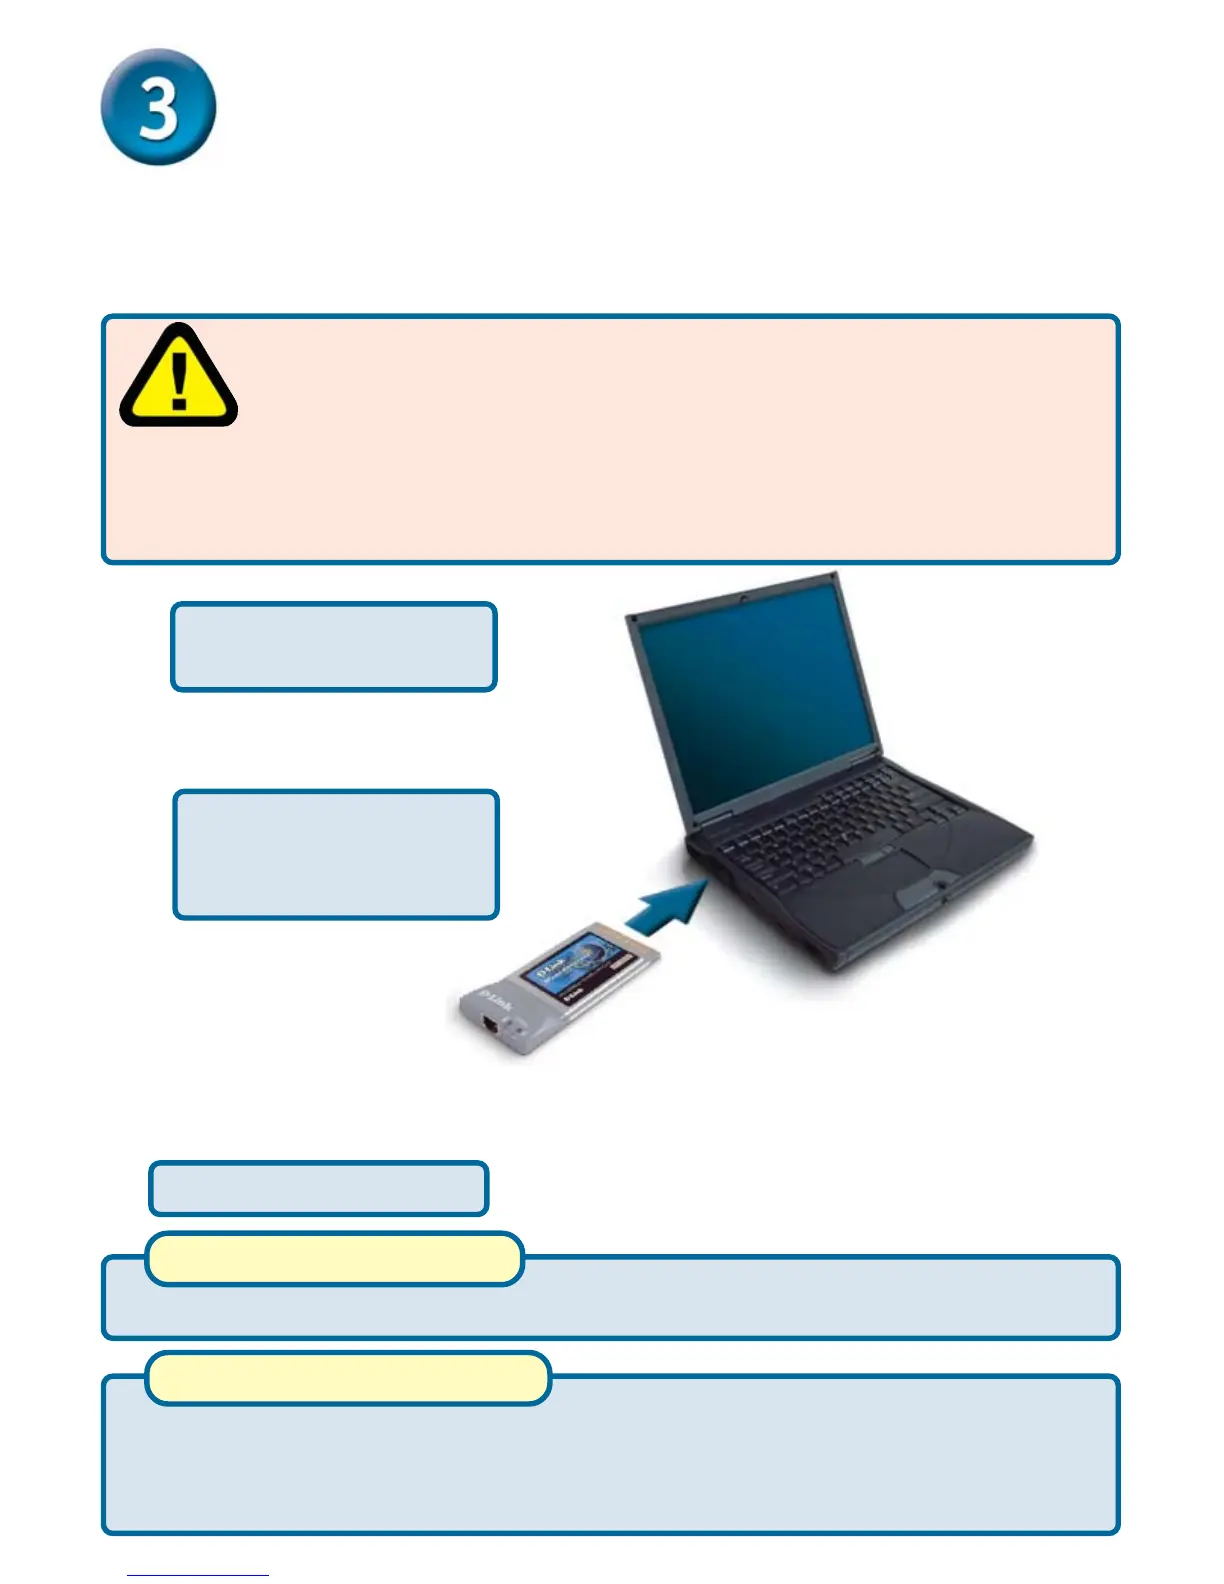
have not done this and you have inserted the DFE-690TXD
into the Cardbus slot, you will need to cancel the New Hardware
Wizard (for Windows users), and start over at the beginning of this
installation guide (for Windows or Macintosh).
• Connect an Ethernet Cable (CAT5) from a switch or hub to the
DFE-690TXD.
Insert the DFE-690TXD
into the Cardbus slot of
your laptop
Windows Users
Proceed to Setion 4: Finishing the Windows Installation.
Macintosh Users
Make sure that your
computer is turned Off.
Turn your computer On.