2
PRODUCT
SETUP
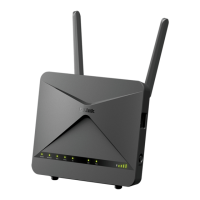
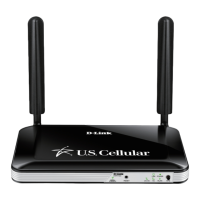
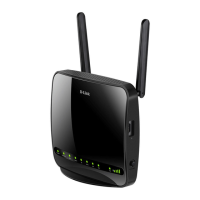
HARDWARE SETUP
Ensure that your DWR-960 is powered off before performing the steps below.
1. Insert a standard U(SIM) card into the SIM card slot on the bottom of the router
with the gold contacts facing downward.
2. Insert your Internet/WAN network cable into the W/LAN port on the back of the
router.
3. Insert the Ethernet cable into the LAN Port on the back panel of the DWR-960,
and an available Ethernet port on the network adapter in the computer you will use to
congure the unit.
4. Connect the power adapter to the socket on the back panel of your DWR-960. Plug the other
end of the power adapter into a wall outlet or power strip.
a. The Status LED will light up to indicate that power has been supplied to the router.
b. The LEDs on the front panel will ash on and off as the DWR-960 performs initialization
and Internet connection processes.
ADVANCED SETUP (ACCESS VIA IP ADDRESS)
Open a browser window and enter the IP address below into the browser address eld.
Log in using the username and password below.
IP ADDRESS: http://192.168.0.1
USERNAME: admin
PASSWORD:
SIM card