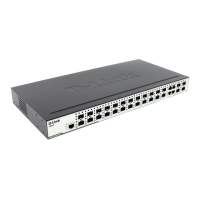
xStack® DES-3200 Series Layer 2 Ethernet Managed Switch Hardware Installation Guide
7. After you have corre
ctly set up the terminal, plug the power cable into the power receptacle on the back of the
Switch. The boot sequence appears in the terminal.
8. After the boot sequence completes, the console login screen displays.
9. If you have not logged into the command line interface (CLI) program, press the Enter key at the User name
and password prompts. There is no default user name and password for the Switch. The administrator must
first create user names and passwords. If you have previously set up user accounts, log in and continue to
configure the Switch.
10. Enter the commands to complete your desired tasks. Many commands require administrator-level access
privileges. Read the next section for more information on setting up user accounts. See the DES-3200 Series
CLI Reference Guide on the documentation CD for a list of all commands and additional information on using
the CLI.
11. When you have completed your tasks, exit the session with the logout command or close the emulator
program.
12. Make sure the terminal or PC you are using to make this connection is configured to match these settings.
If you are having problems making this connection on a PC, make sure the emulation is set to VT-100. You will be
able to set the emulation by clicking on the File menu in you HyperTerminal window, clicking on Properties in the drop-
down menu, and then clicking the Settings tab. This is where you will find the Emulation options. If you still do not see
anything, try rebooting the Switch by disconnecting its power supply.
Once connected to the console, the screen below will appear on your console screen. This is where the user will enter
commands to perform all the available management functions. The Switch will prompt the user to enter a user name
and a password. Upon the initial connection, there is no user name or password and therefore just press enter twice to
access the command line interface.
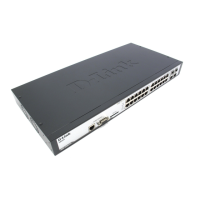
DES-3200-28P Fast Ethernet Switch
Command Line Interface
Firmware: Build 4.04.003
Copyright(C) 2012 D-Link Corporation. All rights reserved.
UserName:
Figure 4-1. Initial screen after first connection
First Time Connecting to the Switch
The Switch supports user-based security that can allow you to prevent unauthorized users from accessing the Switch
or changing its settings. This section tells how to log onto the Switch.
NOTE: The passwords used to access the Switch are case-sensitive; therefore, "S" is not the same
as "s".
When you first connect to the Switch, you will be presented with the first login screen.
NOTE: Press Ctrl+R to refresh the screen. This command can be used at any time to force the
console program in the Switch to refresh the console screen.
Press Enter in both the Username and Password fields. You will be given access to the command prompt DES-3200-
28P:admin# shown below:
There is no initial username or password. Leave the Username and Password fields blank.
26
 Loading...