7
Assembly Instructions for Multi-Panel Screens
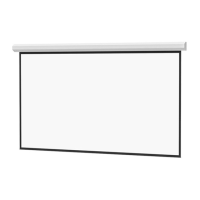
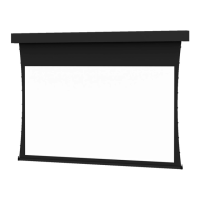
1. Carefully unpack unit and place all panels on top of the clean
work area. The viewing surface of each panel must face down.
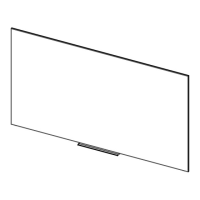
2. Slide each panel together, aligning the both the top and bottom
frames (Figure 3).
3. Find (1) seam brace and remove the release liner from both strips
of adhesive tape.
4. Ensuring that the panels are still in alignment, line up the seam
brace with one of the panel seams with adhesive side facing
down. Do not press adhesive into panels yet. Maintain at least a
small gap between the adhesive and the panel.
Figure 3
Figure 4
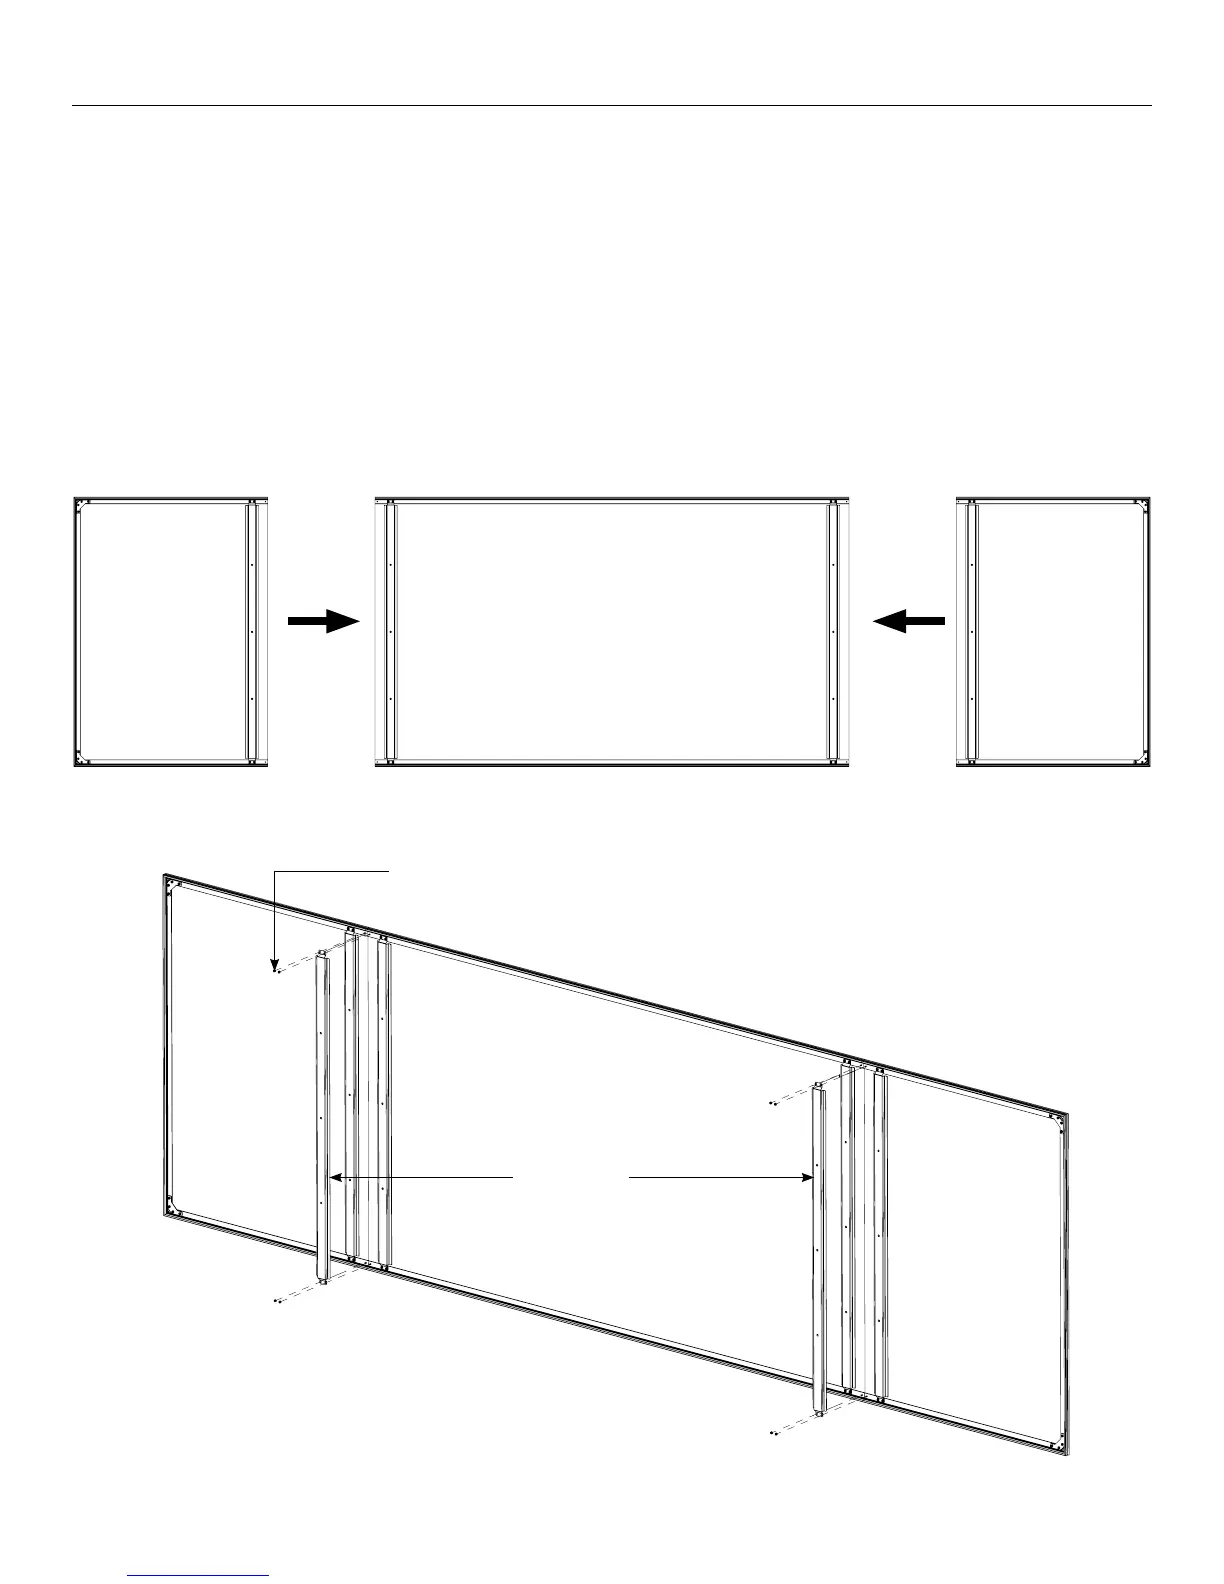
5. Use ⅜” open wrench or socket driver and (4) 1032 nuts to attach
seam brace onto the studs on the top and bottom of screen
frame at the panel seam. Tighten all four nuts once attached to
the frame (Figure 4).
NOTE: For optimal seam alignment, hold the panels together
tightly while the seam brace is being adhered and the lock nuts
are being tightened.
6. Press adhesive into panels. Apply steady pressure along the
length of the seam brace to attach irmly.
7. For three panel screens, repeat Steps 36 to attach the second
seam brace.
1032 Nuts
Seam Braces