15
INTRODUCTION CONNECTIONS
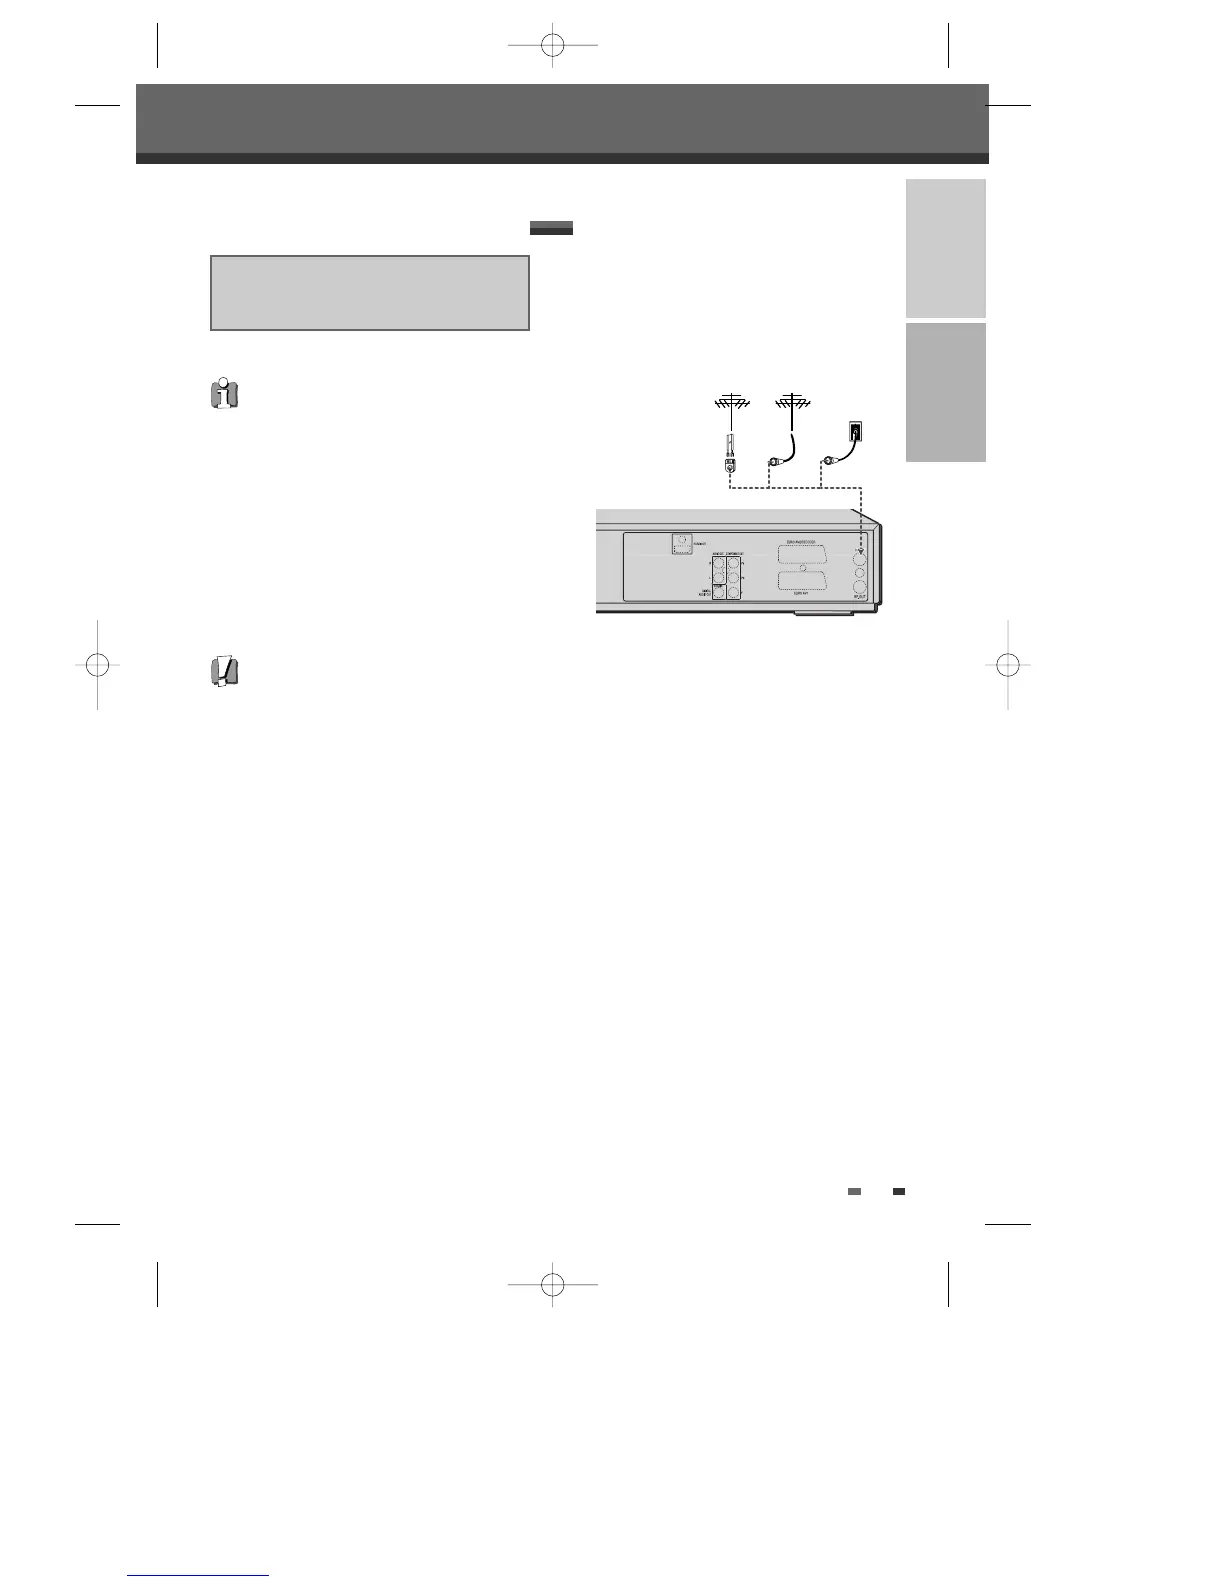
If your cable wire is connected to your TV without a
converter or descrambler box, unscrew the wire from
your TV and attach it to the RF IN (FROM ANT.) jack
on the rear panel of the DVD Recorder + VCR.
Use the supplied RF cable to connect between the
DVD Recorder + VCR’s OUT (TO TV) jack and the
antenna input jack on your TV. With this connection,
you can receive all midband, superband, and
hyperband channels (all cable channels).
Connections
Connections
Connecting Antenna/Cable
1
Disconnect the antenna/cable from the rear of
your TV.
2 Connect this cable to the jack marked RF IN
(FROM ANT.) on the rear panel of the DVD
Recorder + VCR.
• There are a variety of ways to connect the
DVD Recorder + VCR to your TV and other
equipment. Use only one of the connections
described below. Whichever TV connection
you use will work with all input sources.
• Please refer to the manuals for your TV, VCR,
stereo system, or other devices as necessary
to make the best connections.
• For better sound reproduction, connect the
DVD Recorder + VCR’s AUDIO OUT jacks to
the audio in jacks of your amplifier, receiver,
stereo, or audio/video equipment. See
‘Connecting an Amplifier/Receiver‘ on page 17.
Caution
• Make sure the DVD Recorder + VCR is
connected directly to the TV, and the TV is set
to the correct video input.
• Do not connect the DVD Recorder + VCR’s
AUDIO OUT jack to the phone in jack (record
deck) of your audio system.
• Do not connect the DVD Recorder + VCR via
your VCR. The DVD image could be distorted
by the copy protection system.
Antenna
Antenna
Cable TV
Wall Jack
Flat Wire
(300ohm)
300/75ohm Adapter
(Not supplied)
or or
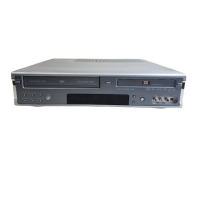
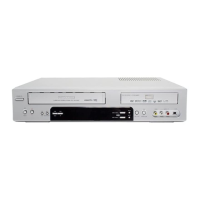
Rear of DVD Recorder + VCR
To enable you to set up your new DVD
recorder+VCR, it must be connected it to your
TV using either a SCART cable or a
COMPONENT and associated AUDIO cable.
DF-H7DD3D-FB-I(GB) 2007.7.25 2:53 PM ˘ ` 15 mac001 1200DPI 100LPI