User’s Manual
12
4 Web Configuration
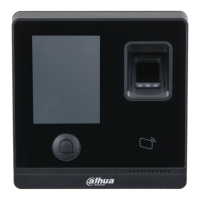
Make sure the Camera is properly installed and powered up.
For detailed configuration, see user’s manuals of corresponding Camera.
The figures shown in this section are for reference only, and the actual interface shall
prevail.
Initializing Camera 4.1
For first-time login or login after restoring to factory default settings, you need to initialize
the Camera.
Make sure that both PC IP and IP of the Camera are in the same network segment,
otherwise it might fail to enter initialization interface.
Configure IP address, subnet mask and gateway of PC and the Camera respectively. Step 1
Distribute IP address of the same segment if there is no router in the network.
It needs to configure corresponding gateway and subnet mask if there is router in
the network.
The IP address is 192.168.1.108 by default.
Use ping ***.***. ***. *** (IP address of the Camera) command and check whether the Step 2
network is connected. If not, check the settings of IP address, subnet mask and
gateway of PC and the Camera according to the previous step.
Open the browser, enter IP address of the Camera in the browser address bar, and Step 3
then press Enter.
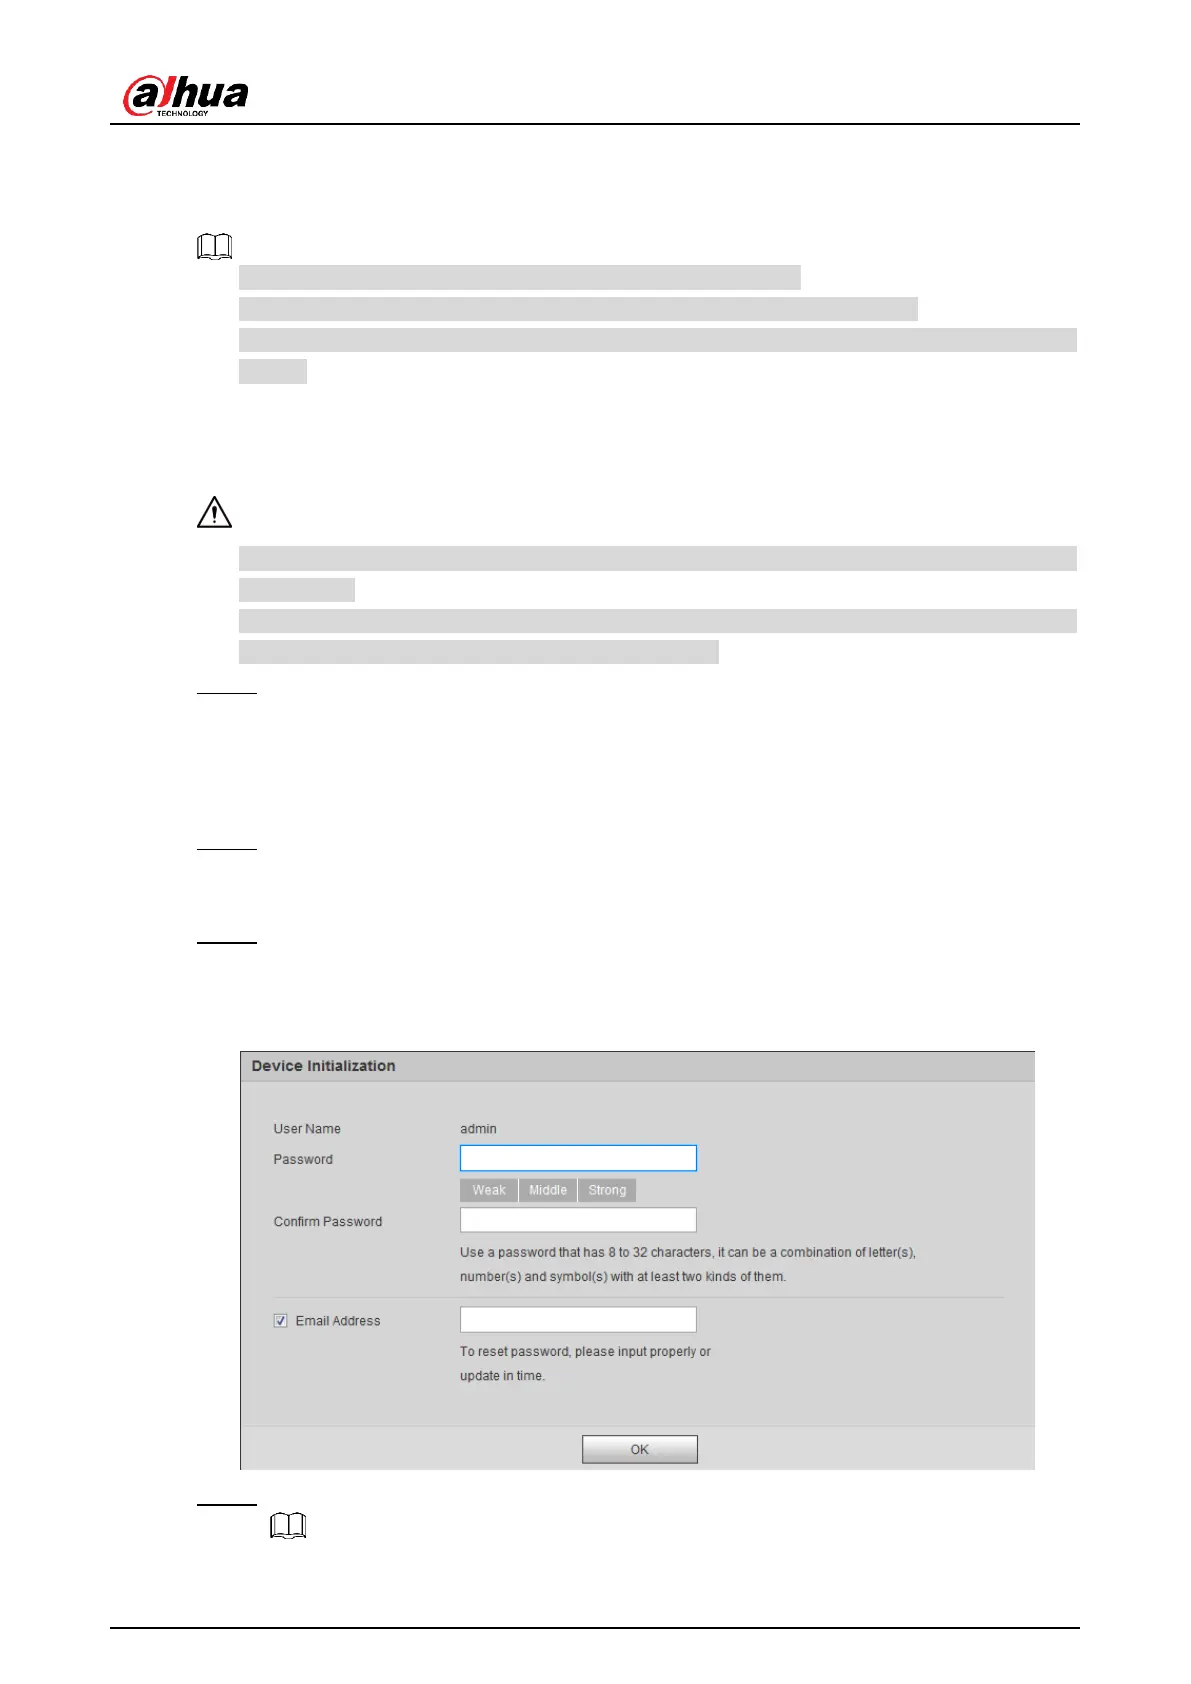
After it is successfully connected, the Device Initialization interface is displayed.
Device initialization Figure 4-1
Enter Password and Confirm Password. Step 4
 Loading...