3.2 Wall-mounted Bracket Installation Steps
3.2.1 Installation Conditions
Wall-mounted speed dome can be installed on hard wall structure in both indoor and outdoor
environments. The wall needs to meet the following installation conditions:
The wall shall be thick enough to install expansion bolts.
The wall needs to sustain at least 8X weight of the camera and bracket etc.
3.2.2 Installation Steps
Step 1
Take the mounting hole of wall-mounted bracket bottom as template, draw the punching location
on the wall and dig holes, then pre-bury the expansion bolts into the holes you just dug. Use 4
hex nuts and flat gasket to twist the wall-mounted bracket into the expansion bolts which have
been pre-buried, which is shown in Figure 3-3.
Figure 3-3
Step 2
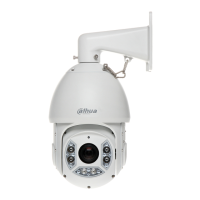
Install the speed dome on the wall-mounted bracket, which is shown in Figure 3-4; please refer
to “2.5 Speed Dome Installation” for more details.
Figure 3-4
 Loading...