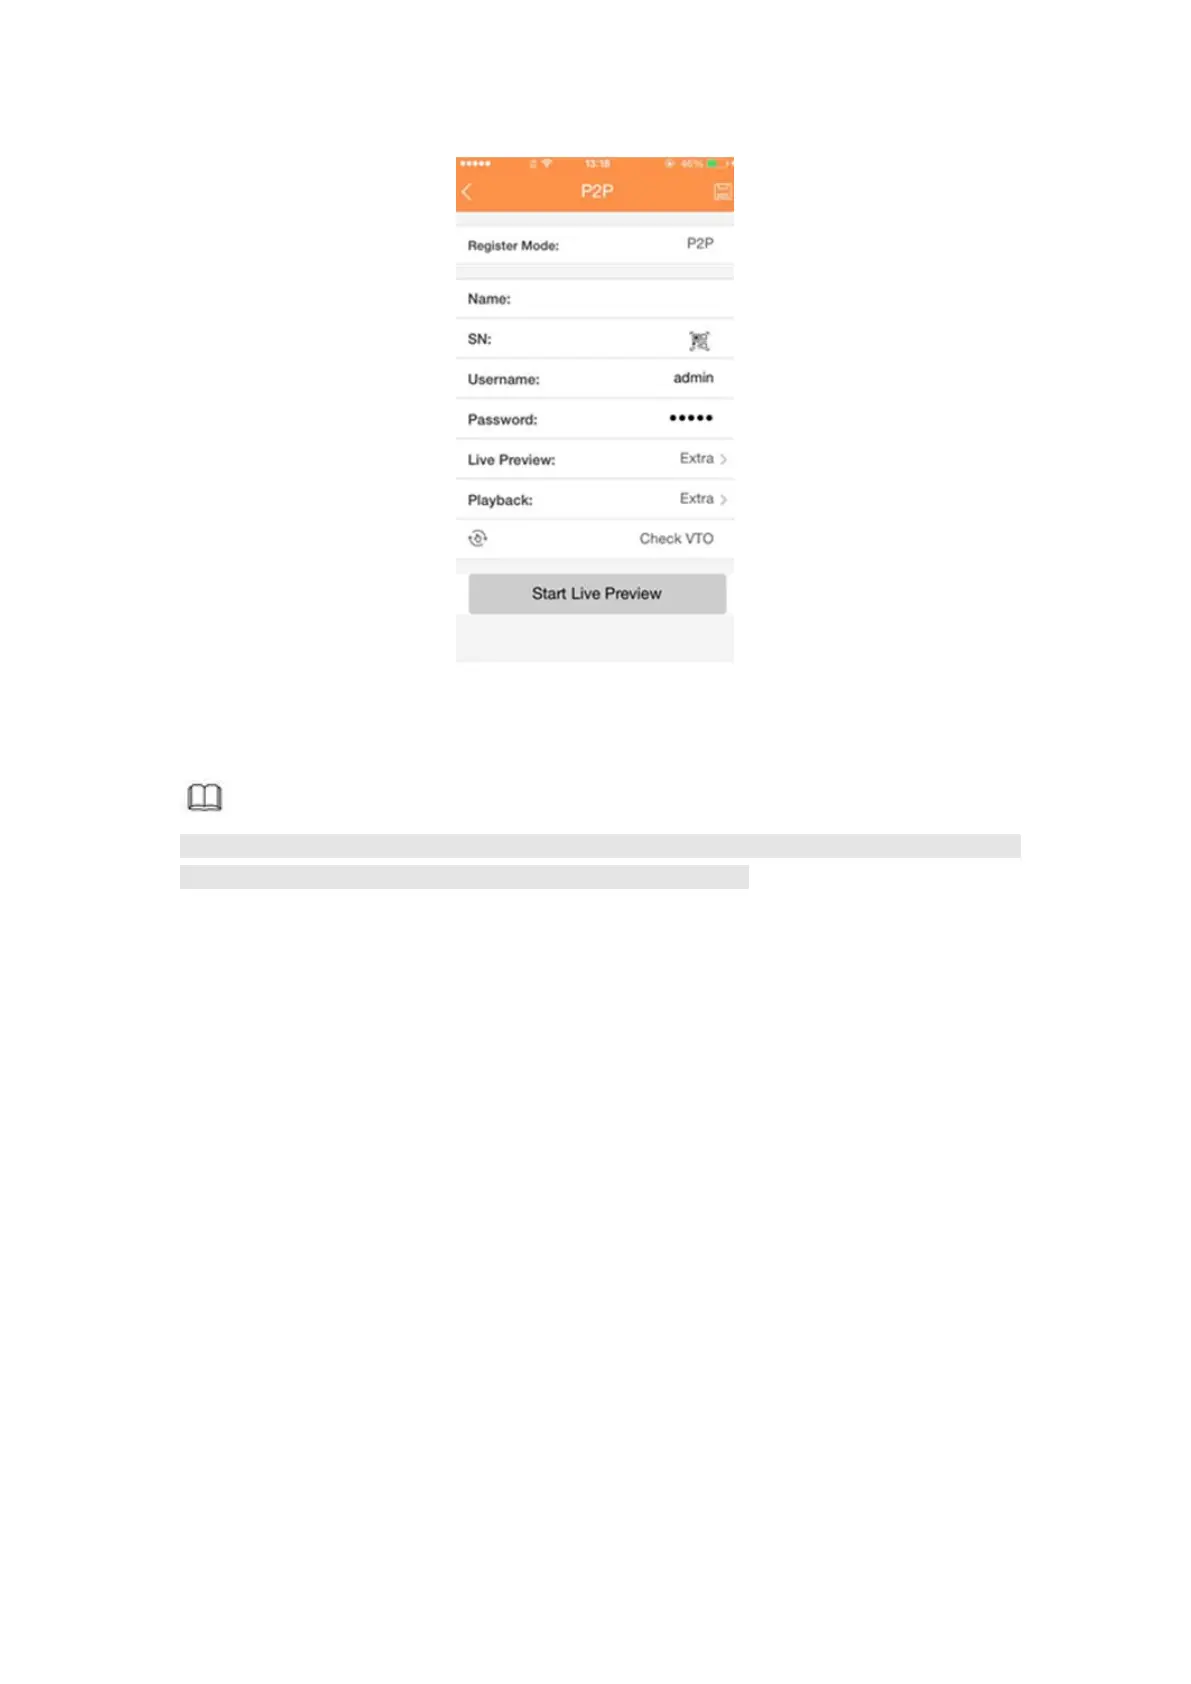
Figure 4- 20
Note
You can only see the registration interface if you have set IP channel (Chapter 4.9.1.3.5
Channel type). The DVR supports ONVIF standard protocol.
It is to add/delete the camera to the corresponding channel and view the corresponding
information.
Besides startup wizard and configuration wizard, from the main
menu->Setting->Camera-> Registration or on the preview window and then right click
mouse and then select Camera Registration, you can go to the Registration interface. See
Figure 4- 21.
Click IP search, and then select device in the searched results, click Add button.
Uninitialized: Click Uninitialized, device display uninitialized remote device. Select a
device from the list and then click Initialize, you can set remote device initial user
name and password. Refer to chapter 4.1.4.4.1 Initialize camera for detailed
information.
Show filter: Select from the dropdown list to display the corresponding devices.
None: There is a filter. Device displays all remote devices.
IPC: Device displays network camera.
DVR: Device display storage device such as DVR, NVR and etc.
IP search: Click it to search IP address. It includes device IP address, port, device
name, manufacturer, type. Use your mouse to click the item name, you can refresh
display order. Click IP address, system displays IP address from small to large. Click
IP address again, you can see icon, system displays IP address from large to small.
You can click other items to view information conveniently. For the network device
 Loading...